


Have you ever walked through a maple forest in fall? The orange leaves everywhere make it look almost unreal. This origami maple leaf is my attempt to bring a little of that magic home.
It’s part three of seven in my Fold the Forest series, a paper forest scene I’ve been building one project at a time. Fold a set to frame on the wall, or make it a slower project to work through with your kids.
It takes a few more steps than some of my other origami, like this easy origami leaf tutorial, but a beginner can still get through it with a little patience. For more ways to fill out your fall, my fall craft collection is worth a look.
Origami Maple Leaf at a Glance
- Difficulty: Intermediate
- Time: 20 to 30 minutes
- Cost: Under $5
- Ages: 8+ (adult help with scissors for younger kids)
- Best for: Fall garlands, wreaths, and cards

What You Need to Fold an Origami Maple Leaf
Materials
- Colored craft paper, cut into 5 squares (1 at 8 cm, 2 at 6.5 cm, 2 at 4.5 cm). If you don’t have craft paper at home, these origami papers from Amazon (my affiliate link) work well.
Tools
- Scissors, for cutting the five paper squares cleanly.
- Ruler, for measuring accurate squares so all five pieces line up when you glue them.
- Craft glue, for joining the three layers of the finished leaf.
Heads up: some of the supply links above are affiliate links. If you buy through them, Craftaholic Witch may earn a small commission at no extra cost to you. We only link supplies we would actually use ourselves.
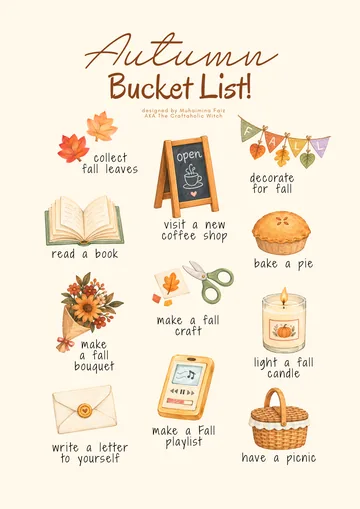
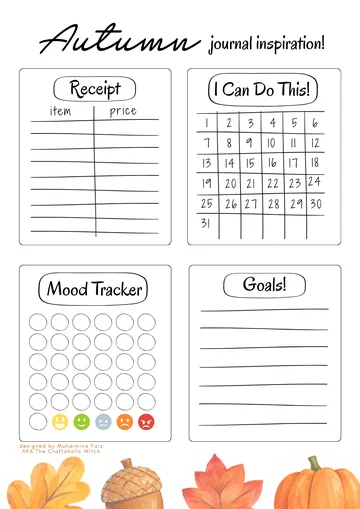
Free Autumn Bucket List + Printable Journal Pack
Everything you need for a cozy autumn, ready to print at home. Join the community for free and download it in one click.
- 13-page printable PDF
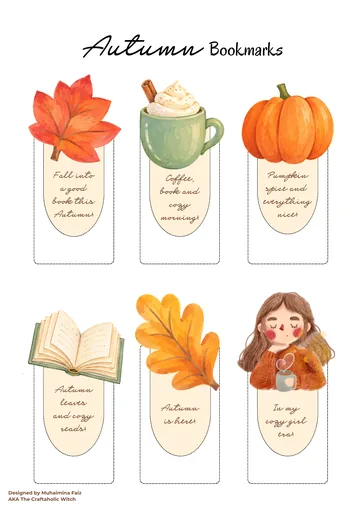
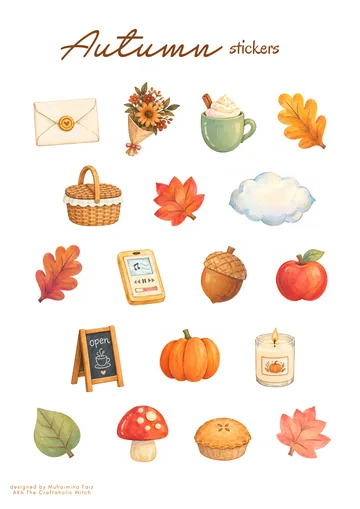
- 18 stickers and 6 bookmarks
- Journal pages and recipe cards
- Phone and computer wallpapers
Watch How to Fold an Origami Maple Leaf
This video walks through the same base fold and the three-layer assembly in under four minutes, if you’d rather watch it once before folding your own paper.
Step-by-Step Instructions
Step 1: Cut and Crease Your Five Squares

Use a ruler and pencil to mark 1 square at 8 cm, 2 squares at 6.5 cm, and 2 squares at 4.5 cm on your craft paper, then cut them out. Fold each square in half diagonally to set a center crease, then unfold it flat again before you start the next fold. Keep the large square, the two medium squares, and the two small squares in separate piles so the sizes don’t get mixed up once they’re all creased the same way.
Step 2: Fold Two Adjacent Sides to the Center Crease

Working on one square at a time, fold two adjacent sides in toward the diagonal crease you just made, keeping that crease centered down the middle. You should end up with a kite-like shape.
Step 3: Tuck In the Bottom Triangle

Folding those two sides in leaves a small triangle sticking out at the bottom. Fold that triangle inward too, so it sits flush against the rest of the shape.
Step 4: Fold In the Bottom Corners

Fold the two bottom corners of the shape inward, lining them up along the center crease.
Step 5: Unfold One Side

Pick one side of the shape, right or left, and unfold the last 3 folds you just made on that side only. Leave the other side exactly as it is; you’re about to rebuild this side into the leaf’s first tip.
Step 6: Form the Right Tip

Starting on the right, fold the bottom right corner along its own middle crease, then along the crease you made back in step 4. That double fold pulls the right corner up and out on its own, and you should see a small pointed tip forming on that side.
Step 7: Form the Left Tip

Mirror the same fold on the left bottom corner to form a matching tip on that side.
Step 8: Flip the Whole Shape Over

Turn the entire piece over to the other side without unfolding any of the folds you’ve made so far.
Step 9: Fold the Right Side to the Middle

On this new side, hold the bottom right edge and fold it in along the center line of the shape.
Step 10: Bring the Right Flap Forward

Reach into that fold and bring its other layer forward, so the right flap now sits on top instead of tucked behind.
Step 11: Bring the Left Flap Forward

Repeat the same move on the left side, folding it to the center and bringing its flap forward to match the right.
Step 12: Repeat the Fold on the Remaining Four Squares

Note: this is the same base fold from steps 1 through 11, just done 4 more times on the two medium and two small squares. It goes faster with each one now that your fingers know the sequence. By the end you should have five identical folded shapes in three sizes: 1 large, 2 medium, and 2 small.
Step 13: Glue One Medium Piece to the Large One

Take your large folded shape and one of the medium ones. Run a thin line of craft glue along one side of the medium piece.
Step 14: Attach the Medium Piece to the Large Piece

Tuck the glued edge of the medium piece underneath the large shape, lining up the bottom corners of both so they sit flush.
Step 15: Layer On the Small Pieces to Finish

Glue a small piece onto the medium one you just attached, then repeat the same medium-then-small layering on the other side of the large shape. Hold each layer flush for a few seconds while the glue grabs, so the finished leaf doesn’t peel apart at the tips.
Mix in a slightly different shade of the same color for the medium and small layers if you want the finished leaf to look more like a real one fading from edge to center.

Share it in "I Made It" and let us cheer you on.
Post your finished make in "I Made It" so the community can celebrate it with you. Cheer on other makers too. Each month, the most loved craft wins 1 year of Craftaholic Premium ($59)
Tips for Folding an Origami Maple Leaf
- Measure the three square sizes with a ruler before you cut; a fold that’s slightly off on the large square throws off how the medium and small layers line up later.
- Keep the very first base fold (steps 1 to 4) neat and centered; every fold after it lines up naturally once that base is square.
- Use a glue that grips fast, like craft glue or a glue stick, rather than a runny liquid glue that can warp thin paper as it dries.
Frequently Asked Questions
What can I use instead of origami paper for the maple leaf?
Regular printer paper or cardstock works, though the folds hold their crease less crisply than dedicated origami paper does. If you’re using plain paper, crease each fold firmly with your fingernail so the base shape doesn’t loosen up while you’re gluing the layers together.
How long does it take to fold an origami maple leaf?
Plan on 20 to 30 minutes for your first one, most of it spent cutting the five squares and getting the first base fold right. The same fold on the smaller squares goes much faster once you’ve done it once, and gluing the layers together only takes a couple of minutes.
Do I need to measure the squares in centimeters?
No, the exact unit doesn’t matter, only the ratio between the three sizes does. Cut your large square to whatever size you like, then make the medium squares about 80% of that size and the small squares about 55%, and the leaf will still come together correctly.
Why does my origami maple leaf come out lopsided?
It almost always traces back to the very first diagonal crease in step 1 not sitting exactly on center. Every later fold uses that crease as its reference line, so a base square that’s a few millimeters off throws the whole shape out of symmetry by the time you reach the tips.
How is this different from your basic origami leaf tutorial?
Our basic origami leaf tutorial folds a single flat leaf shape from one square, while this maple leaf stacks three sizes of the same fold into layers for a leaf with actual thickness and a more realistic lobed shape. Start with the basic leaf first if you want to learn the core fold before tackling the layered version.
More Origami Tutorials You May Like
Browse our full origami collection for more folds, or start with one of these:
- Our easy origami lotus flower tutorial
- Our origami bat tutorial for Halloween
- Our origami acorn tutorial
Share your origami maple leaf in the I Made It space inside Craftaholic Community. The most-loved post each month wins a one year free Premium membership.
3 Comments
Wow this is so amazing ? really love these origami maple leaf craft.
Hi Muhaiminah
We loved this craft idea, so we linked you to our latest blog post!
https://hawksbillcardandcraft.com/21-amazing-autumn-craft-ideas-for-every-age/
Thank you so much!
Join the conversation
Log in to your Craftaholic Community account to comment, ask questions, and cheer on fellow makers.
Log in to comment