

A stack of leftover cardstock scraps is worth more punched into a ring-bound notebook than tossed in the recycling bin, and a recycled cardstock notebook turns paper you already own into a journal, photo album, or scrapbook you would otherwise buy new.
The whole project comes down to cutting, punching, and winding two wire rings, so it’s a beginner project you can finish in about 20 to 30 minutes once your cardstock scraps are sorted by color.
It also makes a genuine gift: fill a few pages first as a starter journal, or hand it over blank so the person can use it however they like. If you’d rather bind the pages a different way, our notebook from scrap papers tutorial uses a different technique worth comparing.

Recycled Cardstock Notebook at a Glance
- Difficulty: Beginner
- Time: 20 to 30 minutes
- Cost: Under $5
- Ages: 10 and up, with adult help for the X-Acto knife
- Best for: Reusing cardstock scraps as a journal, photo album, or gift

What You Need to Make a Recycled Cardstock Notebook
Materials
- Colored cardstock paper scraps, any leftover colors and weights work since the pages get punched and stacked rather than sewn
- Craft wire, 14 gauge, stiff enough to hold its shape as a ring but still bendable by hand or pliers
Tools
- Paper punch, for even holes along one edge of every page
- Ruler, to keep every cardstock piece cut to the same size
- X-Acto knife, for trimming a stack of scrap pieces down to one clean template size
- Craft pliers, for closing the wire rings tight once the pages are threaded on
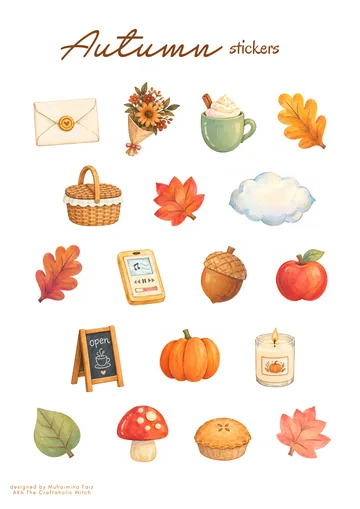
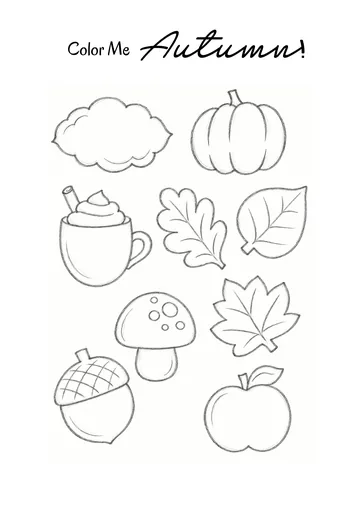
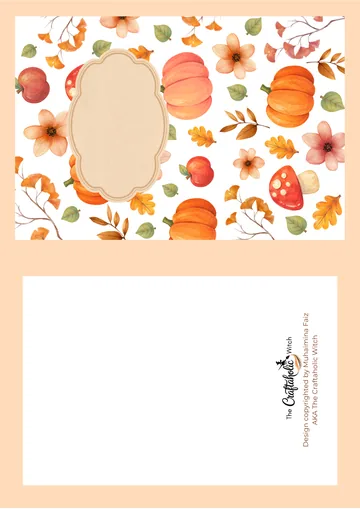
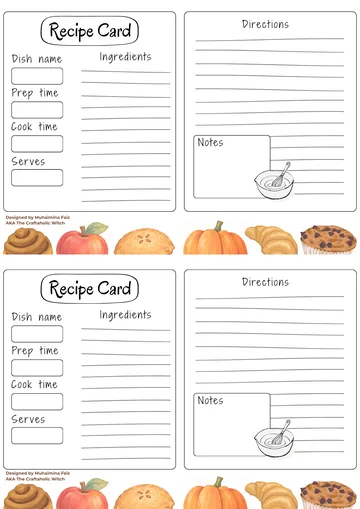
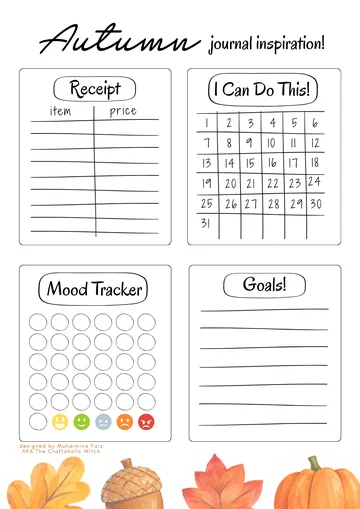
Free Autumn Bucket List + Printable Journal Pack
Everything you need for a cozy autumn, ready to print at home. Join the community for free and download it in one click.
- 13-page printable PDF
- 18 stickers and 6 bookmarks
- Journal pages and recipe cards
- Phone and computer wallpapers
How to Make a Recycled Cardstock Notebook
Cut Your Cardstock Scraps to One Size

Measure and cut one piece of cardstock to the size you want your notebook. Use that first piece as your template: trace around it on every other scrap sheet, then cut so all the pages come out identical.
Mix different colors and weights of cardstock freely since only the outer size has to match. A lopsided stack of mismatched sizes is what actually looks unfinished, not mismatched colors.
Punch Binding Holes Along One Edge

Punch holes along one long edge of a single cardstock page. Line that punched page up flush against the rest of the stack, working in batches of two or three sheets at a time, and mark where the holes fall on each batch before punching it.
Line the punched page up against the edge of the stack each time, not just by eye, or the holes drift out of alignment by the last few pages.
Make the Wire Rings and Bind the Notebook

Wrap the craft wire around a marker or dowel two full times, then cut the coil free to get one ring. Repeat so you have two rings the same size, big enough to fit through your punched holes with the whole stack of pages threaded on.
If you want cleaner, more even rings than looping wire by eye, the same coiling technique from our how to make jump rings tutorial works here, just swap in the heavier 14 gauge wire instead of jewelry-weight wire.
Stack the punched cardstock pages together, thread a ring through the matching holes on one side, and squeeze it closed with the pliers. Repeat on the other side and your notebook is bound.
Share it in "I Made It" and let us cheer you on.
Post your finished make in "I Made It" so the community can celebrate it with you. Cheer on other makers too. Each month, the most loved craft wins 1 year of Craftaholic Premium ($59)
Tips for Your Recycled Cardstock Notebook
- Raid your own paper stash for the cardstock: cut-up greeting cards, cereal box panels, or wrapping paper offcuts add color variety without buying anything new. Browse our full Paper Crafts collection for more scrap-friendly projects.
- Wrap the wire three times instead of two if you’re binding a thicker stack of pages, so the ring has room for all of them.
- Decorate the front and back cardstock pages as a cover, since the ring binding doesn’t add one on its own. A hand-drawn design or a strip of washi tape along the spine both work.
- Store the finished notebook flat rather than propped upright. The wire rings can bend out of round if something leans on them.

Frequently Asked Questions
What else can I make with leftover cardstock scraps?
Small cardstock scraps work well for bookmarks, gift tags, and coasters, since none of those need a full sheet. Once a scrap gets too small for any of that, it’s still big enough to punch into a notebook page like this one. Browse our other paper utility crafts for more ways to turn craft scraps into something you’ll actually use.
Can I use this notebook as a photo album or scrapbook?
Yes, the ring binding lets every page open flat, which makes it easier to fit photos or embellishments than a glued or sewn spine would. Use a slightly heavier cardstock weight for the pages if you’re planning to glue photos on both sides, so the paper doesn’t buckle.
What can I use instead of wire rings to bind the pages?
Metal book rings or a keyring from the hardware store both work in place of hand-coiled wire, and they open and close without pliers. If you’d rather skip loose rings entirely and give the notebook a solid cover instead, our DIY notebook cover tutorial binds the pages a different way.
How many pages can a cardstock notebook hold?
It depends on how big you make the wire rings. A small ring sized for a handheld notebook comfortably holds around 15 to 20 cardstock pages before it feels overstuffed, while a wider ring can hold more.
Do I need an X-Acto knife, or can I cut the cardstock with scissors?
Scissors work fine for cutting individual pieces to size. The X-Acto knife is mainly useful when you’re trimming a thicker stack of scraps down to one template size in a single pass, which is faster once you have more than a few sheets to cut.
More Paper Crafts Tutorials
Share your finished notebook in the I Made It space inside Craftaholic Community. The most-loved post each month wins a one year free Premium membership.
0 Comments
Join the conversation
Log in to your Craftaholic Community account to comment, ask questions, and cheer on fellow makers.
Log in to comment