


All you really need to make your own recycled paper is a mesh screen standing in for a papermaking frame, a bowl of water, and paper you were going to recycle anyway. I use a piece of plastic netting instead of buying a frame, and it works just as well.
The active work here is maybe 45 minutes total, but the process stretches over a day or two because the torn paper needs hours to soak and the finished sheet needs to dry completely before you can touch it. None of the steps are difficult, patience is really the only skill this asks of you.
What you get at the end is a rustic, one-of-a-kind sheet that’s perfect for gift tags, journaling, scrapbooking, or watercolor practice, and a genuinely satisfying way to keep usable paper fiber out of the landfill. The EPA notes that recycling paper also cuts down on the energy needed to make new paper from virgin wood pulp.
Recycled Paper at a Glance
- Difficulty: Intermediate
- Time: 45 minutes active, plus overnight soaking and overnight drying
- Cost: Under $5 (mostly recycled materials)
- Ages: 8+ with adult help around the water and mesh
- Best for: Gift tags, journaling, scrapbook backgrounds, eco-friendly kids’ projects

Join Craft Challenge: Craft Your Calm
Make something that brings you a sense of peace, share a photo, and tell us your story. It's free to enter, open to everyone, and the entry with the most reactions takes home a $100 gift card. Takes five minutes to join.
Entries close August 30, 2026. No purchase necessary.
What You Need to Make Recycled Paper
Materials
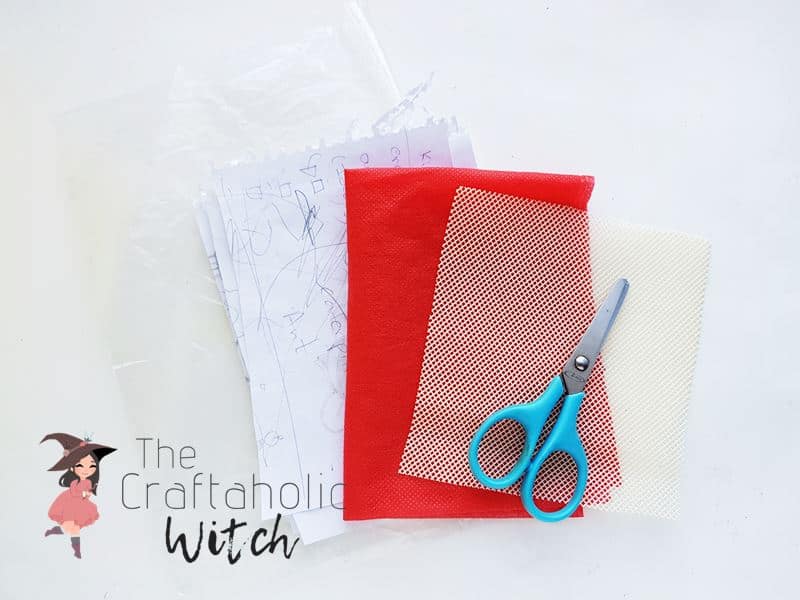
- Old or used paper (magazines, newspapers, notebook pages), the more variety you save up, the more paper you’ll get out of this.
- Water, enough to fully submerge your torn paper in a large bowl.
Tools
- A pair of scissors, or just your hands, for tearing the paper into small pieces.
- A plastic netted piece, standing in for a papermaking frame; it’s the mesh that catches the pulp.
- A cotton cloth, for pressing water out of the pulp once it’s on the mesh.
- A non-stick surface, like a polythene sheet, so the fresh paper doesn’t stick while it dries.
- A large bowl, big enough to soak your torn paper and dunk the mesh.
Heads up: some of the supply links above are affiliate links. If you buy through them, Craftaholic Witch may earn a small commission at no extra cost to you. We only link supplies we would actually use ourselves.
Ask inside "Crafty Q&A" while you are making.
"Crafty Q&A" is free to join. Share your question, photo, or the exact step where you got stuck, and chat with other makers plus the Craftaholic Witch team. You can also join any discussion thread already happening inside the space.
How to Make Recycled Paper
Step 1: Tear the Paper Into Small Pieces
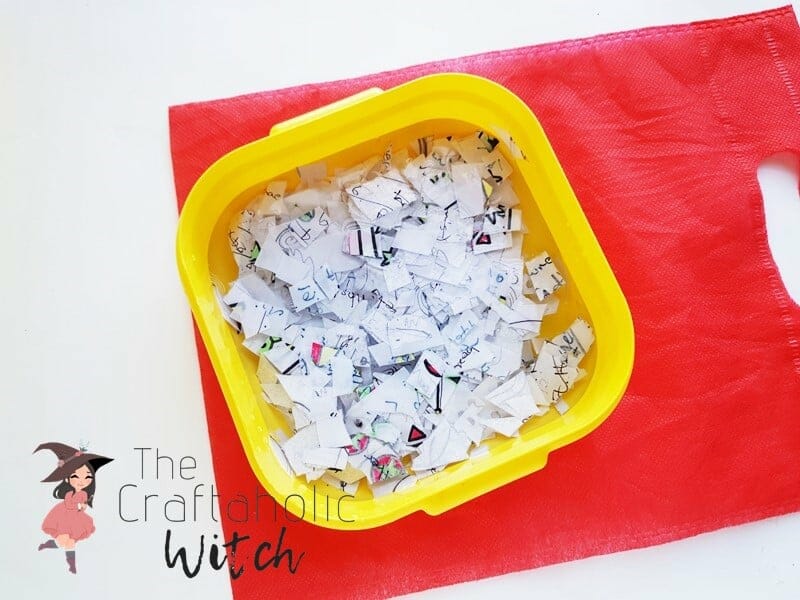
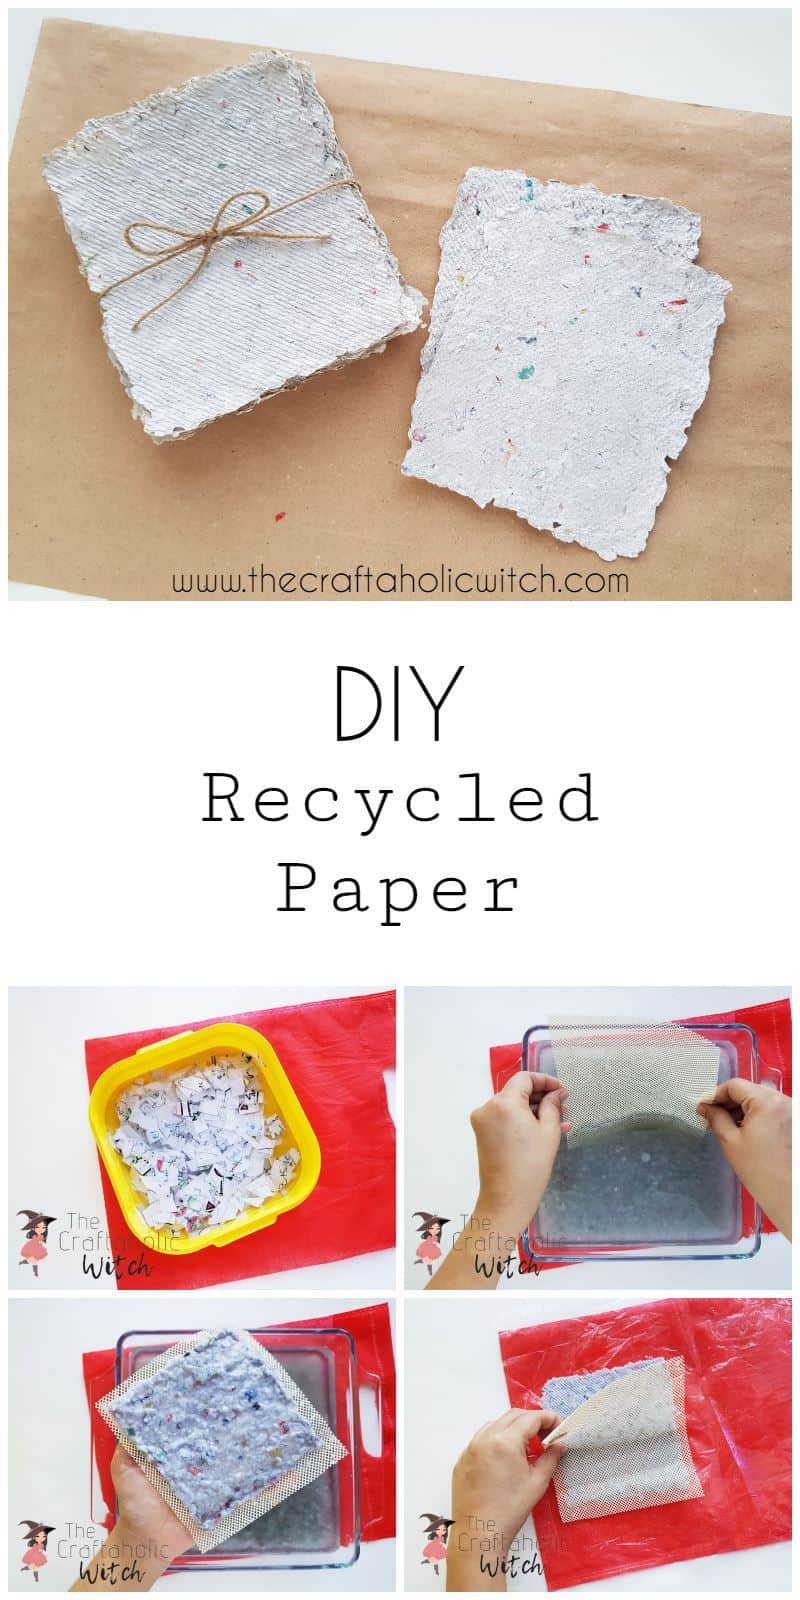
Gather up whatever scrap paper you’ve been saving, old newspaper, magazine pages, notebook sheets, and tear it into pieces roughly an inch across. Scissors work too if tearing feels slow. Once you’ve got a decent pile, drop it all into a large bowl and cover it completely with water.
Step 2: Soak and Break Down the Paper
Let the paper soak for at least a few hours, though I usually leave mine overnight so it breaks down further. Once it’s soft, work it with your hands, squeezing and rubbing the pieces until the water clouds up and the paper starts falling apart into pulp. Give it another hour to sit before you move on.
Tip: If you own a blender you don’t mind getting messy, a quick pulse after the first hour of soaking turns this into a five-minute step instead of an overnight one.
Step 3: Dip the Mesh Into the Pulp

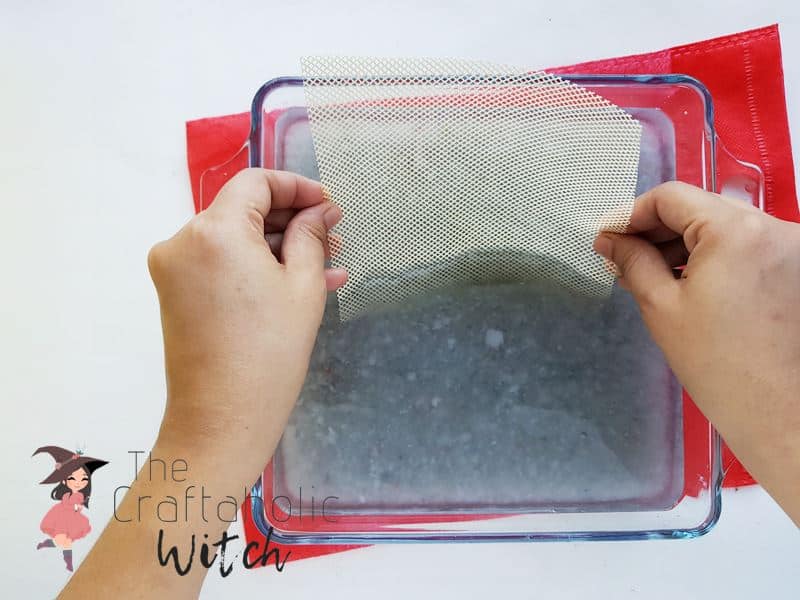
Instead of a traditional papermaking frame, we’re using a plain piece of plastic mesh netting, and it works just as well. Lower one edge of it into the bowl of pulp and water, then guide it down and under, top to bottom, until it’s fully submerged.
Step 4: Let the Pulp Settle Across the Mesh
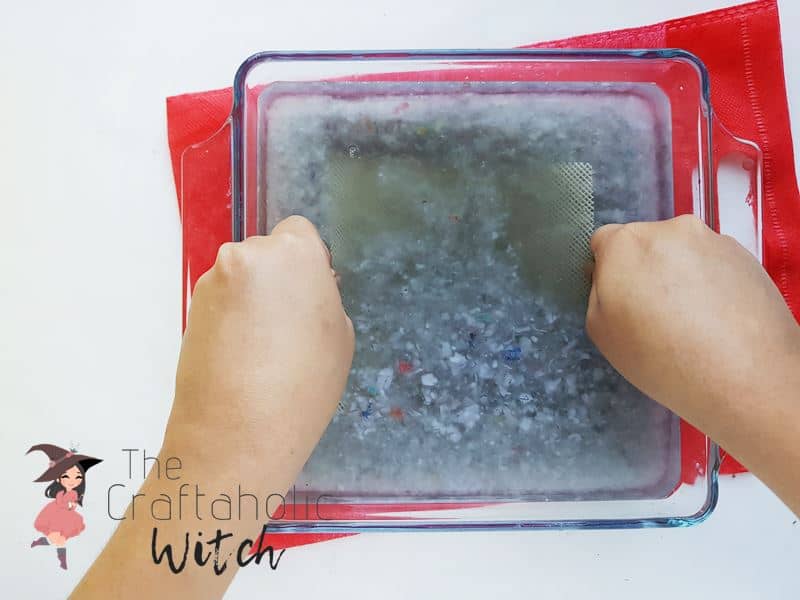
With the mesh still underwater, tilt it flat and give it a gentle shake side to side. You’ll see the pulp start gathering on top as an even layer. Keep shaking lightly until it covers the whole surface with no bare patches.
Step 5: Square Off the Edges
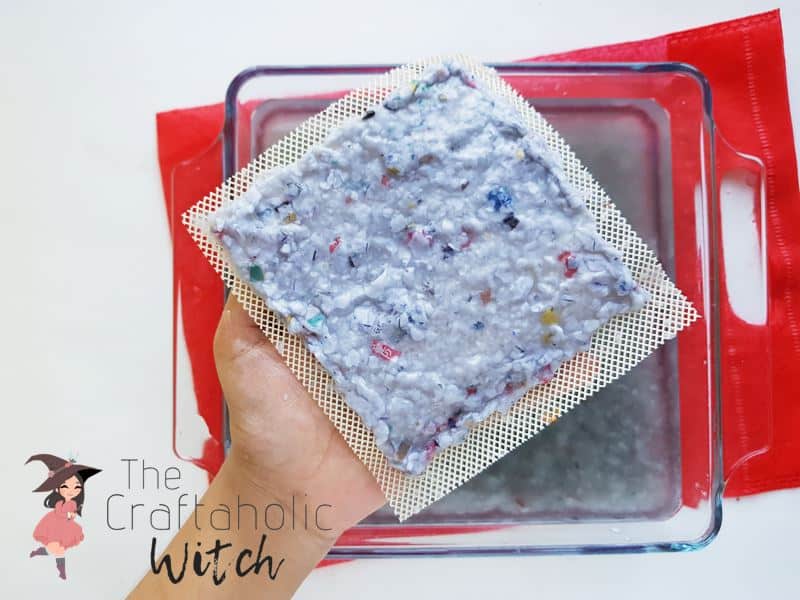
Bring the mesh straight up out of the water without tipping it, then use your fingertips to nudge the pulp into a neat rectangle along all four sides. A real papermaking frame does this part for you, but with a plain mesh sheet, squaring the border yourself is what keeps the finished paper from coming out lopsided.
Step 6: Press the Pulp Onto a Non-Stick Surface
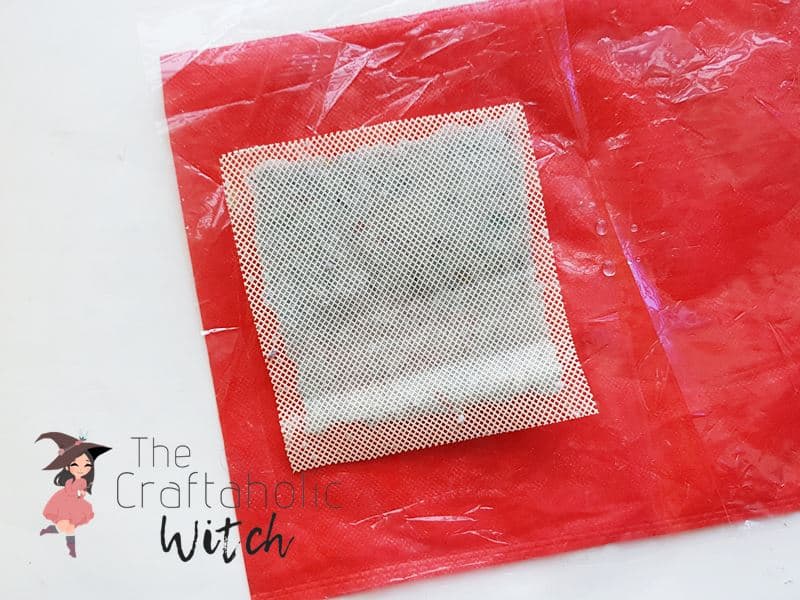
Lay your non-stick sheet flat on the work surface, then flip the pulp side of the mesh down onto it. Press a piece of cotton cloth over the back of the mesh and soak up as much water as you can. The more water you pull out here, the less time the paper needs to dry later.
Step 7: Peel the Mesh Away
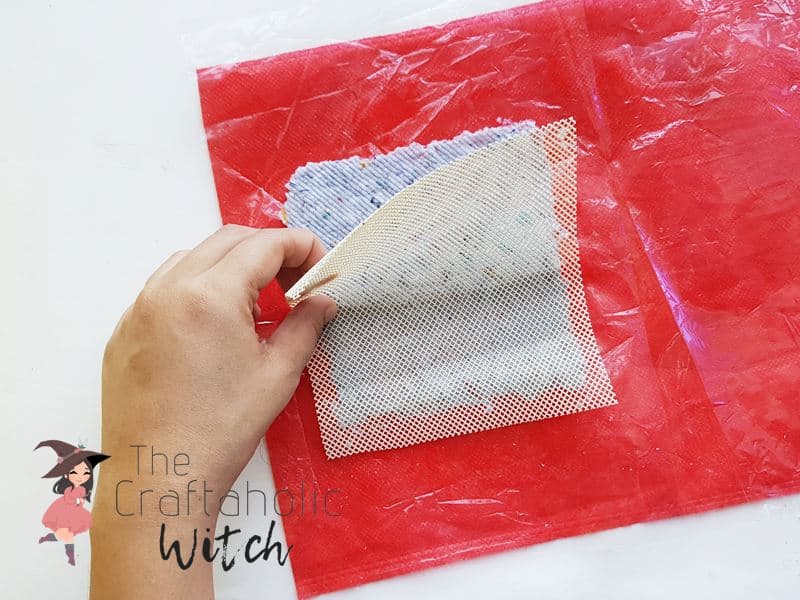
Once most of the water is gone, carefully lift the mesh straight up and off. The pulp should stay put, flat on the non-stick surface below it.
Warning: lift the mesh too fast or at an angle and the sheet can tear or wrinkle, so go slow and keep it level as you peel it back.
Step 8: Let It Dry Completely
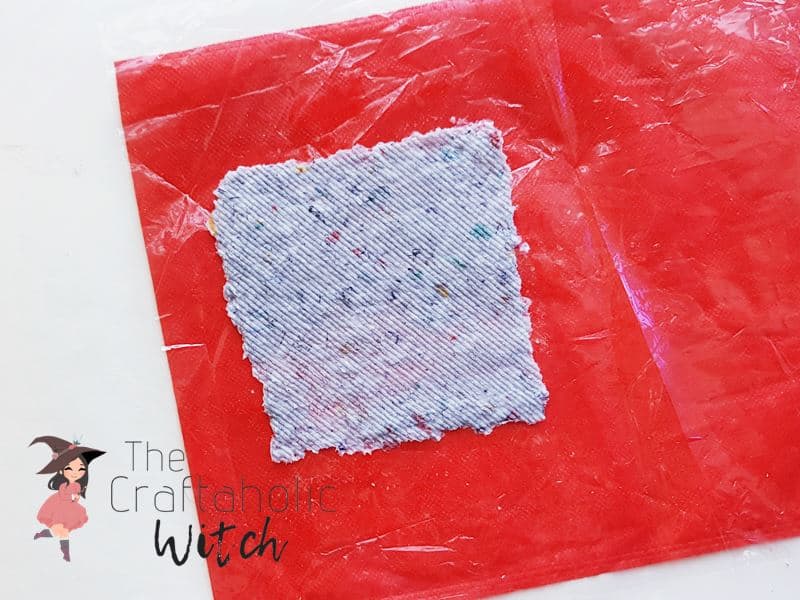
Leave the sheet somewhere warm and dry, undisturbed, overnight. If you’re impatient like me, setting it near a sunny window or a heater vent speeds things up, but resist the urge to touch it until it’s fully dry all the way through, not just on top.
Step 9: Check That It’s Dry, Then Peel It Off
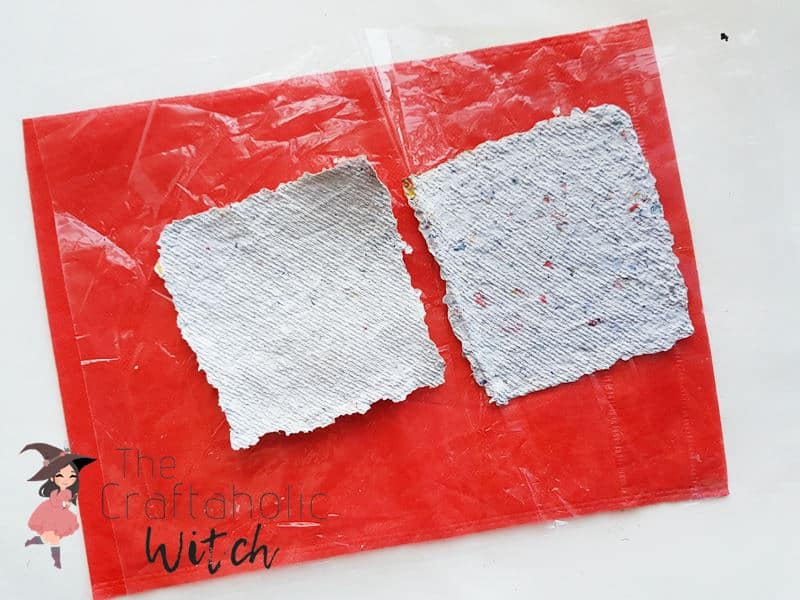
Give the sheet a gentle press in the center. If it feels cool or the slightest bit damp, give it more time. Once it’s fully dry, peel it carefully off the non-stick surface, and you’ve got a finished piece of handmade recycled paper.
Share it in "I Made It" and let us cheer you on.
Post your finished make in "I Made It" so the community can celebrate it with you. Cheer on other makers too. Each month, the most loved craft wins 1 year of Craftaholic Premium ($59)
Tips for Making Recycled Paper
- Blend the pulp less for a rougher, deckle-edged look, or longer for a smoother, more uniform sheet.
- Press dried flower petals, glitter, or bits of thread into the pulp before it dries for extra texture.
- Stack finished sheets under heavy books for a day once they’re dry to flatten out any curling.
- Leftover pulp doesn’t go to waste, strained and sealed in a bag, it freezes fine if you want to pick this back up another day.
Watch the Video Tutorial on How to Make Recycled Paper
Don’t forget to subscribe to our channel for more DIY and craft tutorials.
Frequently Asked Questions
What can I use instead of a papermaking frame?
A piece of plastic mesh netting works just as well as a frame and costs a fraction as much. An old window screen or a fine kitchen strainer will also do the job in a pinch, anything that lets water drain through while catching the pulp on top.
How long does it take to make recycled paper?
It’s about 45 minutes of hands-on work, spread across a day or two, since the torn paper needs several hours to soak and the finished sheet needs to dry fully before you can use it. Plan to start this the day before you actually need the paper.
Can I make recycled paper without a blender?
Yes, you don’t need a blender at all. Soak the torn paper a little longer, several hours to overnight, and break it down by hand instead, squeezing and rubbing it until it turns to pulp. It takes more patience but gets you to the same place.
What can I use handmade recycled paper for?
Handmade recycled paper works best for gift tags, scrapbooking, journaling, watercolor painting, and photography props, its rustic texture doesn’t take ink or pencil as smoothly as regular paper. It’s great for crafts, but I wouldn’t turn in a homework assignment written on it, and if I’m honest, some nights I don’t feel much like doing my own homework either. This paper is better suited to being admired than graded.
Is this project safe for kids to help with?
Yes, with some adult supervision around the water and, if you use one, the blender. Kids do great with the tearing, soaking, and mixing steps, while the mesh and pressing steps benefit from a steadier adult hand, but it’s still very doable at 8 and up with help.
More Paper Crafts
- Browse all Paper Crafts tutorials
- How to Make Beautiful Paper Mache Bowls
- Recycled Paper Basket Weaving
- DIY Recycled Pumpkin Box
- Recycled Cardboard Boxes
Share your handmade recycled paper in the I Made It space inside Craftaholic Community. The most-loved post each month wins a one year free Premium membership.
6 Comments
Where did you get the plastic netted sheet?
This one is good for this project. Link
Is it possible to make paper like this from cardboard boxes?
I have a TON of cardboard to get rid of, and it’d be awesome to turn it into paper that I could then potentially draw or paint on.
It would be possible as long as you can make a nice pulp paste from the material. The papers might turn out thicker than the ones I made. Hope it works!
Hi! I am so excited by this craft but does adding tea really necessary and if so what type of tea do you recommend? Thanks!
Sure thing! Adding tea is one option among 4, but if you want to use it, regular black tea is a good choice.
Join the conversation
Log in to your Craftaholic Community account to comment, ask questions, and cheer on fellow makers.
Log in to comment