

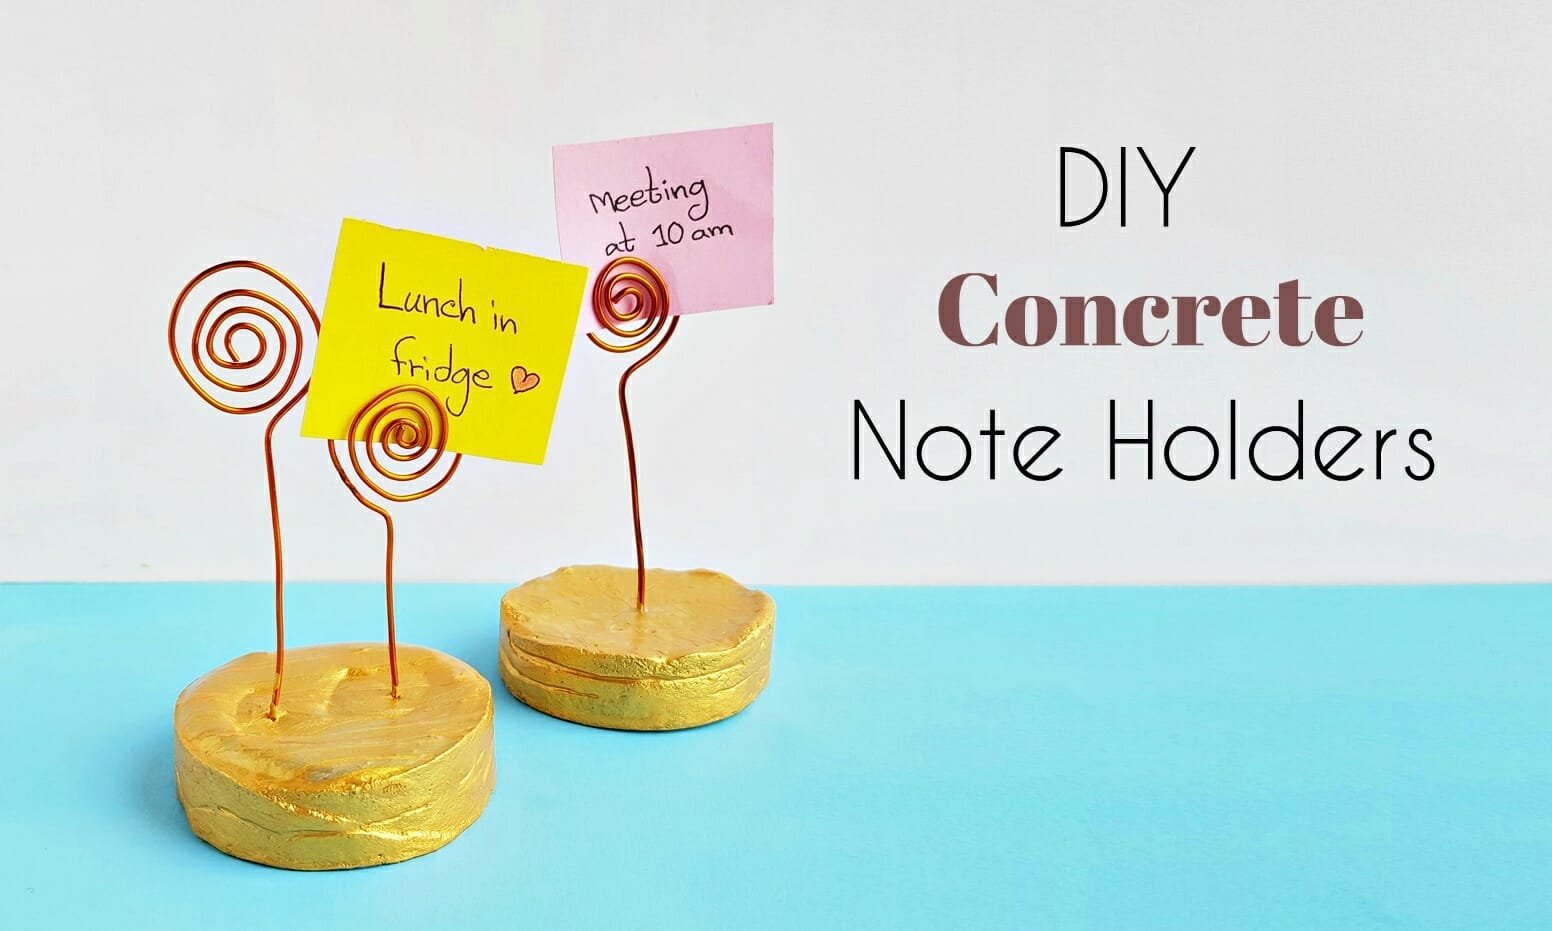
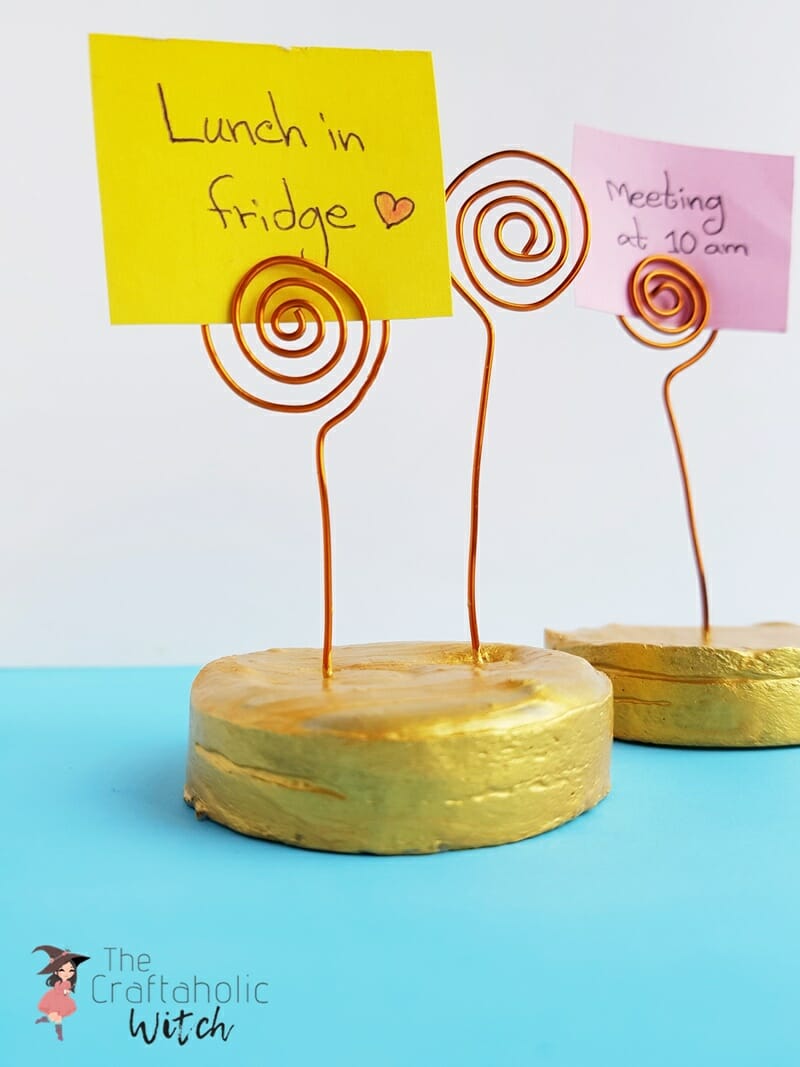
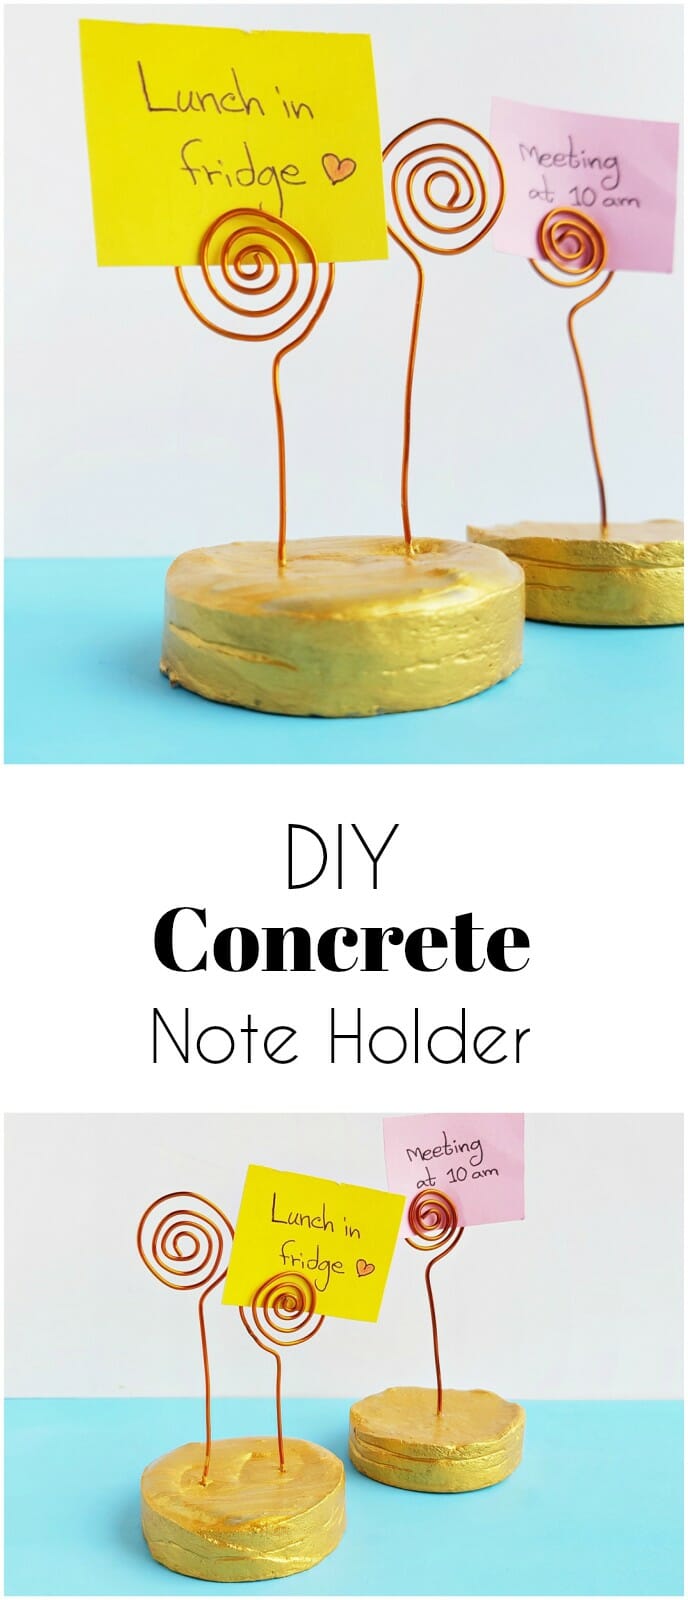
You can build your own wire picture holder by bending 16 gauge craft wire into a simple stand and anchoring it in a small concrete base, and the whole thing sets up overnight. I use mine as a photo holder for my son’s picture, and it works just as well as a note holder for sticky notes, business cards, or anything you want propped up somewhere you will actually see it.
This is one of my favorite pieces from our coasters and table decor tutorials, mostly because it looks a lot more polished than the few minutes of wire bending it actually takes. My husband keeps one on his office desk holding his business card, and I gave another to a friend who now uses hers for notes and cards too.
Budget about 30 minutes of hands-on time to bend the wire and pour the concrete, then let it cure for a full 24 hours before you unmold it. It is an easy first concrete project even if you have never worked with it before, the ratios are forgiving and the wire bending just takes a little patience.
Wire Picture Holder at a Glance
- Difficulty: Intermediate
- Time: About 30 minutes hands-on, plus a 24-hour cure
- Cost: Under $10, especially if you already have wire or concrete mix on hand
- Ages: 12+ with adult help for the craft knife and hot glue gun
- Best for: Desk organization, photo display, or a handmade gift
What You Need to Make a Wire Picture Holder
Materials
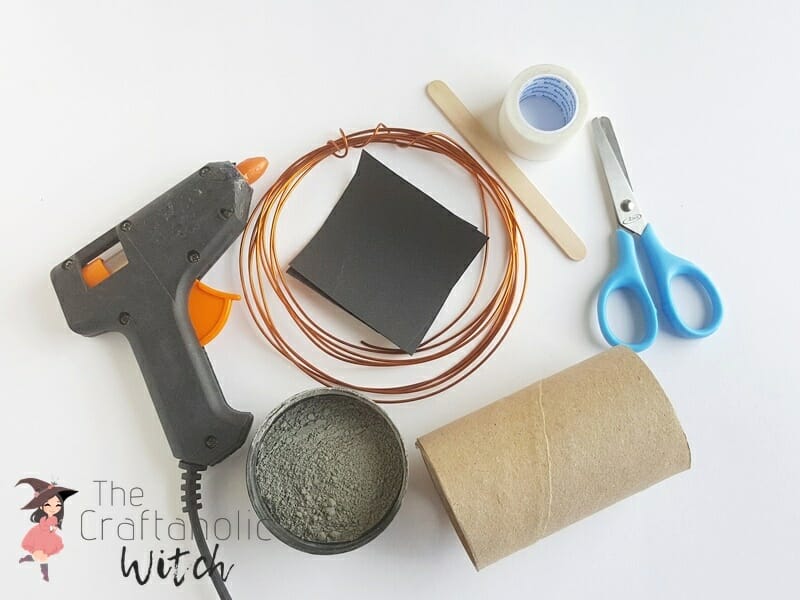
- Cement and sand mixture (50:50), or a bag of concrete mix to skip the measuring. This fills the mold and gives the base its weight. If you end up with extra mix left over, save it for DIY Concrete Planters.
- An empty toilet paper roll, which becomes the mold for the concrete base.
- Cardstock paper, sealed under the roll so the wet concrete has nowhere to leak out.
- Craft wire, 16 gauge, sturdy enough to hold its shape once it sets in concrete but still easy to bend by hand.
- Water, added a little at a time until the concrete mixture is thick, not runny.
- Gold acrylic paint (optional), for a coat over the finished concrete base.
Tools
- A plastic bucket or pot, for mixing the concrete.
- A stick, for stirring the cement and sand together.
- Scissors, for cutting the cardstock to size.
- A craft knife, for trimming the toilet paper roll to height.
- Adhesive tape, to hold the cardstock in place while you glue.
- Craft pliers, cutting, looping, and flat nose blades cover every bend in this project.
- Hot glue gun, to seal the cardstock and toilet paper roll mold together.
Heads up: some of the supply links above are affiliate links. If you buy through them, Craftaholic Witch may earn a small commission at no extra cost to you. We only link supplies we would actually use ourselves.









Free Autumn Bucket List + Printable Journal Pack
Everything you need for a cozy autumn, ready to print at home. Join the community for free and download it in one click.
- 13-page printable PDF
- 18 stickers and 6 bookmarks
- Journal pages and recipe cards
- Phone and computer wallpapers
How to Make a Wire Picture Holder With Concrete
Step 1: Cut the Mold to Height
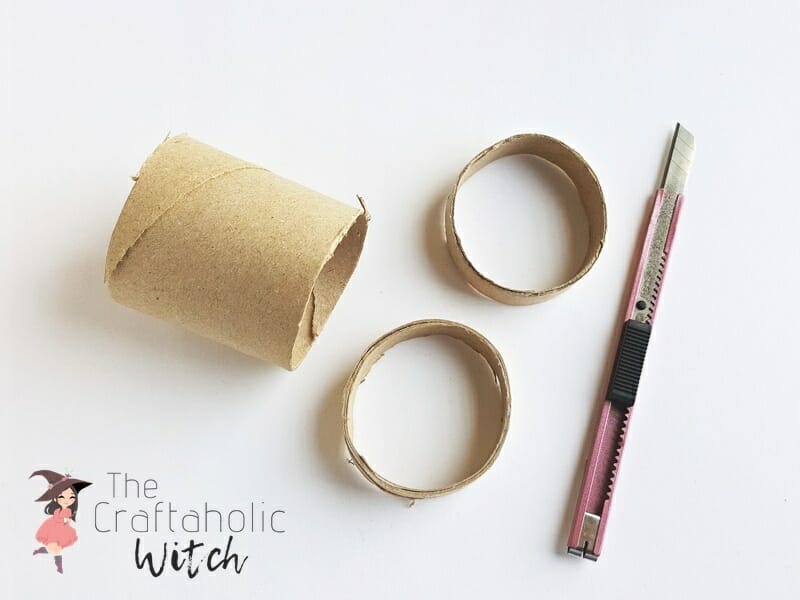
Decide how tall you want the concrete base. I kept mine at 1.5 cm. Mark that height around an empty toilet paper roll, then cut along the line with a craft knife so the ring sits flat and even all the way around.
Step 2: Seal the Bottom of the Mold
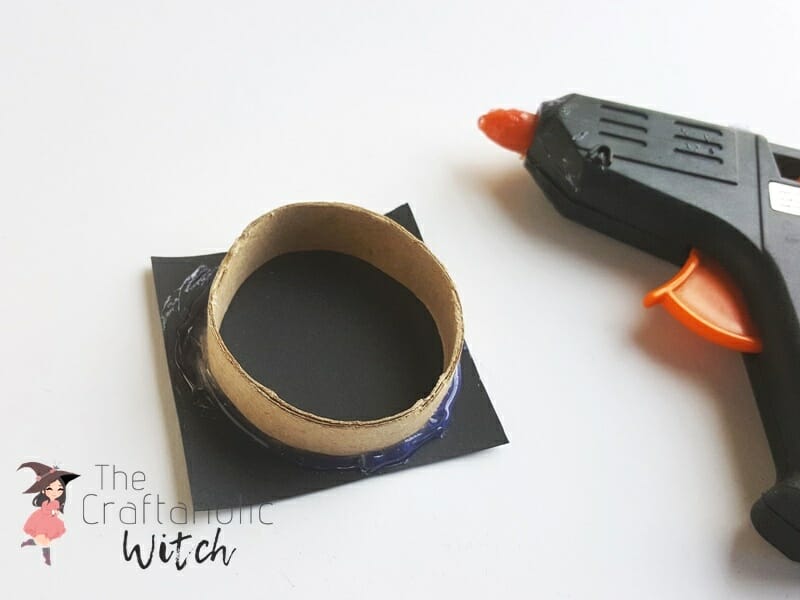
Cut a piece of cardstock a bit larger than the ring’s diameter and set the ring down on top of it. Run a bead of hot glue around the base of the ring and press it into the cardstock, sealing the whole edge.
Tip: Any gap you leave here becomes a spot where wet concrete oozes out later, so go slowly around the full circle before moving on. Your mold is ready once the seam is completely closed.
Step 3: Bend the Wire Into a Square
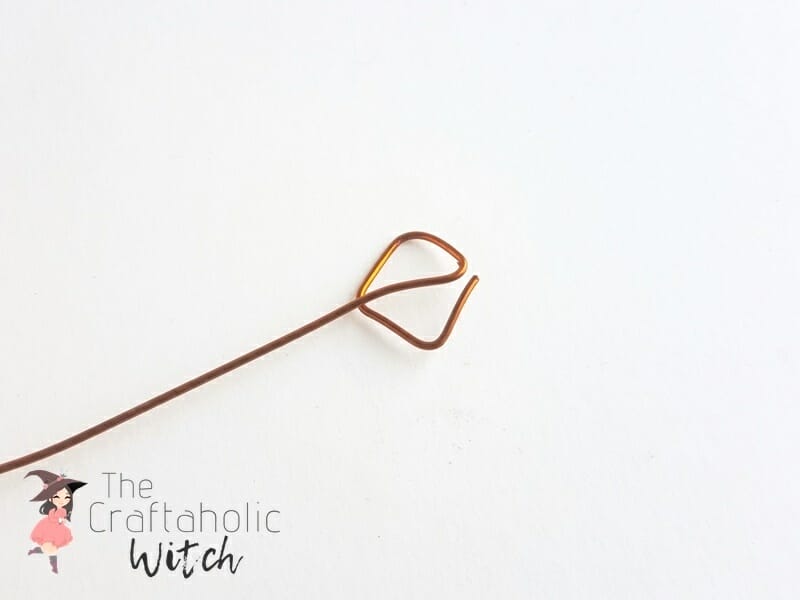
Working straight off the wire spool, without cutting it yet, bend the wire four times in the same direction to form a small square. Keep the square smaller than the ring’s diameter so it will fit inside the mold. Bend the wire once more, diagonally across the inside of the square, to brace it.
Step 4: Bend the Stem Away From the Base
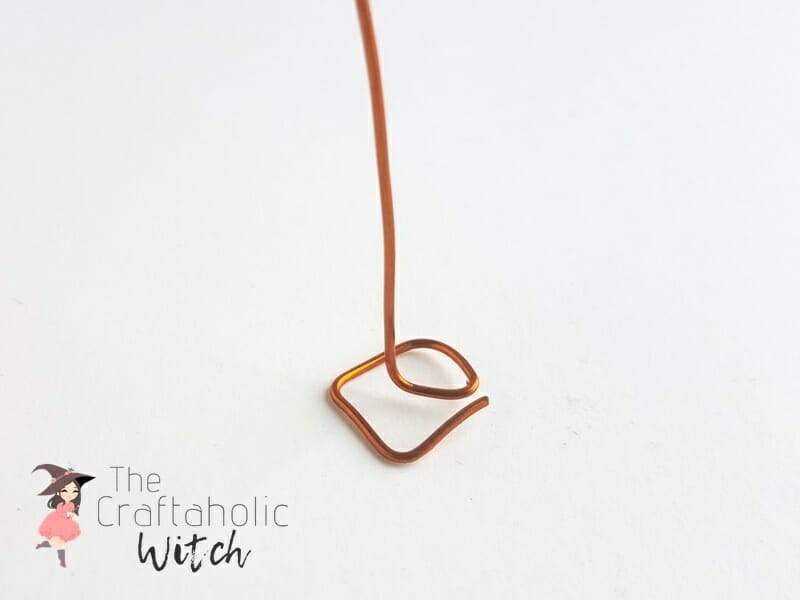
Keep the square shape intact and bend the remaining wire 90 degrees, angling it away from the square. This becomes the upright stem your photo or note will rest against, so aim for a bend that leaves the square sitting flat once you set it down.
Step 5: Curl the Top Into a Holder Loop
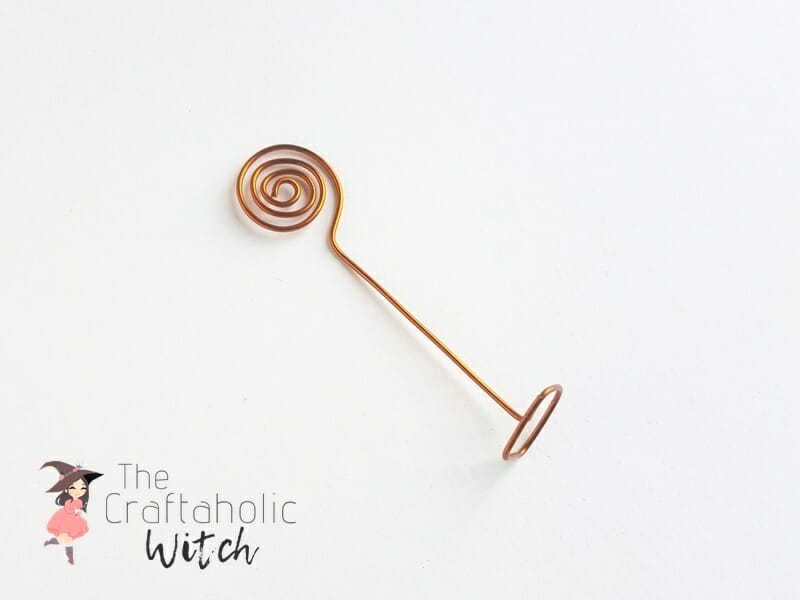
Decide how tall you want the finished stand, then measure that length plus another 8 to 10 cm of extra wire before cutting it free from the spool. Use that extra length at the open end to twist a small curled loop. This loop is what grips your photos, cards, or notes once the holder is finished.
Step 6: Mix the Concrete
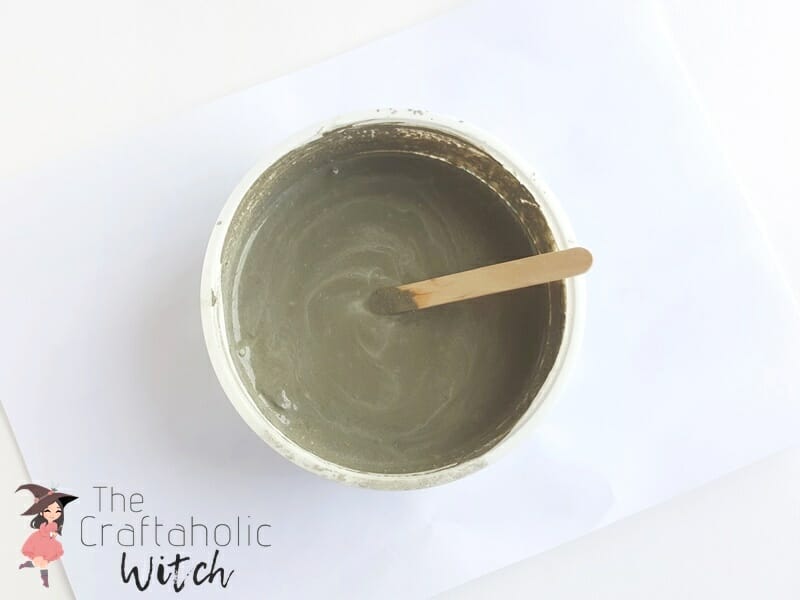
Combine cement and sand at a 50:50 ratio in a plastic bucket, then add water a little at a time, aiming for roughly equal parts water to dry mix. Stir well with a stick and keep the mixture thick rather than runny. Less water means a stronger base and a faster cure.
Step 7: Set the Wire Into the Concrete
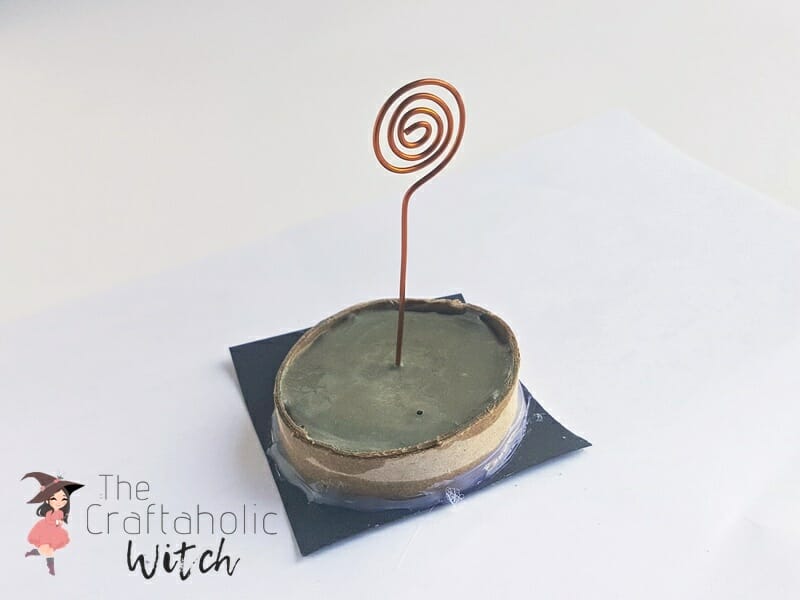
Fill your mold with the concrete mixture, then push the square end of the wire stand straight down into it until it reaches the bottom. Hold it steady for a moment and check that the stem is standing upright, not leaning, before you walk away.
Step 8: Unmold and Finish
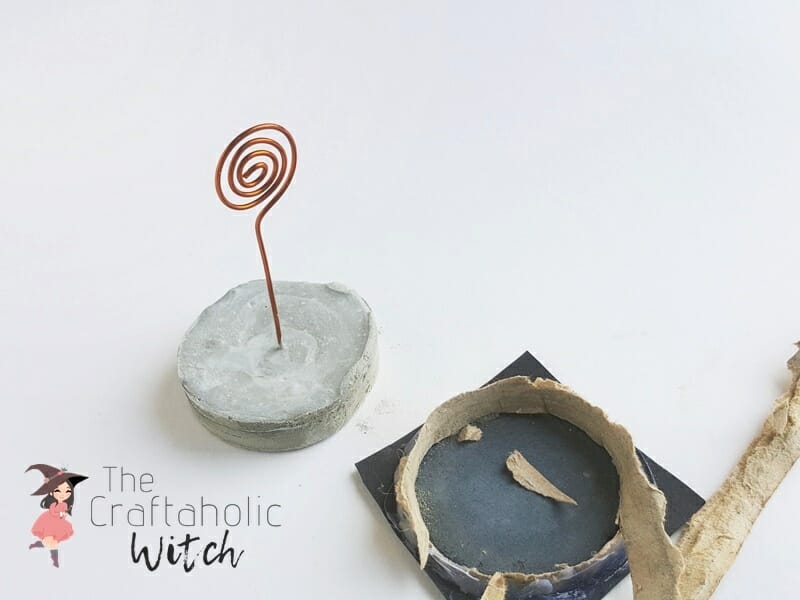
Let the concrete cure undisturbed for a full 24 hours, then check that it feels solid all the way through. Peel the toilet paper roll away first, then work the cardstock off the bottom. A coat of gold acrylic paint over the concrete is optional, but it’s what gives mine that finished look. Display your notes, photos, or cards with style.
Share it in "I Made It" and let us cheer you on.
Post your finished make in "I Made It" so the community can celebrate it with you. Cheer on other makers too. Each month, the most loved craft wins 1 year of Craftaholic Premium ($59)
Frequently Asked Questions
Can I use quick-setting cement instead of a sand and cement mix?
Yes, a bag of premixed concrete works just as well as a homemade 50:50 sand and cement blend, and it’s often easier for a first attempt since the ratio is already measured. Just follow the water amount on the bag instead of eyeballing it, and keep the mixture on the thick side either way.
How long does a wire picture holder take to make?
Making a wire picture holder takes about 30 minutes of hands-on work to bend the wire and pour the concrete, but plan on a full 24 hours for the concrete to cure before you unmold it. The active part is quick; the waiting is what takes patience.
Why did my concrete base crack or crumble?
A cracked or crumbling base almost always means the mix had too much water or too little cement. Keep the mixture thick, closer to peanut butter than pancake batter, and let it cure the full 24 hours without disturbing it. A thin, watery mix dries weak no matter how long you wait.
Can I use this as a table number or place card holder?
Yes, once the concrete has cured, the curled wire loop grips place cards and table numbers just as easily as photos, so it works well for a wedding or party table. Make a few in a batch since the wire bending goes quickly once you get the rhythm down.
Are the wire ends sharp once it’s finished?
Freshly cut wire ends can be sharp, so use the flat nose pliers to press the cut end flat against the loop rather than leaving it sticking out. A quick check with your fingertip before you call it done is the easiest way to catch a stray sharp edge.
More Home Decor Tutorials
Browse more of our home decor tutorials for more desk and table projects like this one.
Share your wire picture holder in the I Made It space inside Craftaholic Community. The most-loved post each month wins a one year free Premium membership.
0 Comments
Join the conversation
Log in to your Craftaholic Community account to comment, ask questions, and cheer on fellow makers.
Log in to comment