

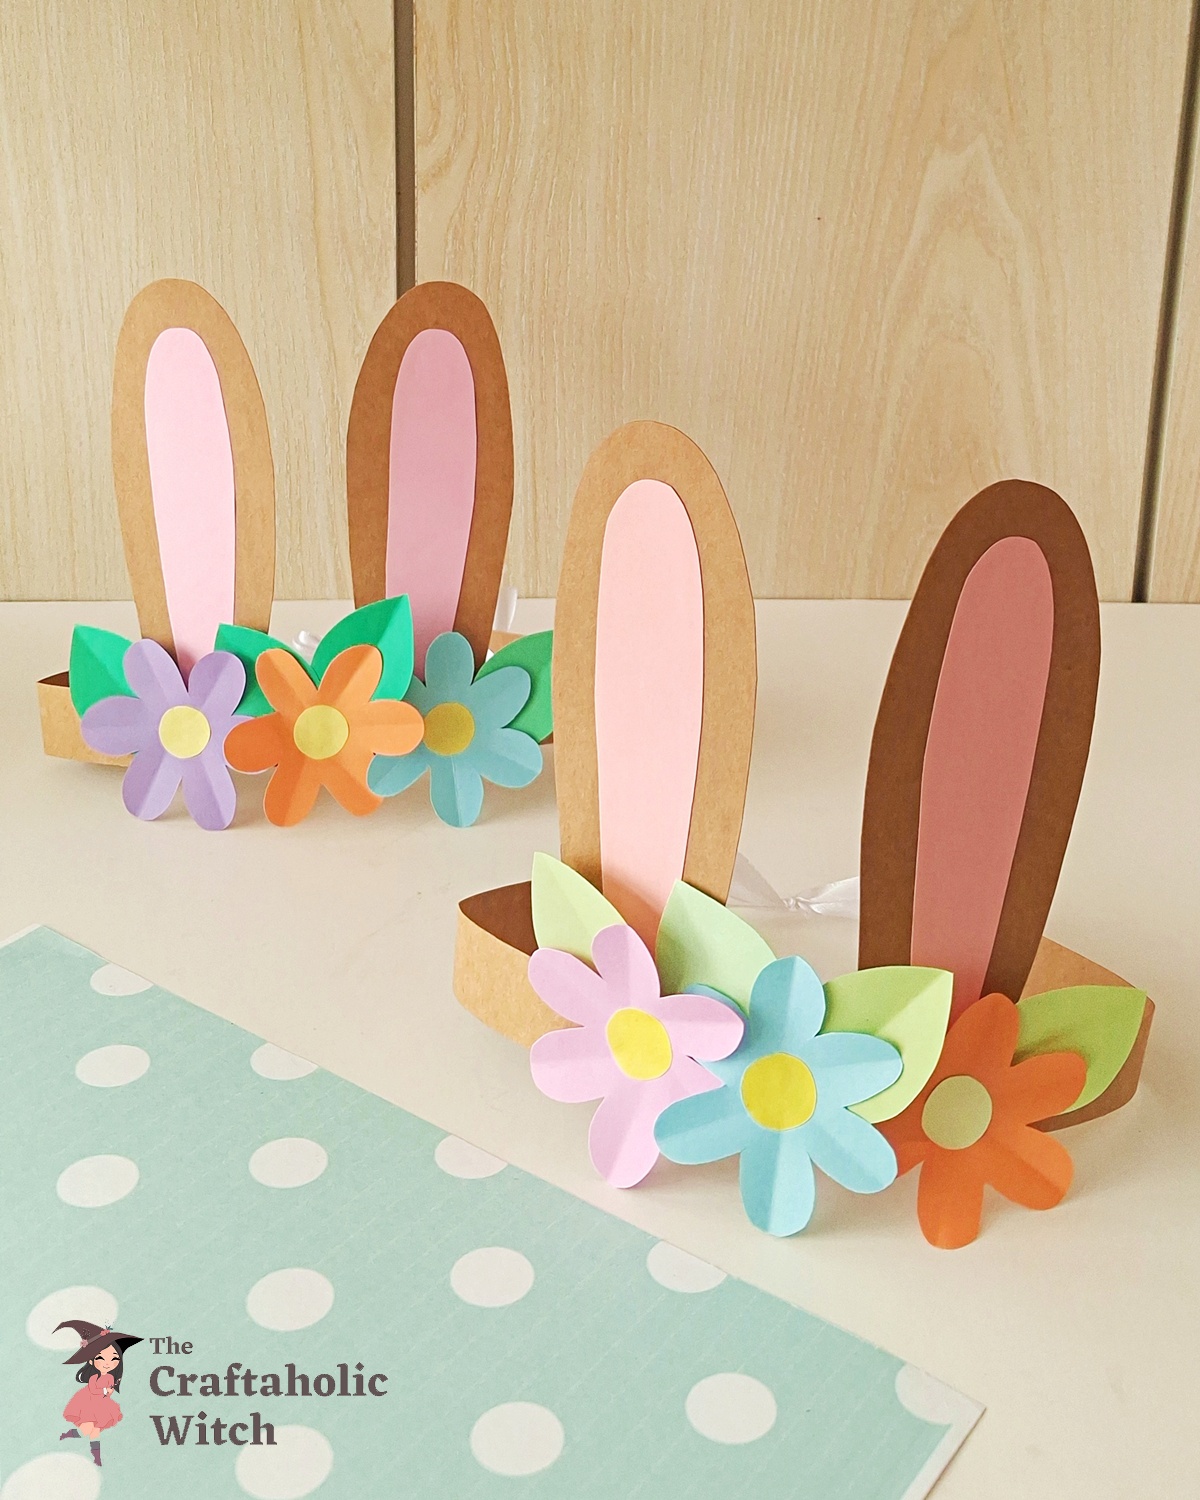
Easter is all about fun, creativity, and a little bit of dress-up magic! This paper rabbit ear hat is a super cute and easy craft that lets kids turn into adorable little bunnies in no time. With just a few simple supplies, you can create a playful accessory that’s perfect for celebrating the season.
This craft is perfect for Easter parties, classroom activities, pretend play, or fun photo props. The tutorial comes with a free printable template to make the process quick and easy, and there’s also a full video tutorial to guide you step by step.
The best part is that this project is quick, beginner-friendly, and budget-friendly. Using basic materials like paper, scissors, and glue, you can complete this craft in about 10–15 minutes. It’s a fun and engaging activity for kids that brings lots of smiles and bunny-themed fun!
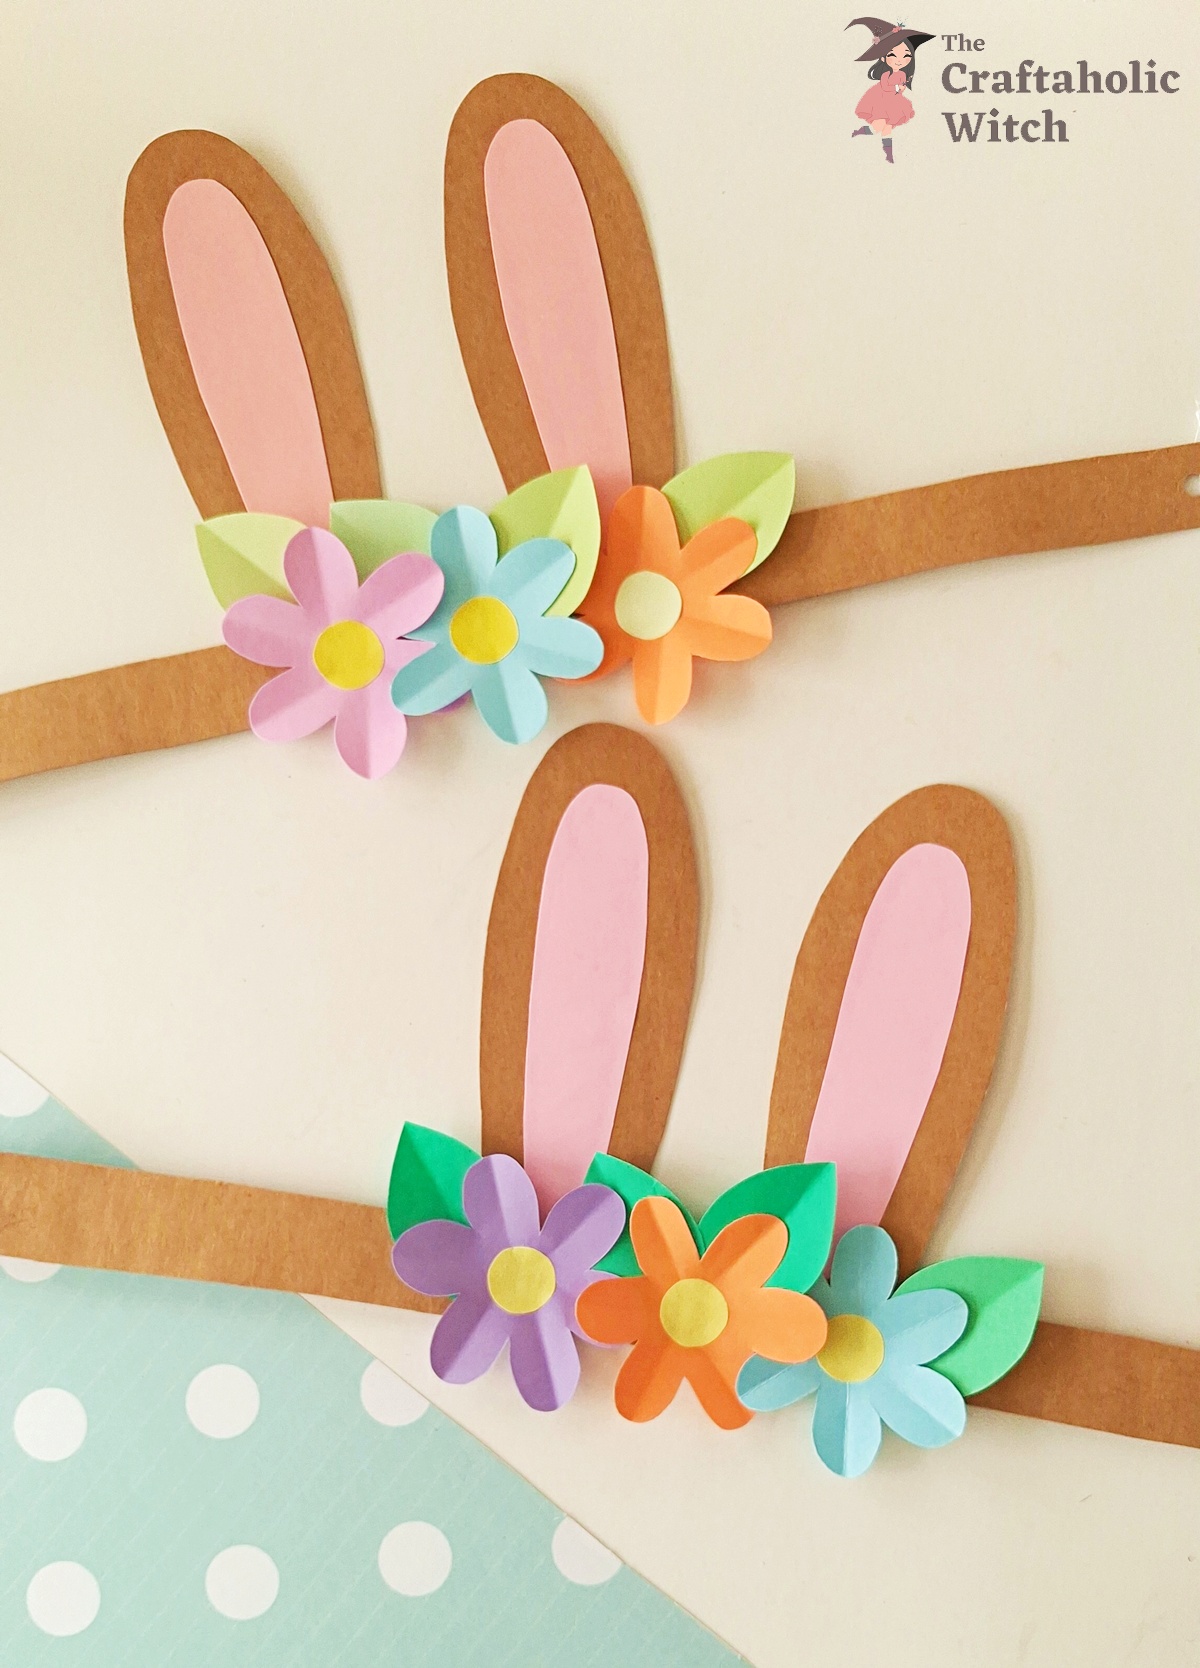
How to Make a Rabbit Ear Hat from Paper
Things You’ll Need
Materials
- Cardstock paper
- Colored craft papers
- Pencil
- Craft glue
- Ribbon
- Template
Tools
- A pair of scissors
- Paper punching machine
Please note that the provided links may include affiliate links, which means that if you make a purchase through them, we may earn a small commission.
Step by Step Instructions for Papercraft Rabbit Ear Hat
Step 1: Prepare the Rabbit Ear Hat Patterns
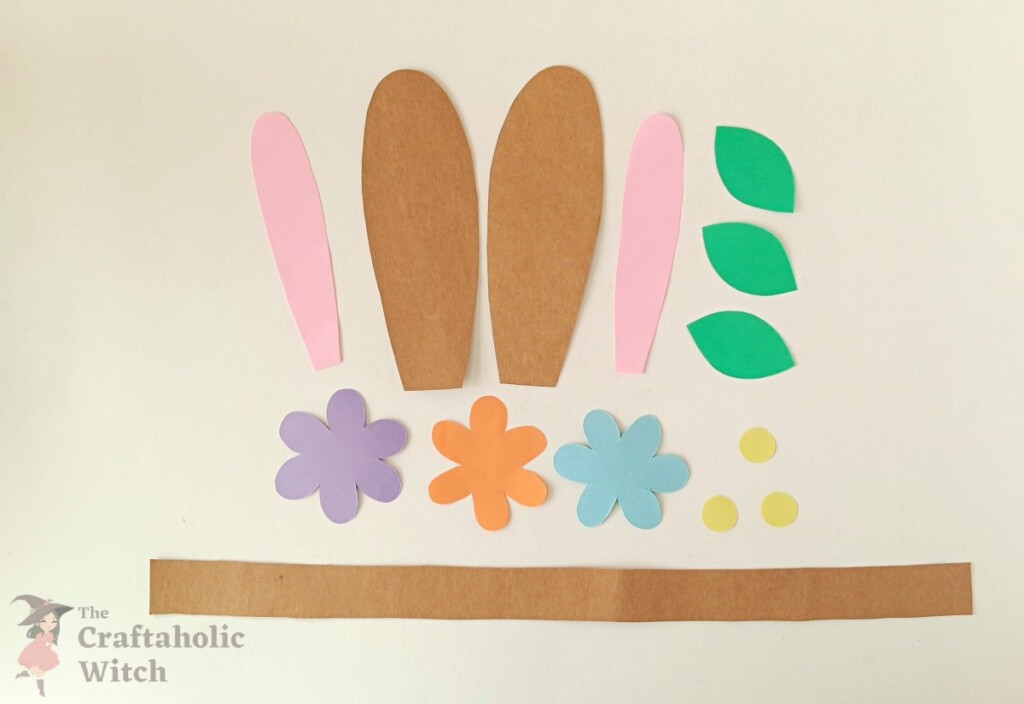
The template includes outer ears, inner ears, flowers, and leaves. Cut the outer ears from cardstock and the rest from different colored craft papers. Also, measure and cut a long strip of cardstock for the hat base according to the desired size.
Step 2: Add Crease Details
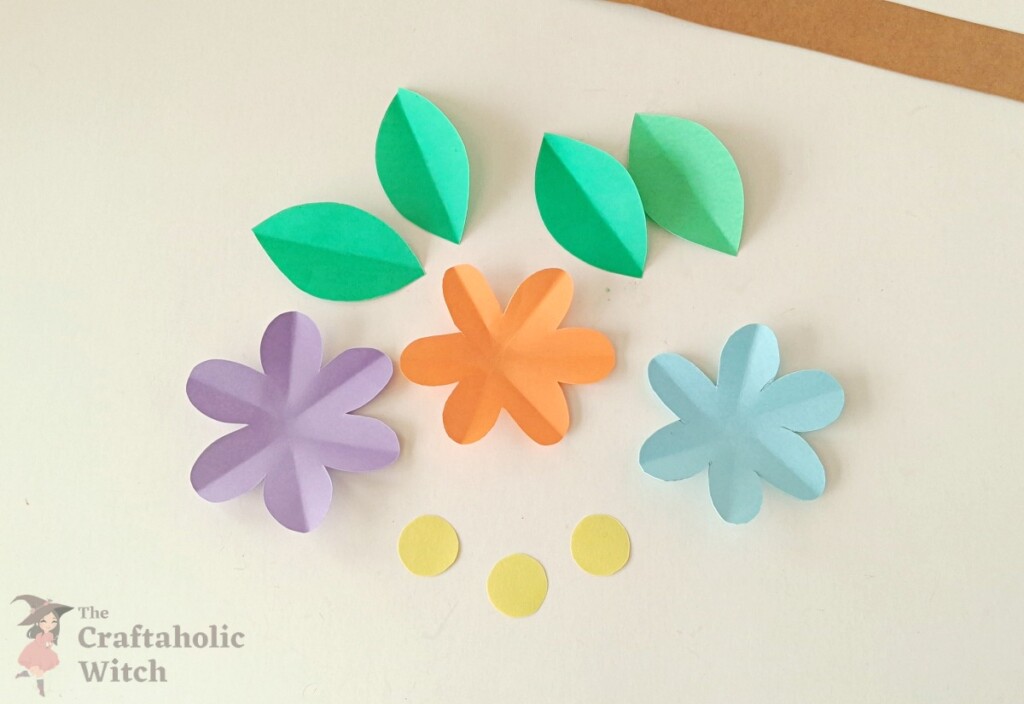
Take the flower and leaf cutouts and create crease lines along the middle of each petal and leaf to add dimension.
Step 3: Craft the Paper Flowers
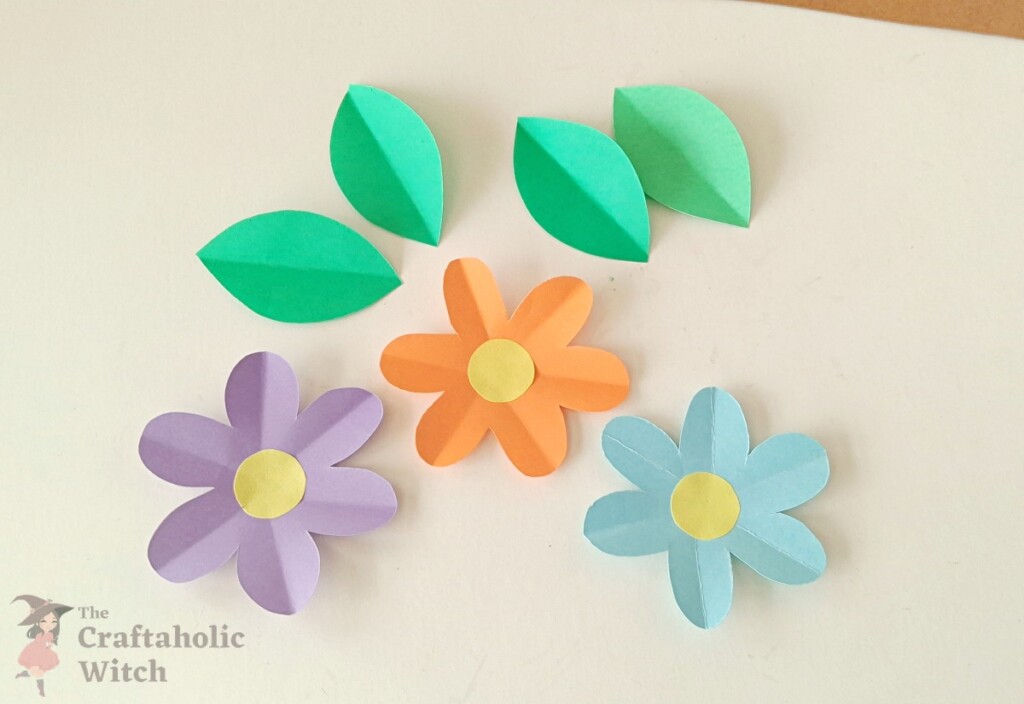
Glue the small round cutouts to the center of each flower pattern.
Step 4: Attach the Leaves to Flowers
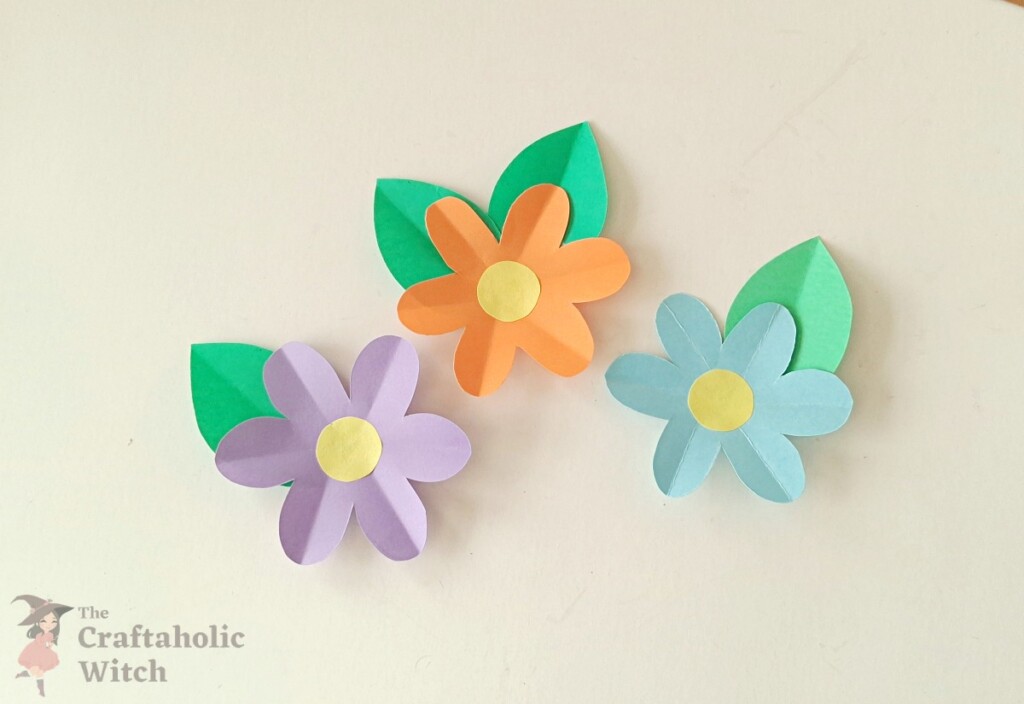
Glue the leaf cutouts to the backside of the flower patterns to complete the floral decorations
Step 5: Punch Holes on the Hat Strip
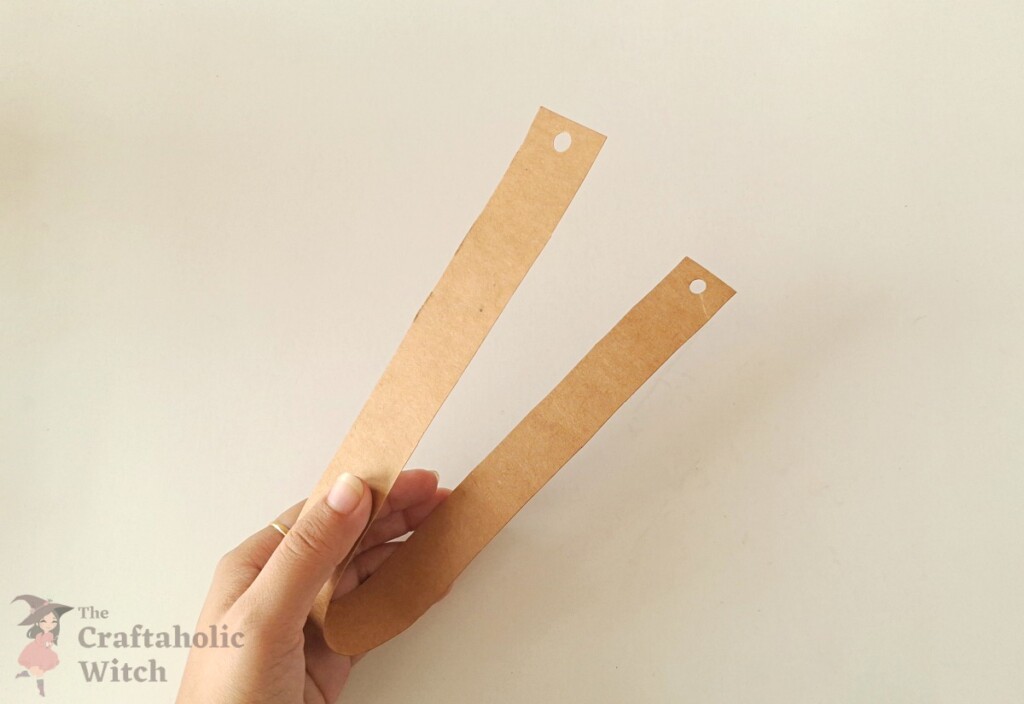
Use a paper punching tool to make holes on both ends of the hat strip.
Step 6: Add Ribbons for Fitting
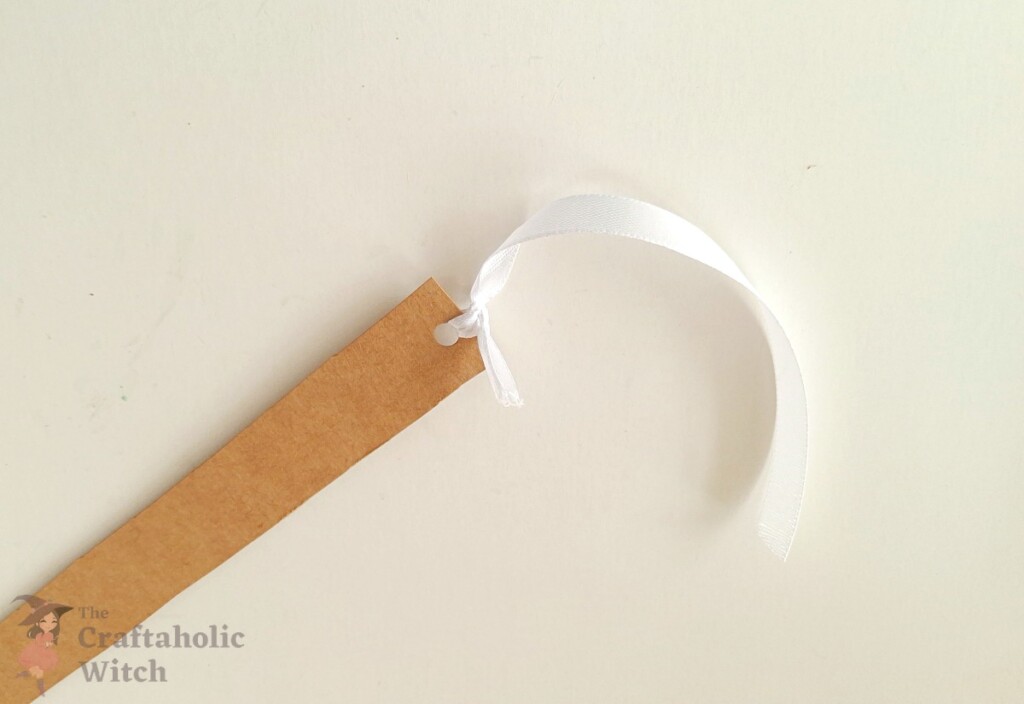
Insert ribbons through the holes on both sides, leaving enough length to tie. This will help adjust the hat size comfortably.
Step 7: Prepare the Bunny Ears
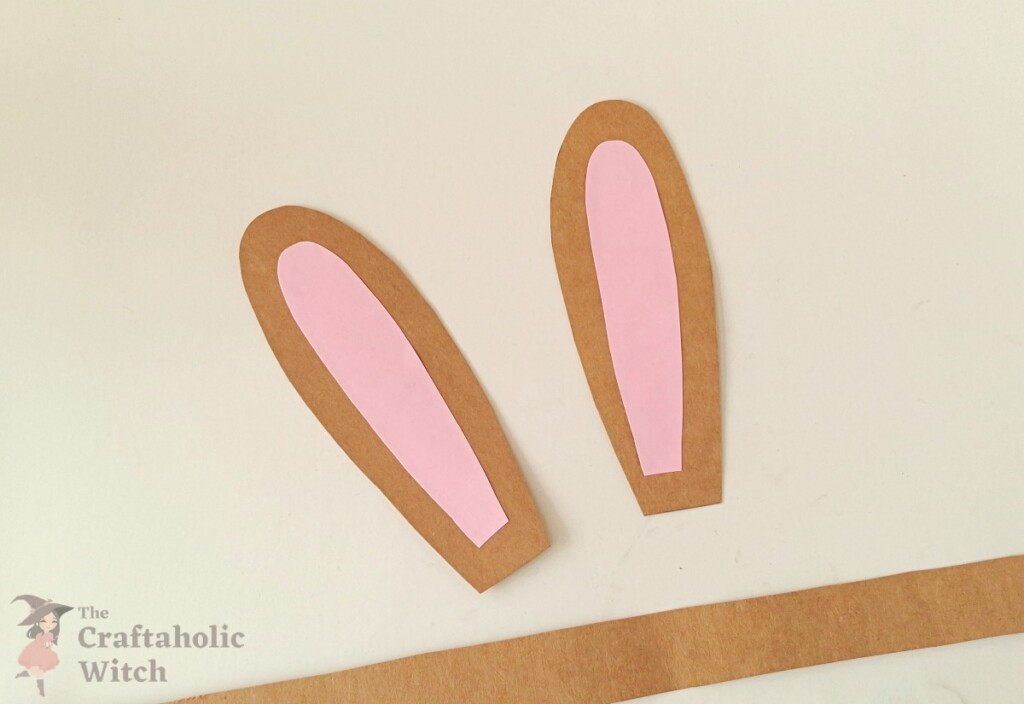
Glue the inner ear cutouts onto the outer ear cutouts to complete the bunny ear pieces.
Step 8: Attach the Ears to the Hat Base
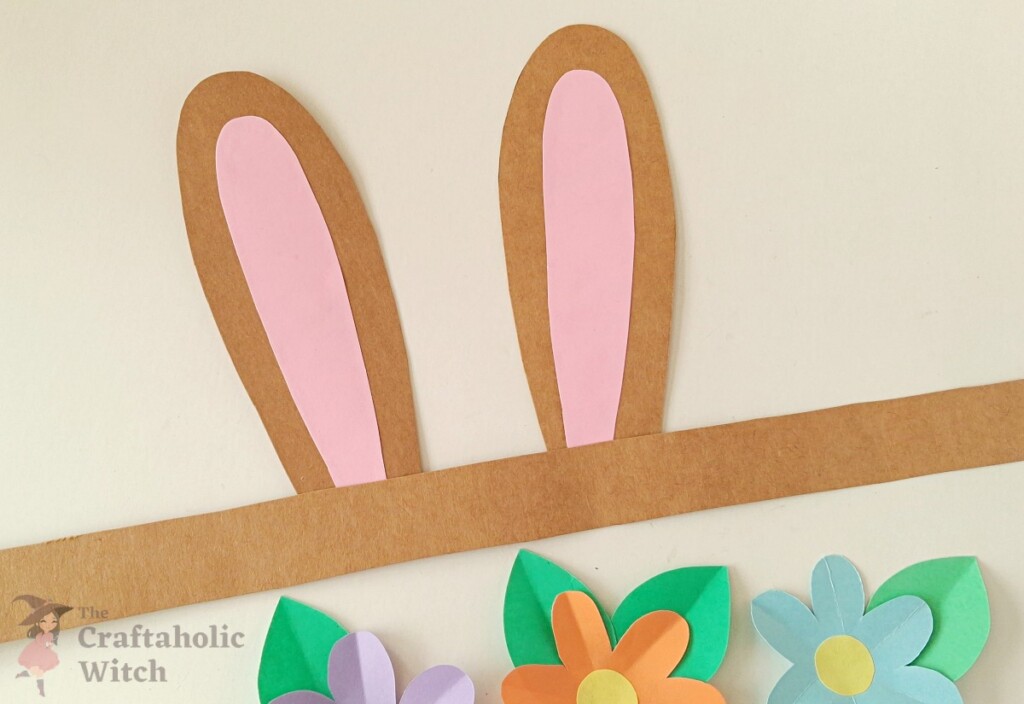
Glue the bottom ends of the ears to the backside of the hat strip. Keep them centered and evenly spaced.
Step 9: Decorate with Paper Flowers
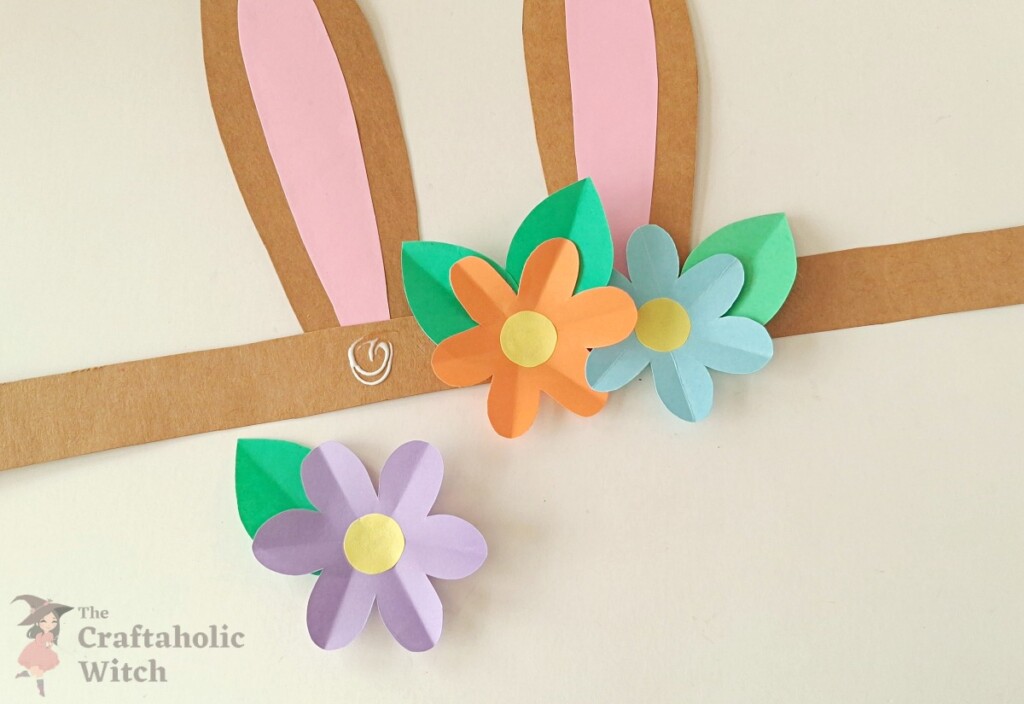
Start attaching the paper flowers to the front side of the hat strip, just below the ears.
Step 10: Complete the Floral Arrangement
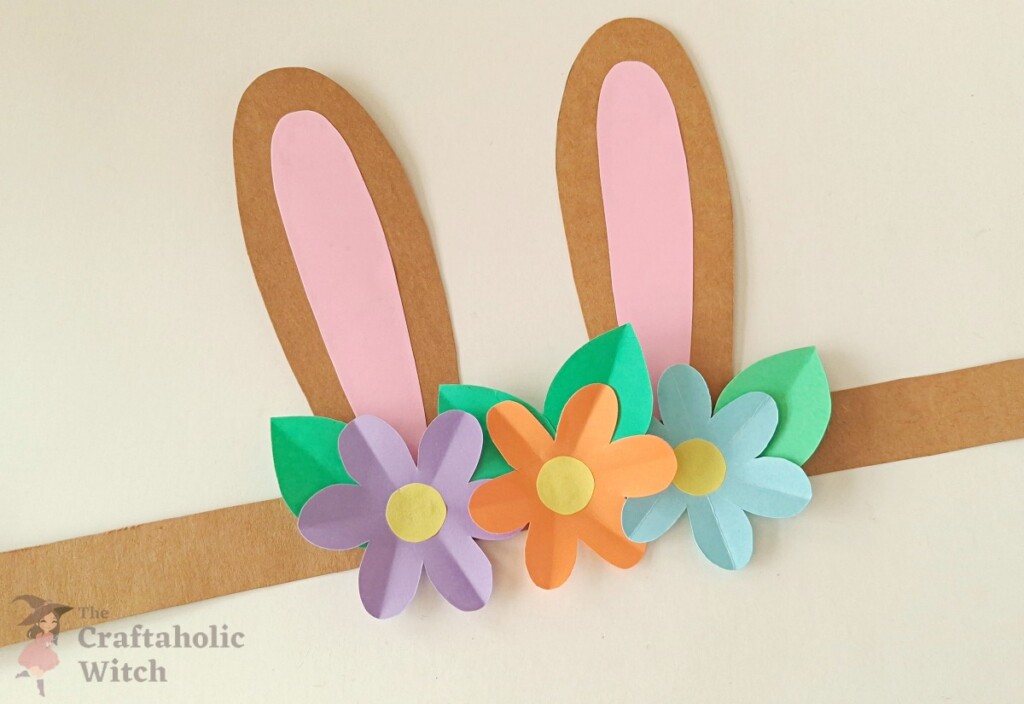
Use about 3 flowers and 3 leaves to nicely decorate the area below the ears.
Step 11: Allow the Glue to Dry
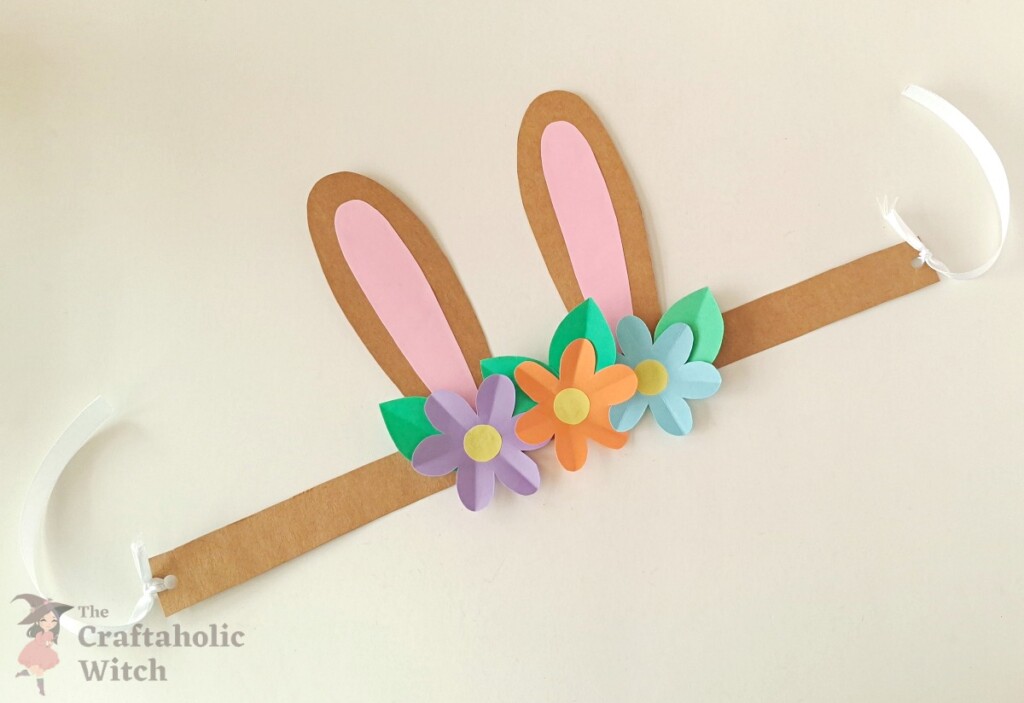
Allow all the glued parts to dry completely before wearing the hat. Your cute bunny ear hat is now ready to use!
Join Craft Challenge: Craft Your Calm
Make something that brings you a sense of peace, share a photo, and tell us your story. It's free to enter, open to everyone, and the entry with the most reactions takes home a $100 gift card. Takes five minutes to join.
Entries close August 30, 2026. No purchase necessary.
Watch Complete Video Tutorial: Papercraft Rabbit Ear Hat
If you prefer watching the steps, don’t miss our full video tutorial for this adorable paper rabbit ear hat! You’ll see exactly how to assemble the ears, decorate the floral details, and create a perfectly fitting bunny hat. It’s a fun and easy craft to follow along, especially for kids and beginners.
Love cute and easy crafts like this? Make sure to subscribe to our YouTube channel and turn on the notification bell so you never miss a new DIY idea! We share lots of seasonal crafts, fun kids’ projects, and creative inspirations all year round.
Tips for Beginners to Craft a Neat Rabbit Ear Hat from Paper
This paper rabbit ear hat is such a fun and playful craft, perfect for kids and beginners! With a few simple steps and some colorful paper, you can create an adorable bunny accessory in no time. If you’re new to papercrafts, these tips will help you get the best results while keeping the process easy and enjoyable.
- Use sturdy cardstock for the base. This helps the hat hold its shape and stay comfortable when worn.
- Cut the patterns neatly. Smooth and clean edges will make the final hat look more polished.
- Make gentle crease lines. Don’t press too hard while adding creases to the flowers and leaves—just enough to give them dimension.
- Arrange before gluing. Place the ears and flowers first to check the positioning before attaching them permanently.
- Keep the ears balanced. Make sure both ears are evenly spaced and centered on the hat strip.
- Use small amounts of glue. Too much glue can wrinkle the paper or make it messy.
- Choose soft ribbons for comfort. This makes it easier to tie and adjust the hat size for kids.
- Hold glued parts for a few seconds. This helps everything stick properly and stay in place.
- Let it dry completely. Allow enough drying time before wearing the hat to avoid parts coming loose.
- Have fun with colors and decorations. Try different paper colors, patterns, or extra embellishments to make your bunny hat unique!
With these simple tips, you’ll be able to create a cute and comfy rabbit ear hat that’s perfect for Easter celebrations, dress-up, and fun photo moments!
If you enjoyed making this paper rabbit ear hat, you’ll also love exploring more of our Easter crafts! These crafts are perfect for kids, parties, and joyful springtime crafting sessions.
- Easy Origami Easter Egg
- Cute Felt Easter Egg Pouch
- Cute Easter Paper Garland
- Easter-Themed Corner Bookmarks
This bunny ear hat is just too cute and fun to make! With its playful ears and pretty floral decorations, it’s the perfect little accessory to bring some Easter magic to your day. Whether it’s for a party, a photo session, or just a bit of dress-up fun, this craft is sure to bring lots of smiles.
We hope you had a lovely time creating your own rabbit ear hat! Try making a few more in different colors or styles for extra fun. And don’t forget to explore more of our easy craft ideas for more creative adventures. Happy crafting!
0 Comments
Join the conversation
Log in to your Craftaholic Community account to comment, ask questions, and cheer on fellow makers.
Log in to comment