


Valentine’s Day is the perfect time to add a little love to your space, and this paper heart mobile hanging does just that in the sweetest way. With dangling hearts that gently sway, this craft brings a soft, handmade charm that instantly evokes a sense of festivity and coziness.
This paper heart mobile is simple, fun, and completely beginner-friendly, making it a great project for kids, teens, or anyone who loves easy paper crafts. You can use it as Valentine’s Day décor, a cute room accent, a classroom decoration, or even a thoughtful handmade gift. Plus, we’re sharing a printable template and a full video tutorial to make crafting even easier.
This craft doesn’t take much time or money. You can complete it in under an hour using basic craft supplies, and it’s a budget-friendly DIY that still looks absolutely adorable. Let’s get started and craft some hanging hearts filled with love!

💙 A quick note: this template used to be free here on the blog, and the full tutorial still is, always! The printable template now lives in the shop as a small paid product, which helps me keep making free tutorials for you. You can grab the template in the shop, or get every template free with Premium membership. Thank you for crafting with me! 🧡
How to Make Papercraft Heart Mobile Hanging
Things You’ll Need
Materials
- Colored craft papers
- Thread (sewing)
- Craft glue
- Cardboard
- Yarn
Tools
- Pencil
- A pair of scissors
Please note that the provided links may include affiliate links, which means that if you make a purchase through them, we may earn a small commission.
Step by Step Instructions for Papercraft Heart Mobile Crafting
Step 1: Preparing the Ring
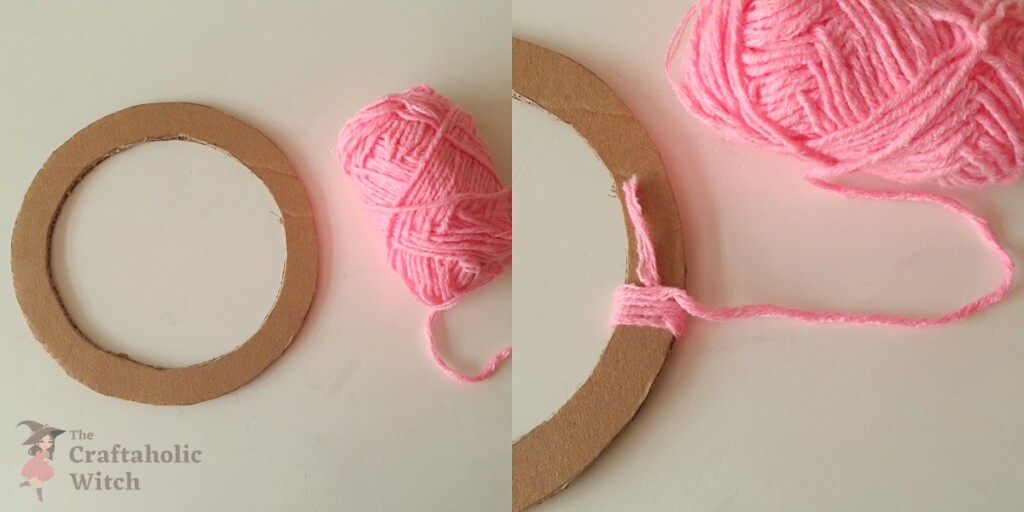
You can choose any size for the ring but don’t make it too big, it would be difficult to manage the strings/threads for the final craft. Keep the diameter of the ring between 15cm to 18cm. Keep the thickness of the ring 2cm to 3 cm. Select a yarn of your choice and tie a knot around the ring or apply glue to secure the starting of the yarn.
Step 2: Covering the Ring
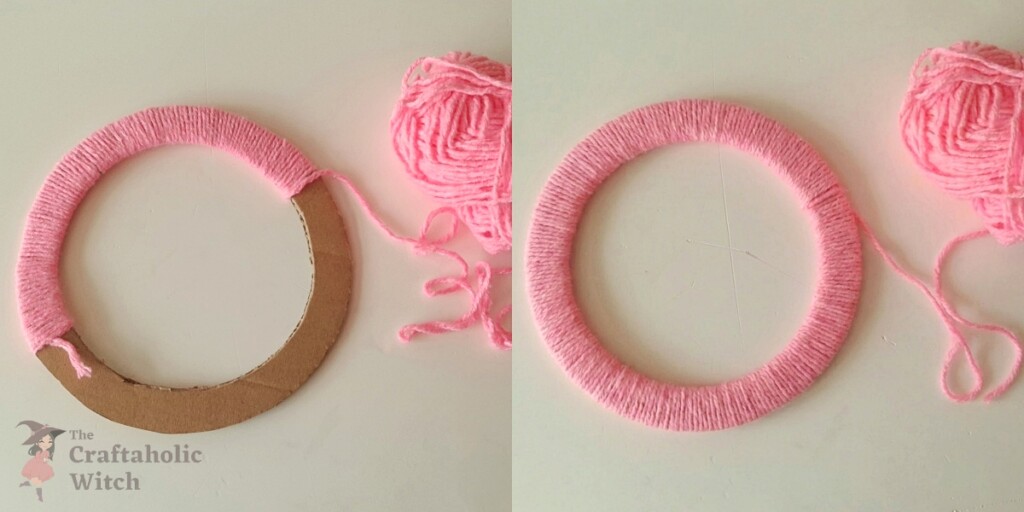
After securing the starting of the yarn with the mobile ring, start to wrap the yarn around ring to cover it neatly. Keep the wrapping neat and even. Do not cut the yarn from bundle until the whole ring is covered.
Step 3: Preparing the Heart Cutouts
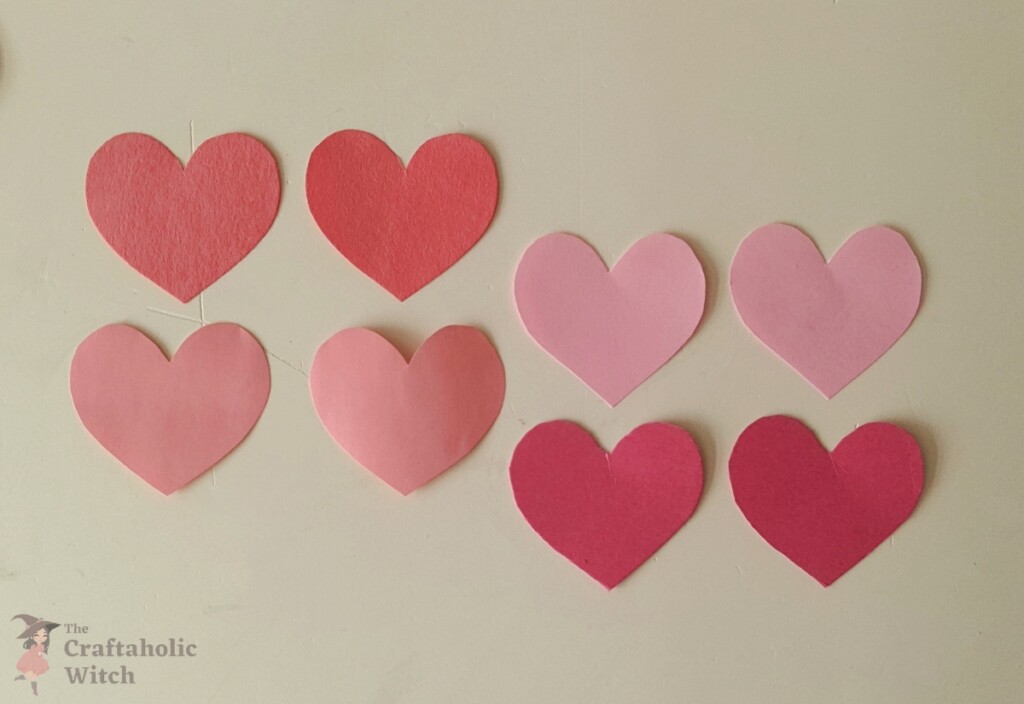
Select a heart shape of your choice and trace the heart on selected craft papers. Use different shades of papers for a vibrant final look. If you like minimal decors, you can use only one color, totally up to you.
Step 4: Attaching Hearts to a String
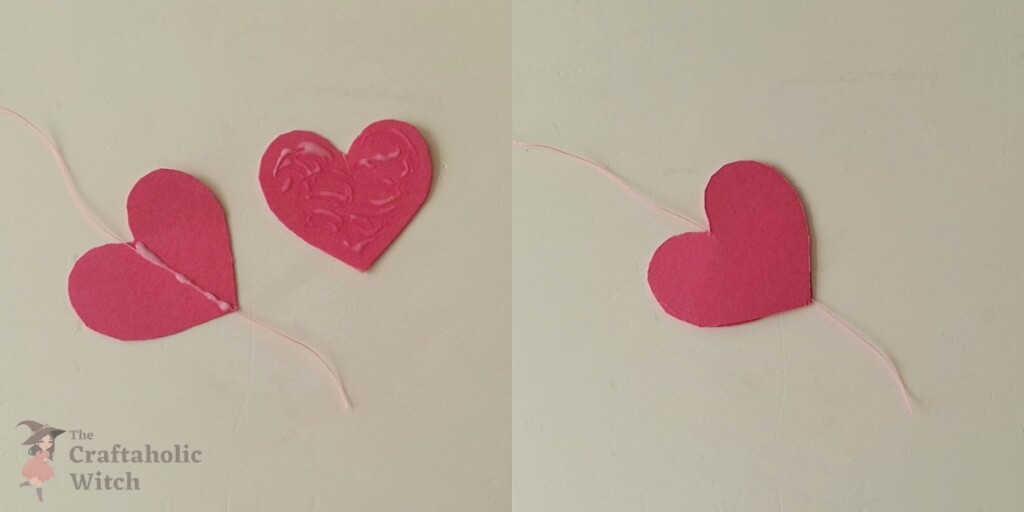
Measure and cut out a long piece of thread (regular cotton thread that is used for sewing). We’re using a 45cm long thread for each heart string. Take any 2 heart cutouts and apply glue on its top surface evenly; position an end of the thread along the middle of the glued heart, vertically.
Place the 2nd heart cutout on top of the glued one, securing the thread between the heart cutouts.
Step 5: Attaching More Hearts to a Single String
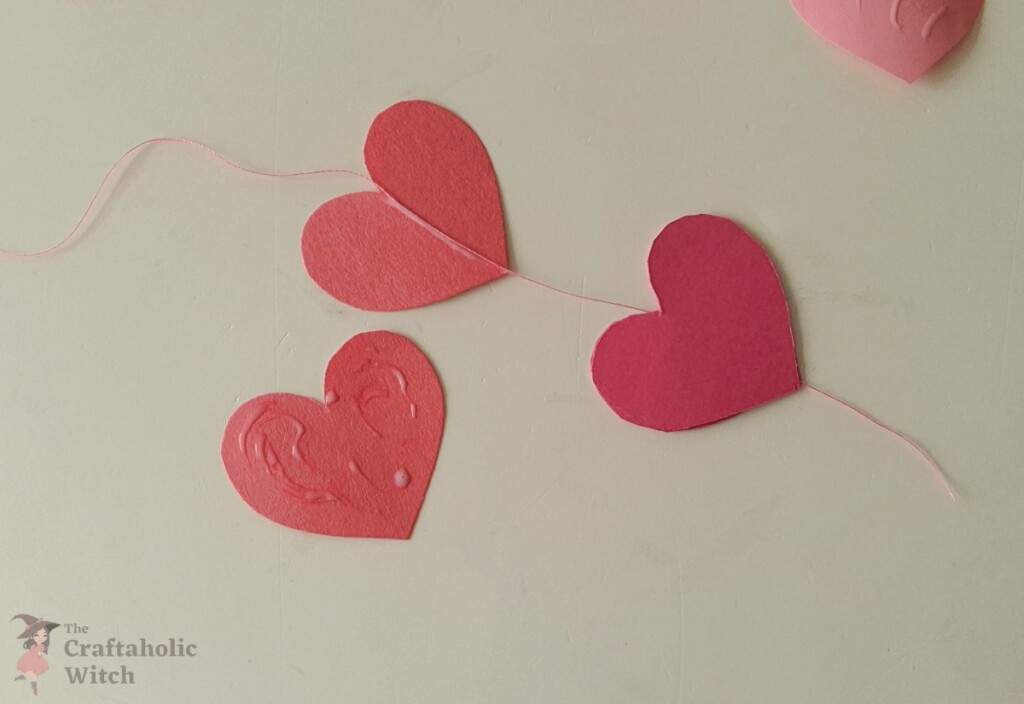
Take the next 2 heart cutouts and follow the same process to attach them to the thread. Keep a 1 inch gap from the first hearts.
Step 6: Completing a String of Hearts
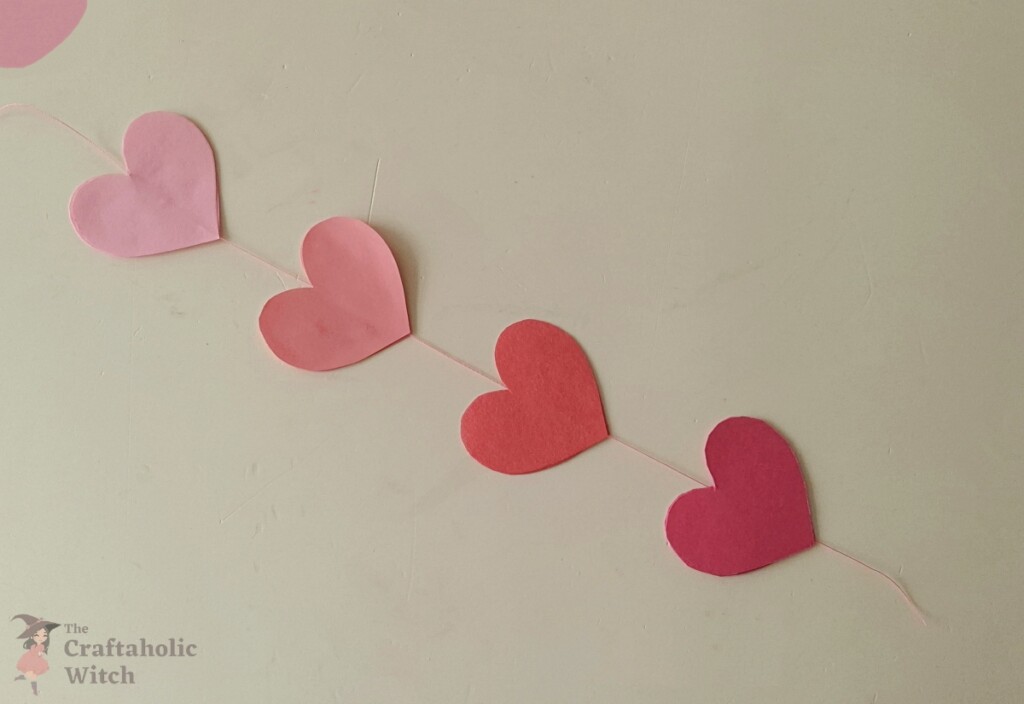
We’re creating a string with 4 hearts, but you can make longer strings with more hearts if you’d like.
Step 7:
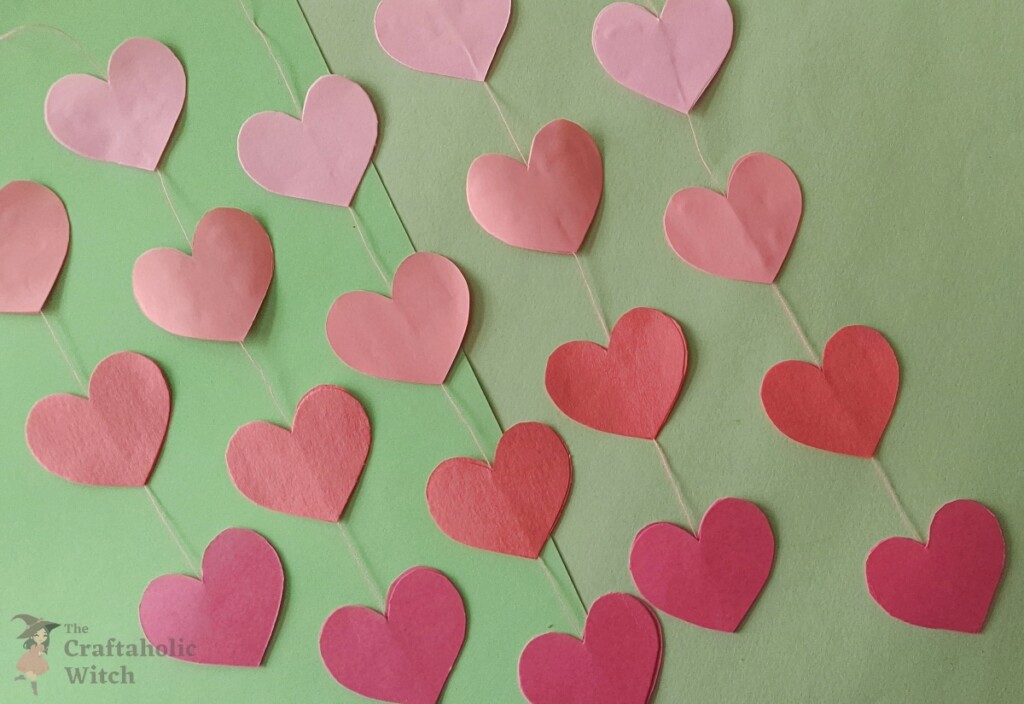
Craft at least 8 heart strings for the mobile. You can increase the number of strings as long as each string has enough space to spin when hung on the ring.
Step 8: Attaching the Heart String to the Ring
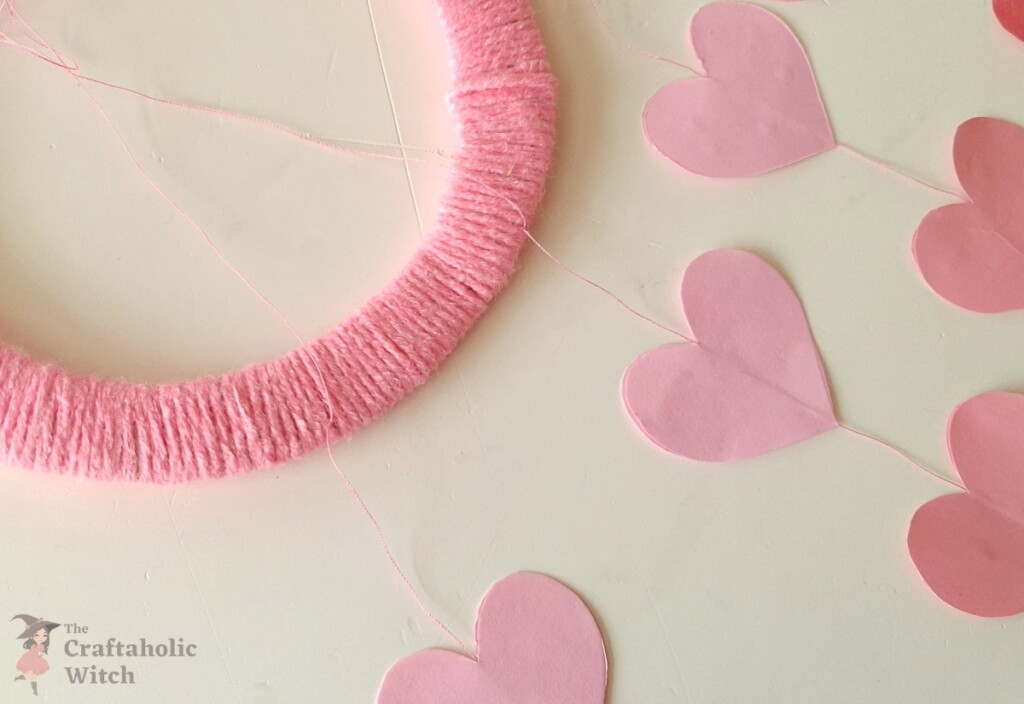
Take any one of the heartstrings and tie its longer end to the yarn-wrapped mobile ring to attach it. After tying the knot, there should be enough thread at the open end (other end of the ring) to make the hanger.
Step 9: Attaching All 8 Heart Strings to the Ring
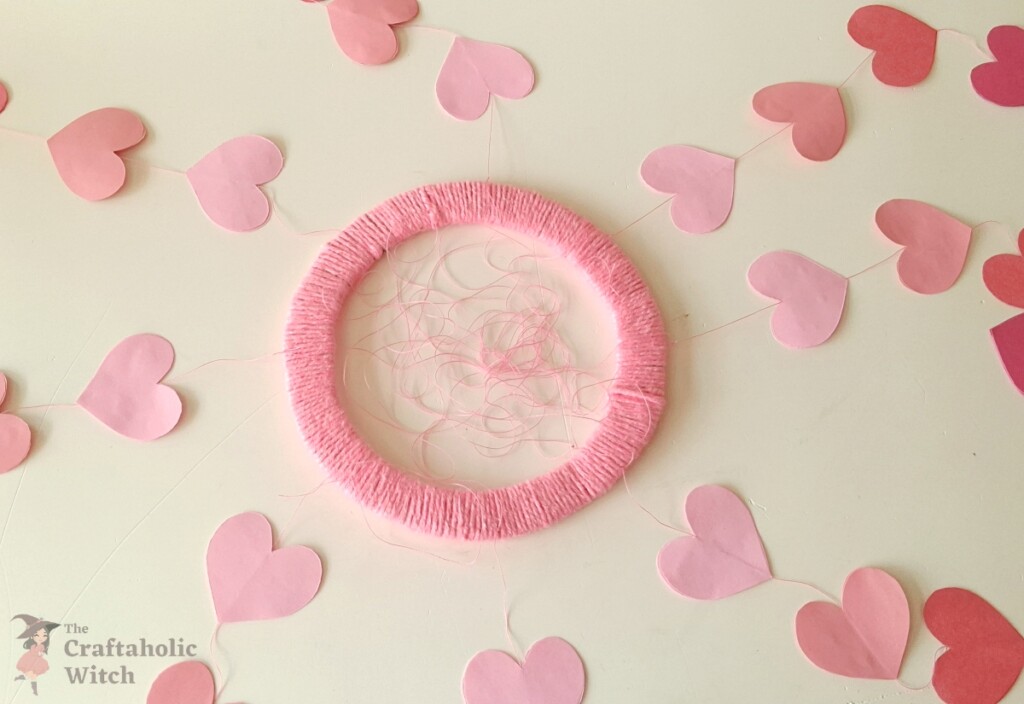
One by one, attach all the heartstrings. If you’re having difficulty positioning the strings, use a pencil or marker to mark their spots on the ring.
Step 10: Hold the Open Ends of the String Together
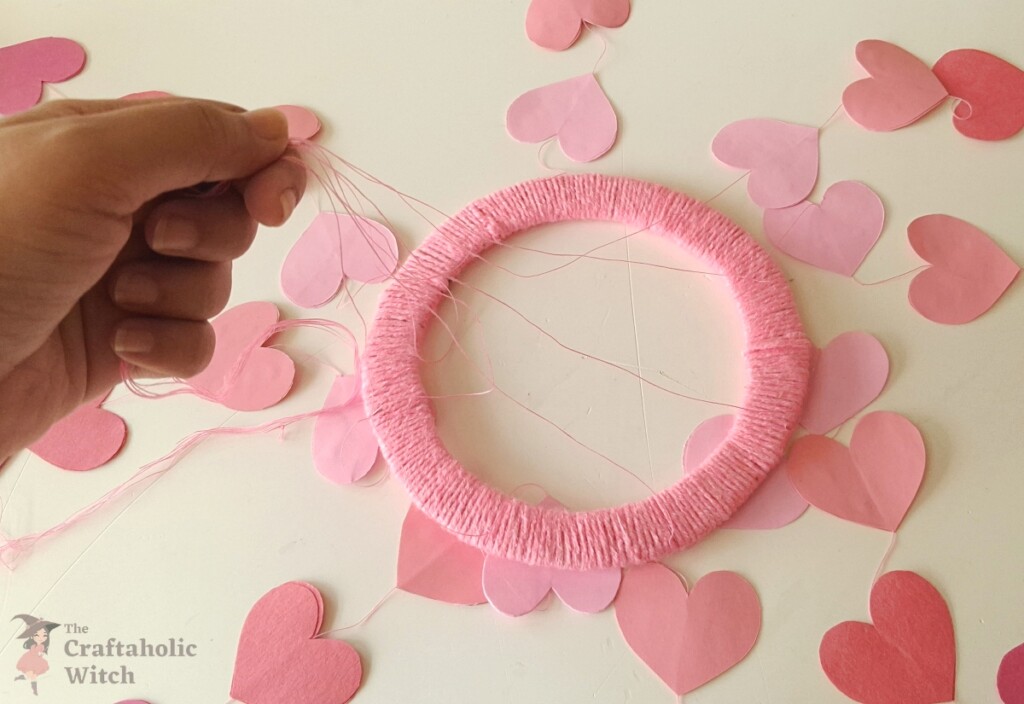
Hold all the open ends of the attached string together neatly.
Step 11: Make a Loop at the Open End
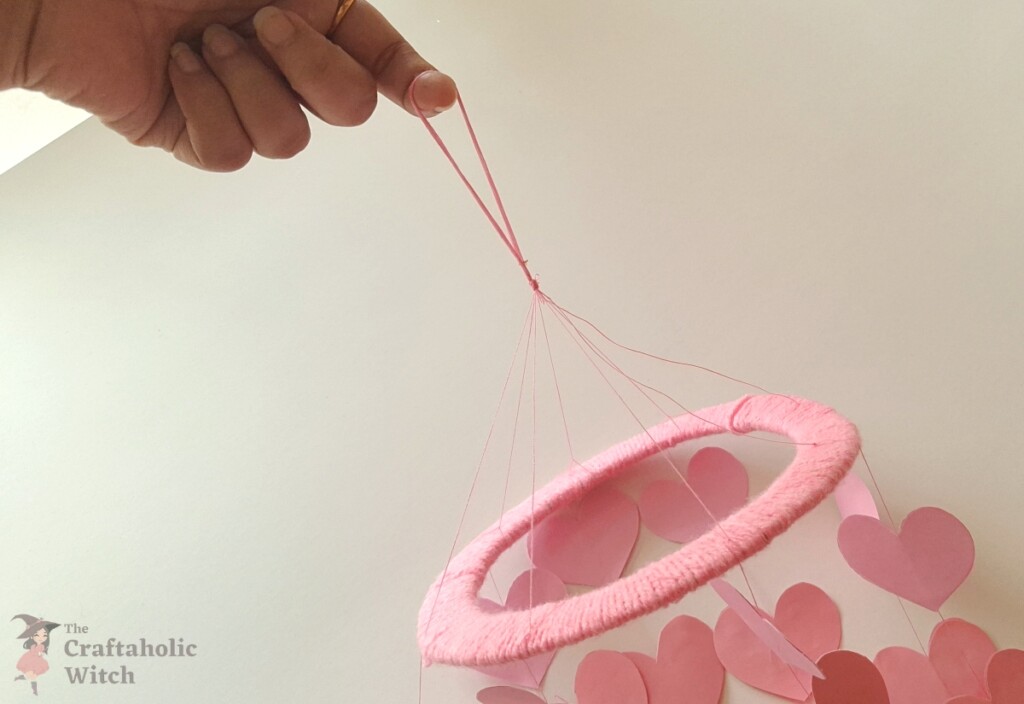
Tie a knot at the even spot of the open ends, making sure that the mobile ring is neatly flat when hung.
Watch Complete Video Tutorial: Paper Heart Mobile
We’ve got you covered! 🎥✨ Head over to our YouTube channel to watch the full step-by-step video tutorial for this paper heart mobile hanging. It walks you through the entire process in a simple, beginner-friendly way, making it super easy to craft along.
Don’t forget to subscribe to our channel and turn on the notification bell 🔔 so you never miss out on our latest Valentine’s Day crafts, easy paper DIYs, and cute handmade ideas coming your way!
Tips for Beginners for paper Heart Mobile Hanging
- Choose the right ring size:
Stick to the suggested ring size to keep the mobile balanced and easy to manage. A ring that’s too large can make the strings tangle or hang unevenly. - Wrap the yarn neatly:
Keep the yarn wraps tight and close together while covering the ring. Loose wrapping may show gaps or shift later when the mobile is hanging. - Don’t cut the yarn too early:
Always finish wrapping the entire ring before cutting the yarn. This helps avoid weak ends and keeps the finish clean and secure. - Use lightweight paper for hearts:
Thin or medium-weight craft paper works best. Thick cardstock may make the hearts too heavy and affect the balance of the mobile. - Keep heart sizes consistent:
Using the same heart size throughout helps the mobile look neat and balanced when hanging. - Leave enough spacing between hearts:
Maintain the 1-inch gap between heart pairs so they can move freely and don’t stick together once glued. - Apply glue sparingly:
Use just enough glue to secure the hearts. Too much glue can cause wrinkling or visible patches on the paper. - Let glued hearts dry fully:
Allow each heart pair to dry before adding the next one to avoid slipping or misalignment. - Mark string positions on the ring:
Light pencil marks on the wrapped ring make spacing the strings much easier and keep the mobile looking evenly arranged. - Balance before tying the final knot:
Hold the mobile up before securing the top knot to check that the ring hangs flat. Adjust string lengths if needed for a perfect balance. - Craft slowly and enjoy the process:
This is a relaxing craft—take your time, enjoy the colors, and let each step come together beautifully.

If you enjoyed making this paper heart mobile, you might also love trying a few more heart-filled and paper-based crafts from our Valentine’s Day collection. We’ve shared some fun, beginner-friendly tutorials below that are perfect for decorating, gifting, or crafting together with loved ones.
- Easiest 3D Paper Hearts
- Origami Heart Bookmarks
- Heart-Shaped Valentine Ladybug Card
- Easy Origami Heart Box
This paper heart mobile is such a simple yet charming craft to make! With colorful paper hearts, soft movement, and a cozy handmade feel, it’s a lovely way to decorate for Valentine’s Day or add a sweet touch to any corner of your room. Best of all, it’s beginner-friendly and relaxing to craft, making it perfect for kids, teens, and adults alike.
Did you enjoy creating this heart mobile? We’d absolutely love to see your handmade version! Snap a picture, share it on social media, and tag us so we can admire your beautiful craft. 💕 Happy crafting, and don’t forget to explore more lovely DIYs from our Valentine’s Day craft series!
0 Comments
Join the conversation
Log in to your Craftaholic Community account to comment, ask questions, and cheer on fellow makers.
Log in to comment