

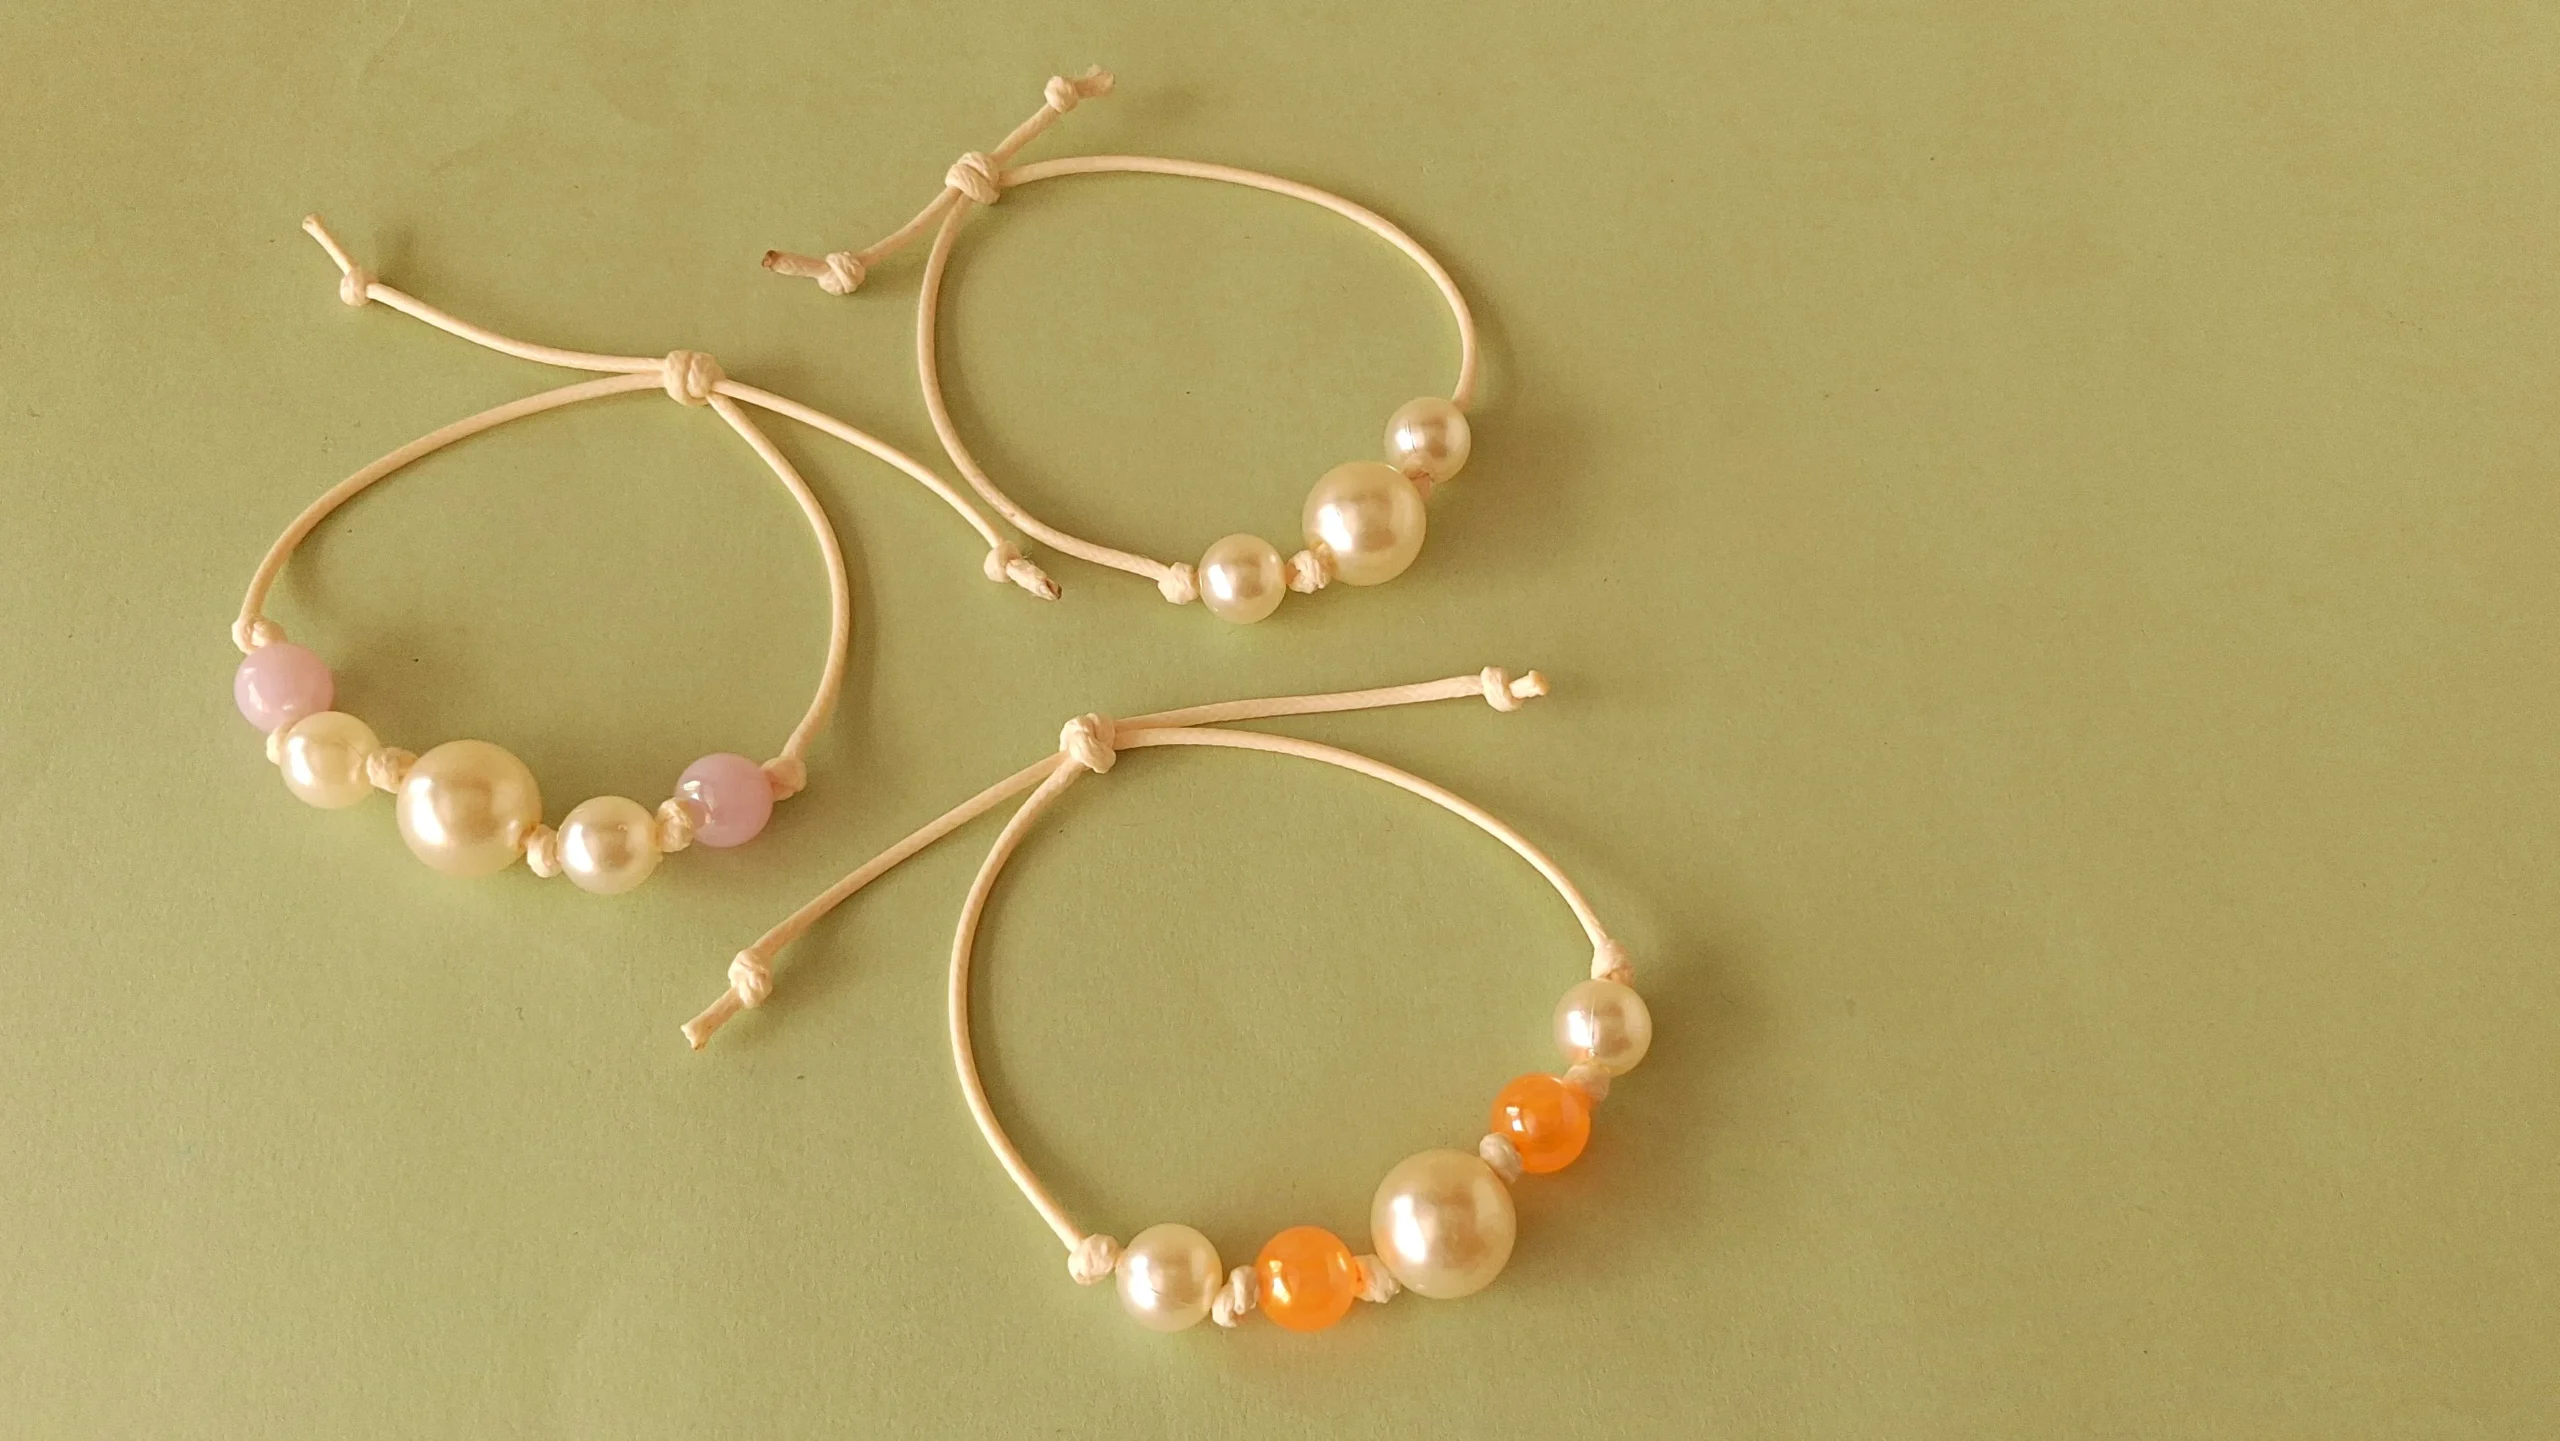
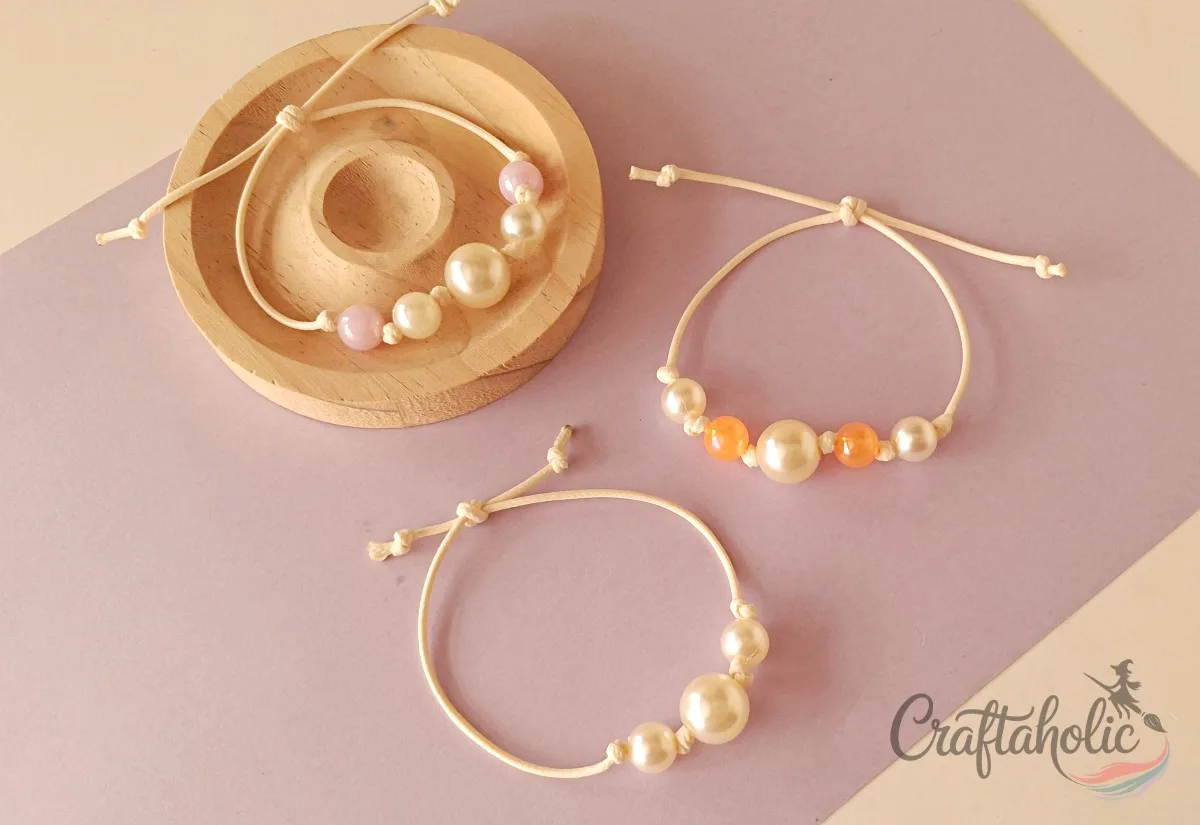
A floating pearl bracelet is the kind of piece that looks like it came from a jewelry counter, with each pearl sitting in its own little gap of cord. It’s one you can tie yourself in about half an hour, no wire or crimping tools required.
You’ll end up with an adjustable bracelet strung from faux pearls and a couple of colorful accent beads, knotted onto nylon cord by hand and finished with a sliding closure that fits almost any wrist.
This one joins the rest of our jewelry making tutorials, right alongside our other bracelet tutorials, as an easy weekend project that only needs a handful of supplies.
Floating Pearl Bracelet at a Glance
- Difficulty: Beginner
- Time: 30 minutes
- Cost: Under $10
- Ages: 10 and up
- Best for: Gifting, stacking with other cord bracelets
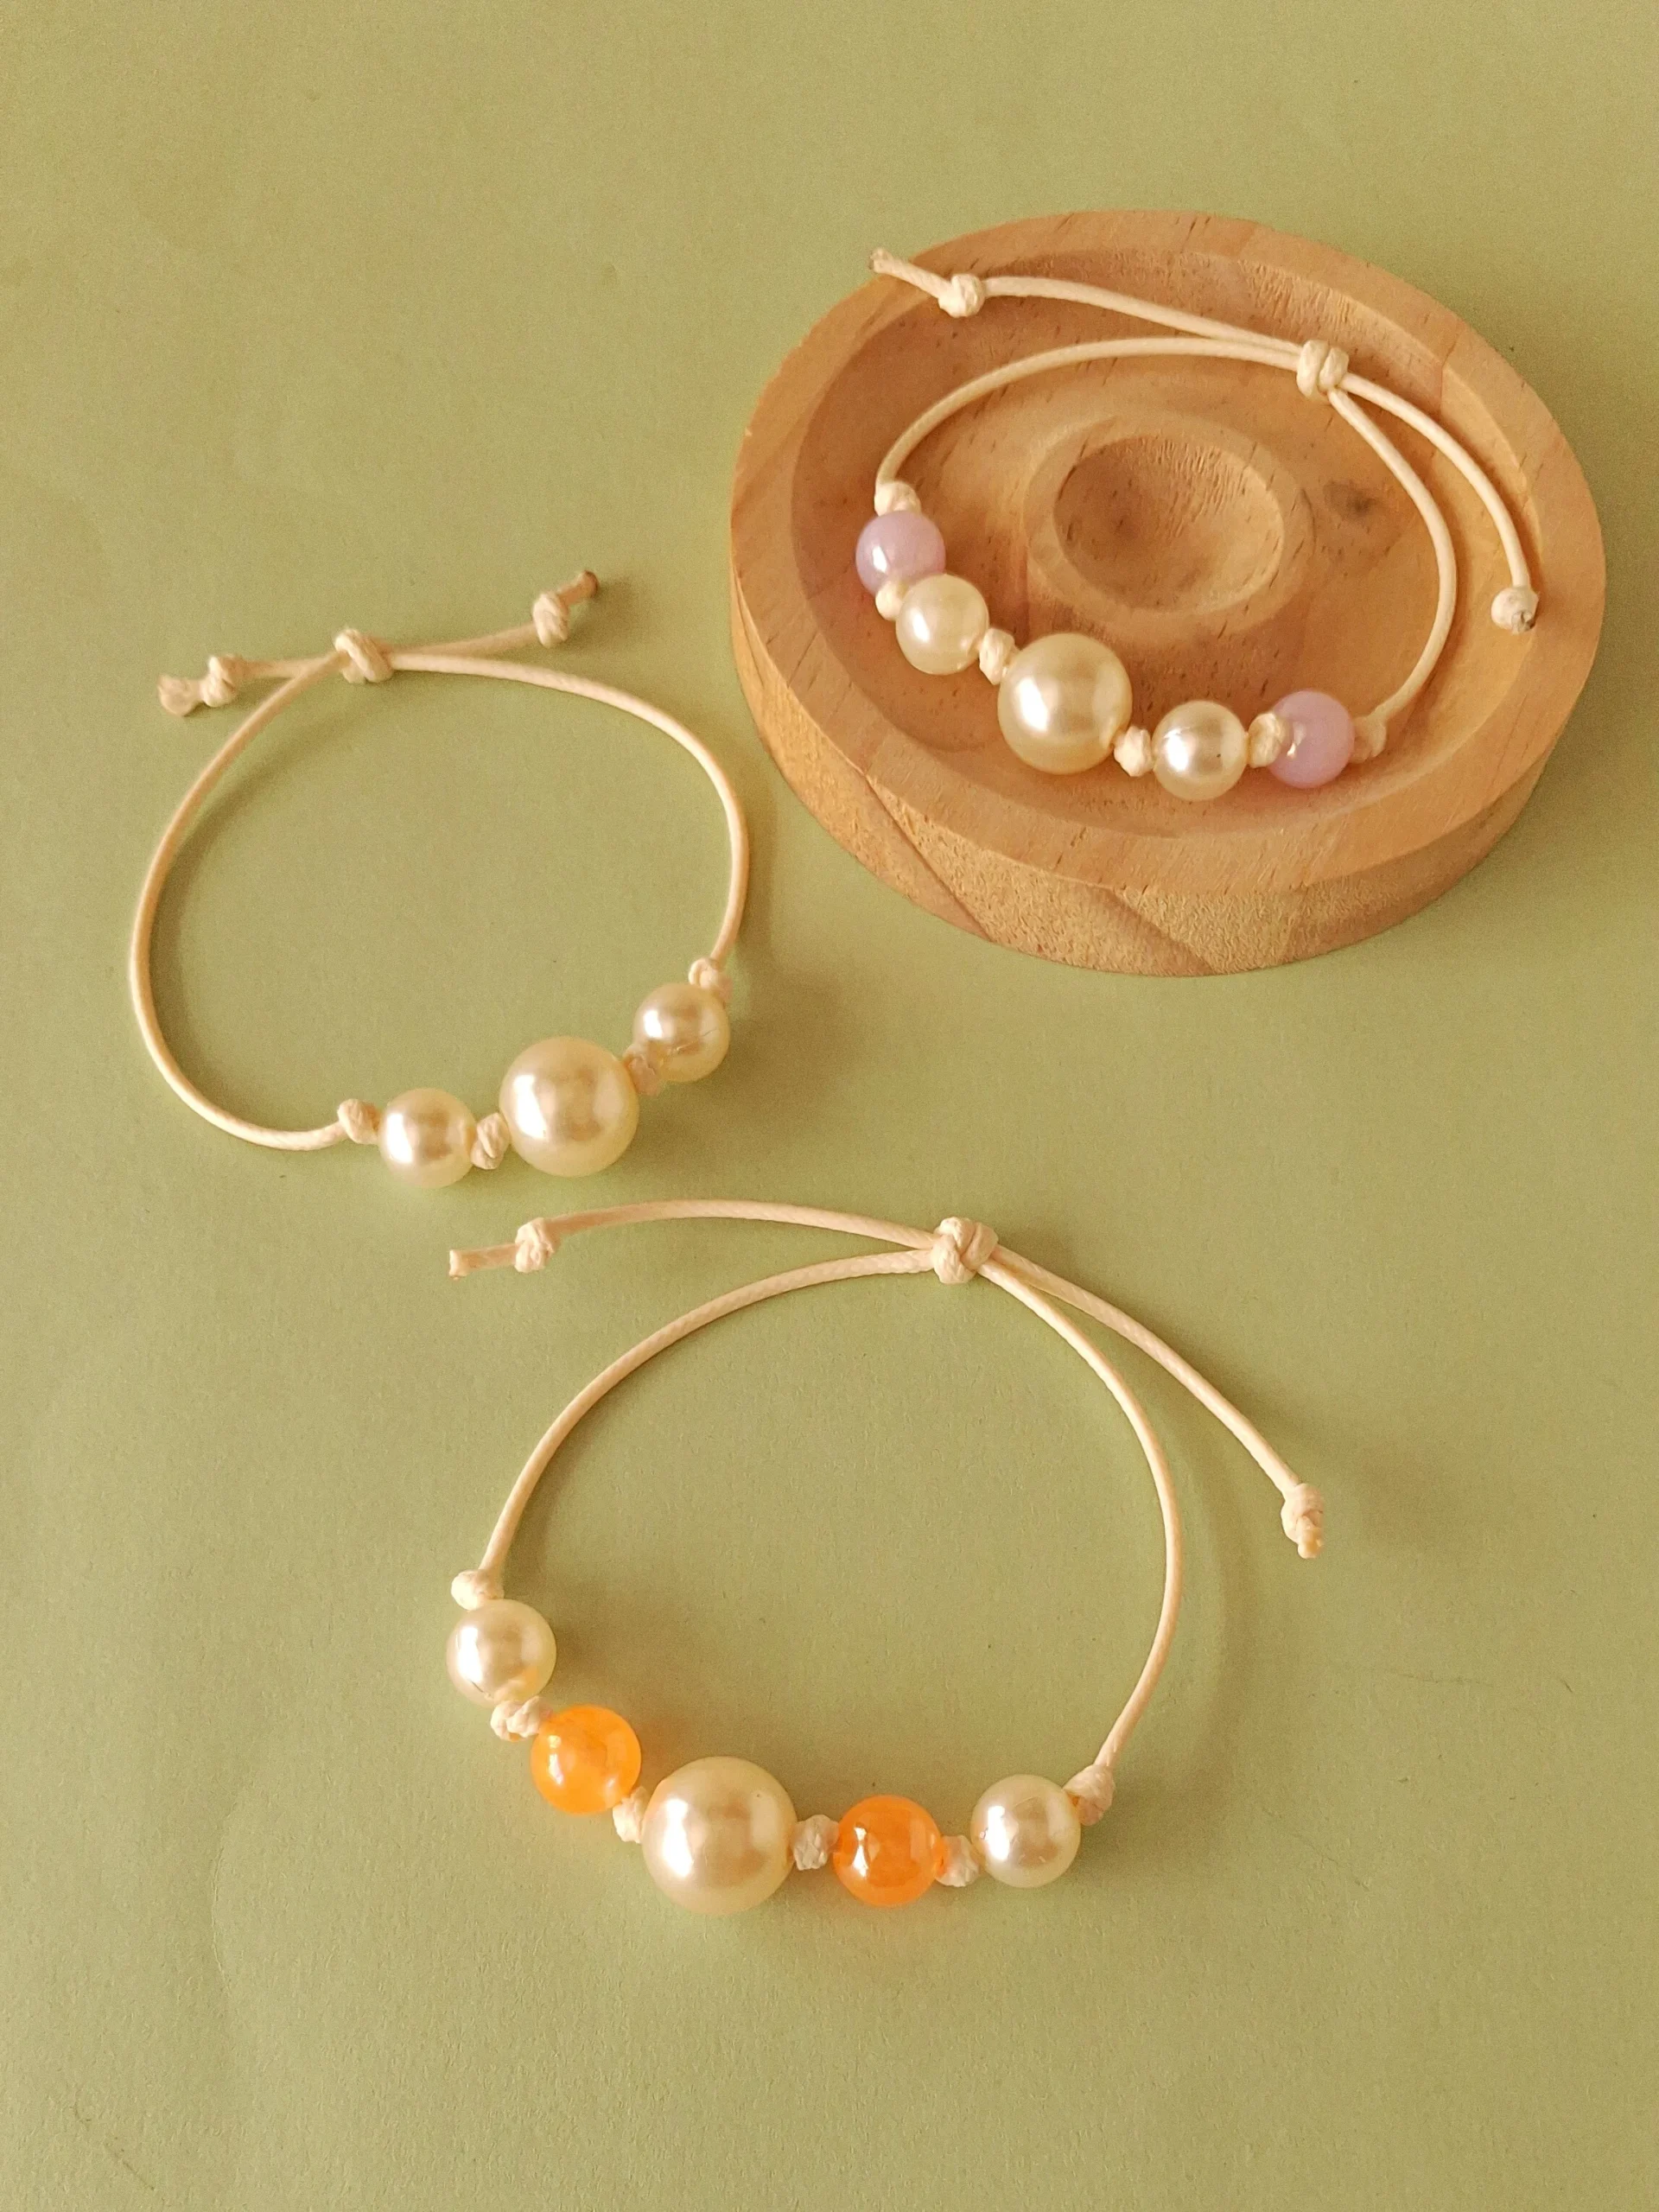
What You Need to Make a Floating Pearl Bracelet
Materials
- 2mm nylon cord, about 40cm per bracelet so you have enough slack for the sliding knot
- Faux pearl beads with a 2mm hole, in two or three sizes so one bead reads as the focal point
- One or two colored accent beads (glass or acrylic) to break up the rows of pearls
Tools
- Ruler, to measure a consistent gap between knots
- Scissors, for trimming the cord ends
- Lighter, to seal the cut ends so they don’t fray
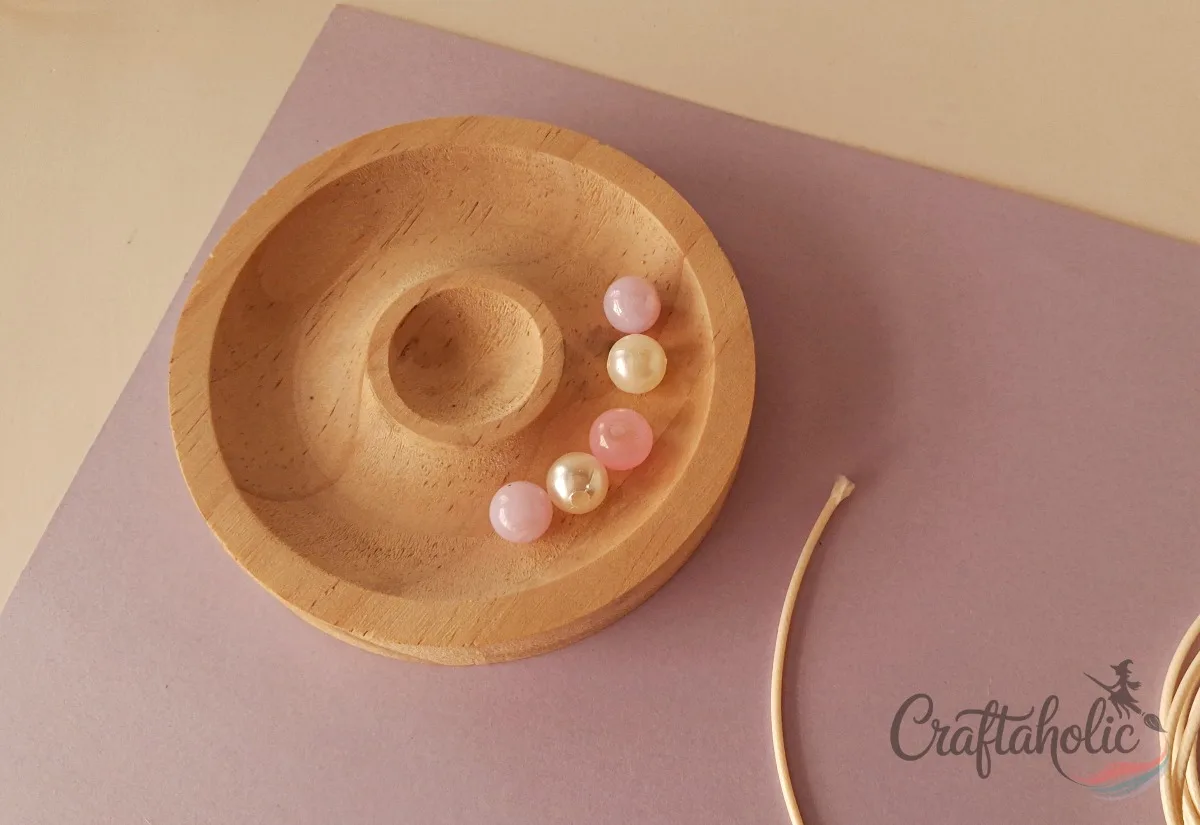
- Beading tray, to keep loose beads from rolling away while you plan the layout





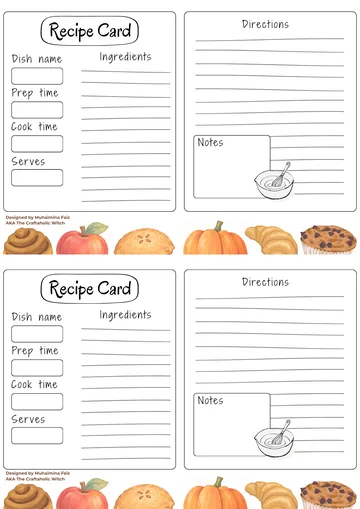
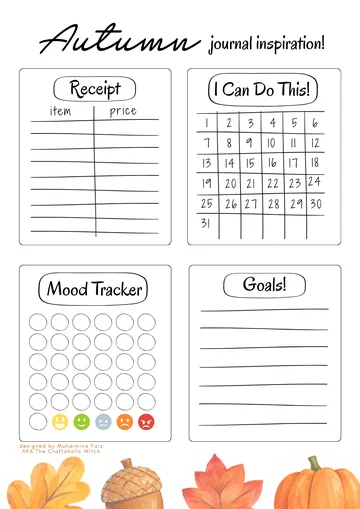
Free Autumn Bucket List + Printable Journal Pack
Everything you need for a cozy autumn, ready to print at home. Join the community for free and download it in one click.
- 13-page printable PDF
- 18 stickers and 6 bookmarks
- Journal pages and recipe cards
- Phone and computer wallpapers
How to Make a Floating Pearl Bracelet
Step 1: Pick Your Beads and Lay Them Out
Choose three to five beads and arrange them on a beading tray in the order you want them on the cord. I like one larger focal pearl in the middle with smaller pearls and a couple of accent beads around it. Six or more beads work too, but the bracelet starts to feel crowded on the wrist.
Step 2: Seal One End of the Cord
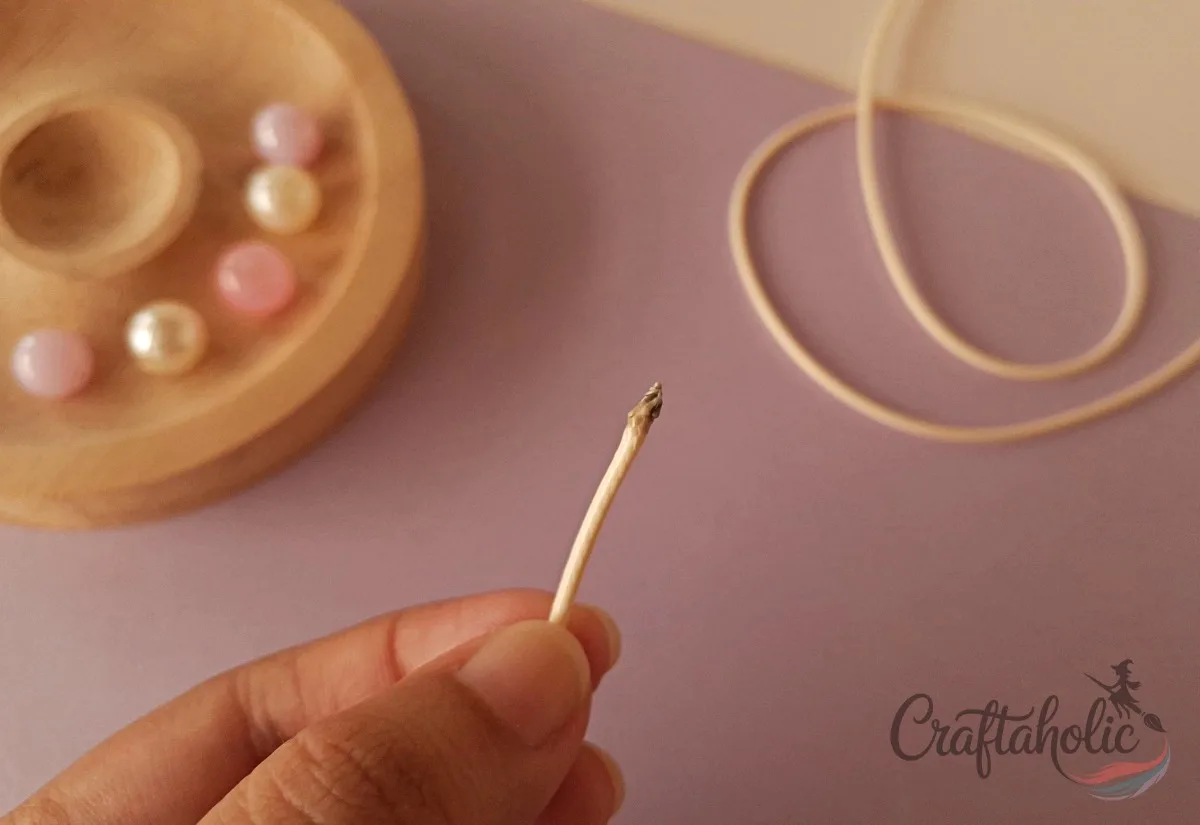
Hold a lighter flame near the end of your cord for a second so the tip melts just enough to stop it fraying. Leave the other end attached to the spool for now. You’ll cut it to length later, once the beads are in place.
Step 3: Thread the Beads onto the Cord
Slide each bead onto the cord in the order you laid out, pushing them down toward the sealed end so they’re ready to space out.
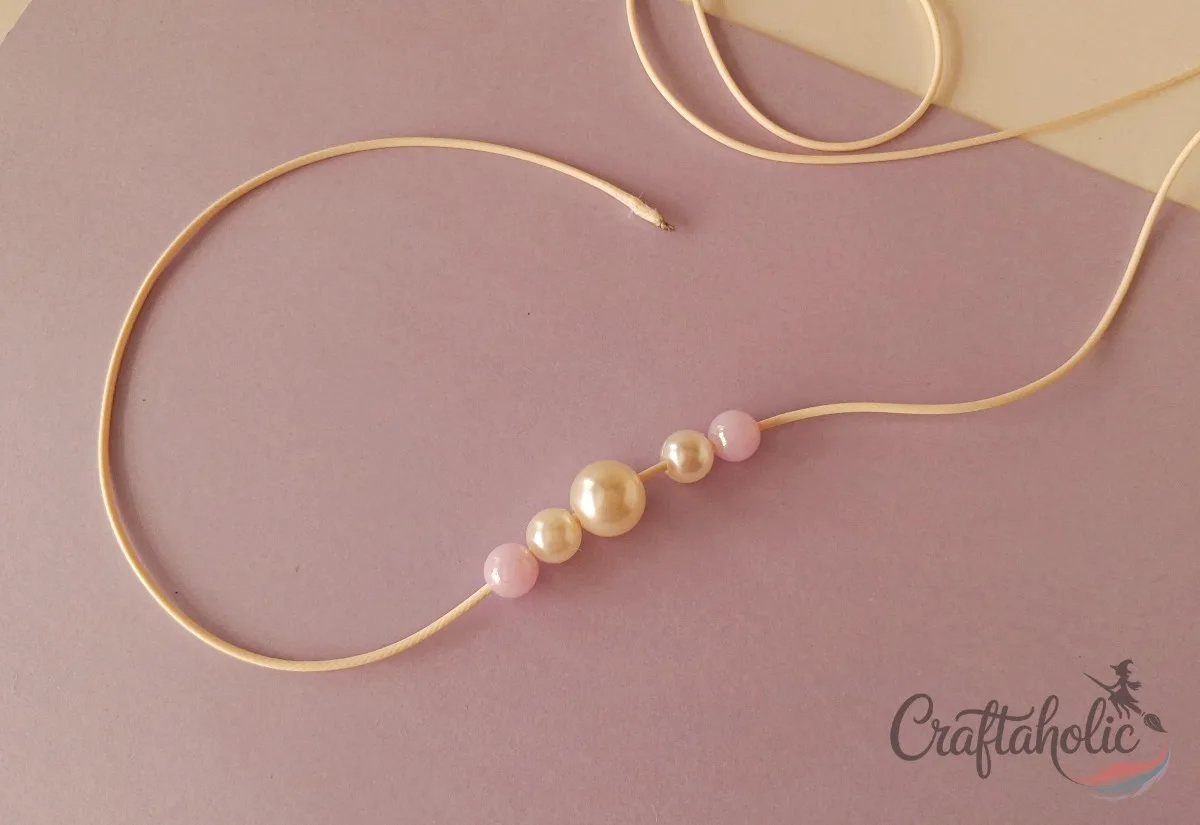
Step 4: Tie Your First Two Knots
Tie an overhand knot close to the sealed end. Then measure 10 to 12 centimeters along the cord from that knot, including the knot itself, and tie a second overhand knot there. That gap becomes the tail you’ll use for the sliding closure later, so don’t skip the measuring.
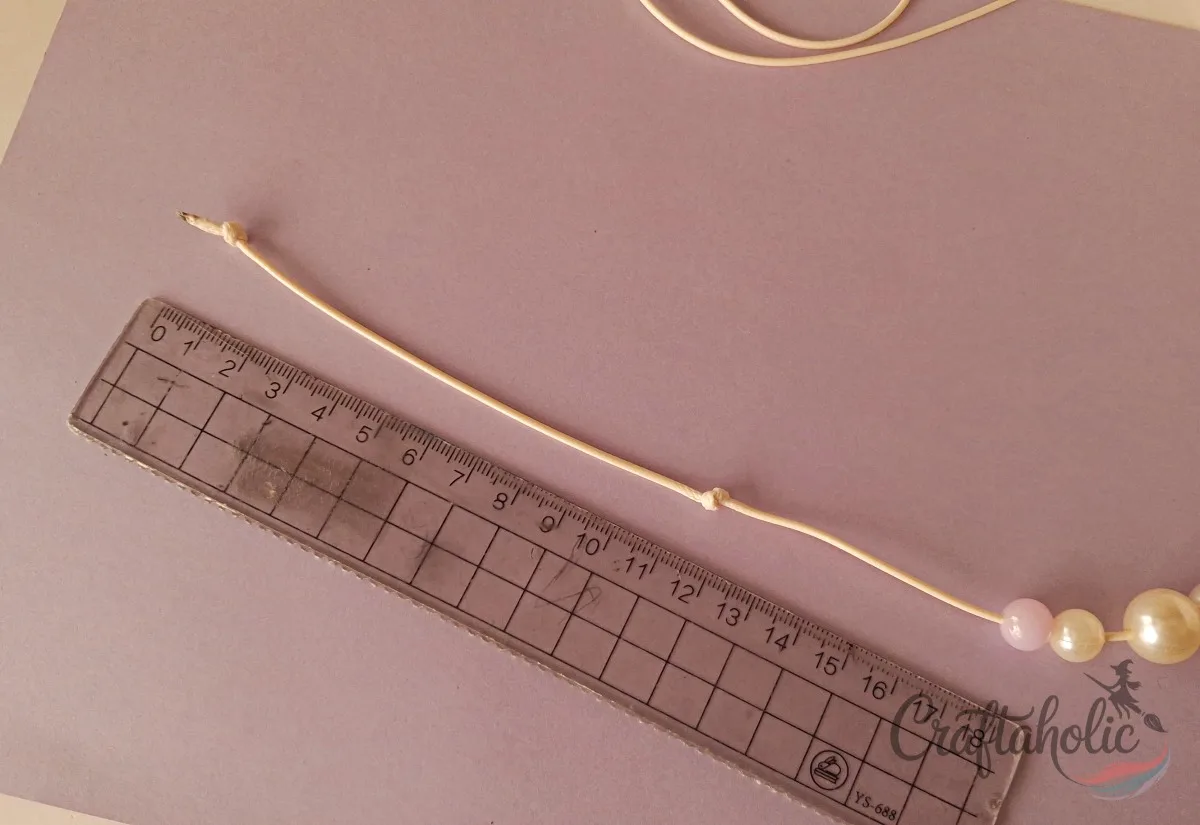
Step 5: Slide the First Bead Up to the Second Knot
Push your first bead along the cord until it sits right against that second knot, with no gap between them.
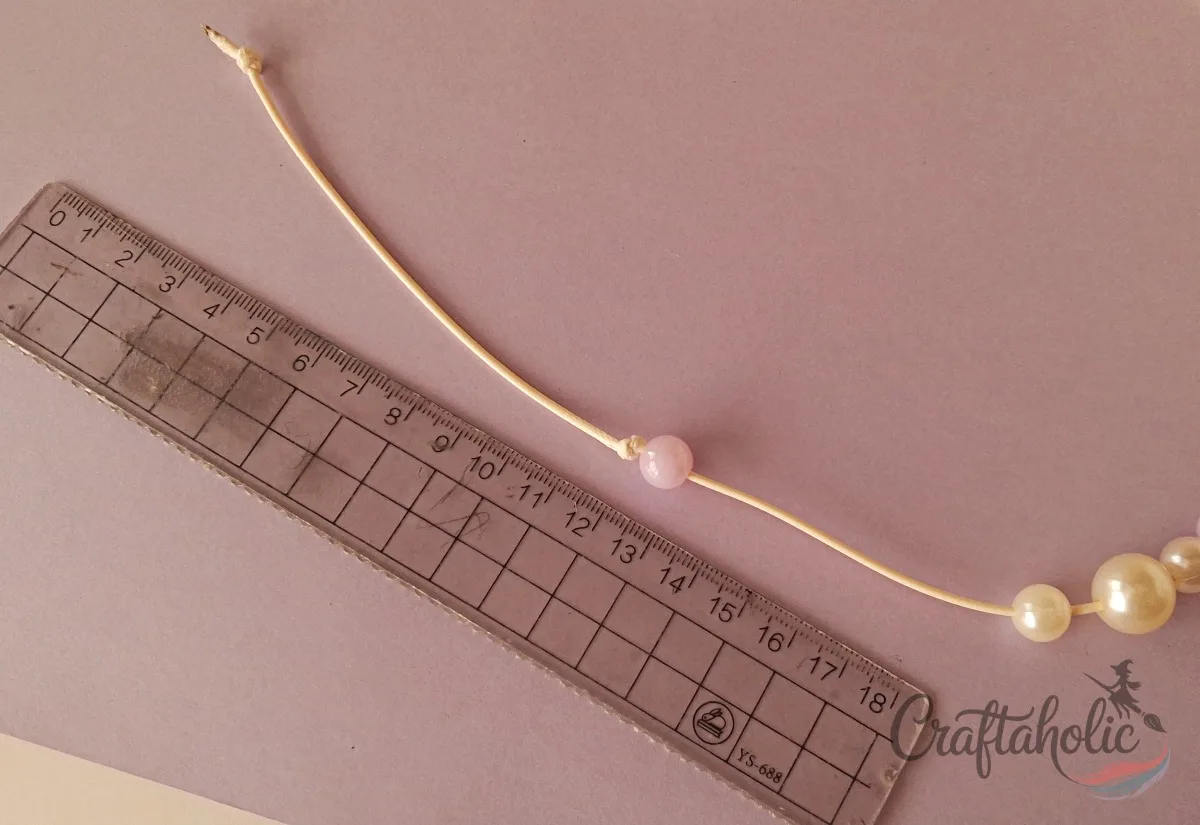
Step 6: Tie the Knot That Locks the First Bead
Tie a third knot right against the other side of the bead, so it sits trapped snugly between knot two and knot three.
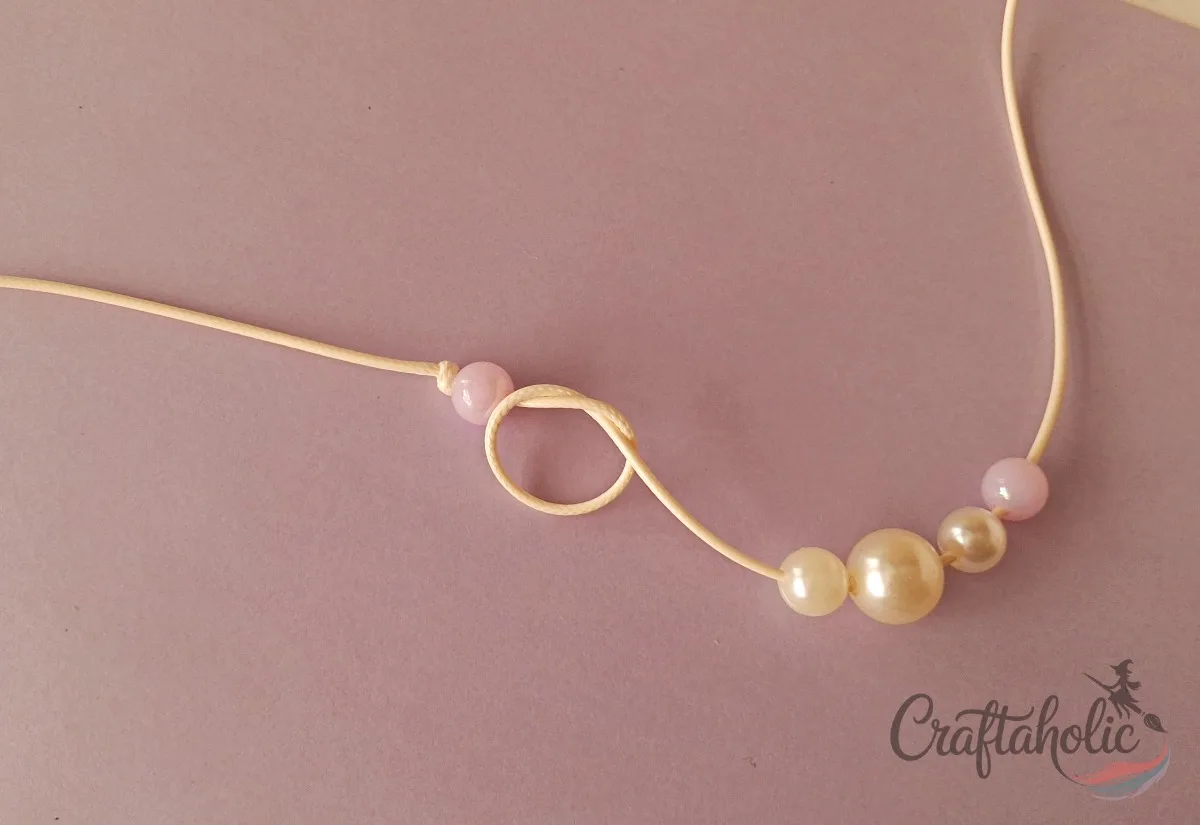
Step 7: Tighten the Bead in Place
Pull on the long end of the cord, the one still attached to the spool, to snug the third knot right up against the bead. Once it’s tight, that first bead is locked between its two knots and won’t slide.
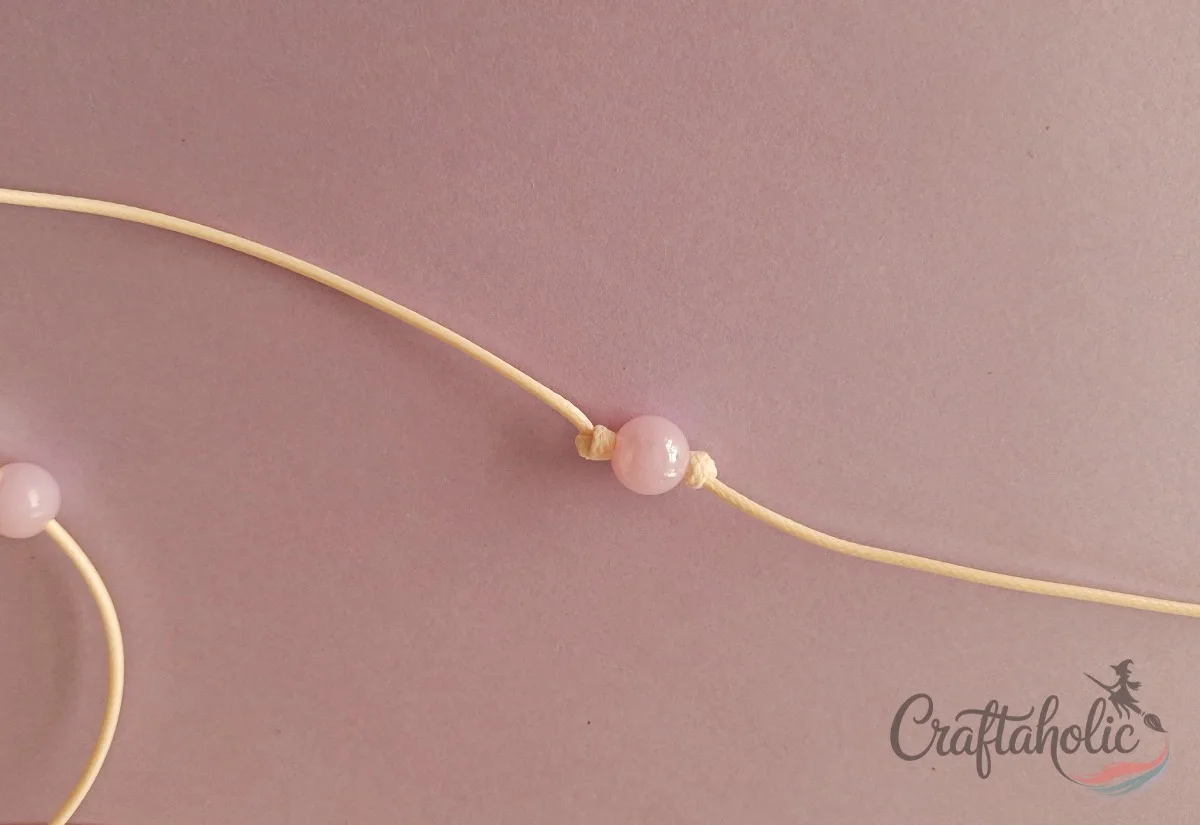
Step 8: Add the Second and Third Beads the Same Way
Slide your second bead up against the third knot, tie a fourth knot against it, then slide the third bead up against that knot. You’re repeating the same bead-then-knot rhythm from steps five and six.
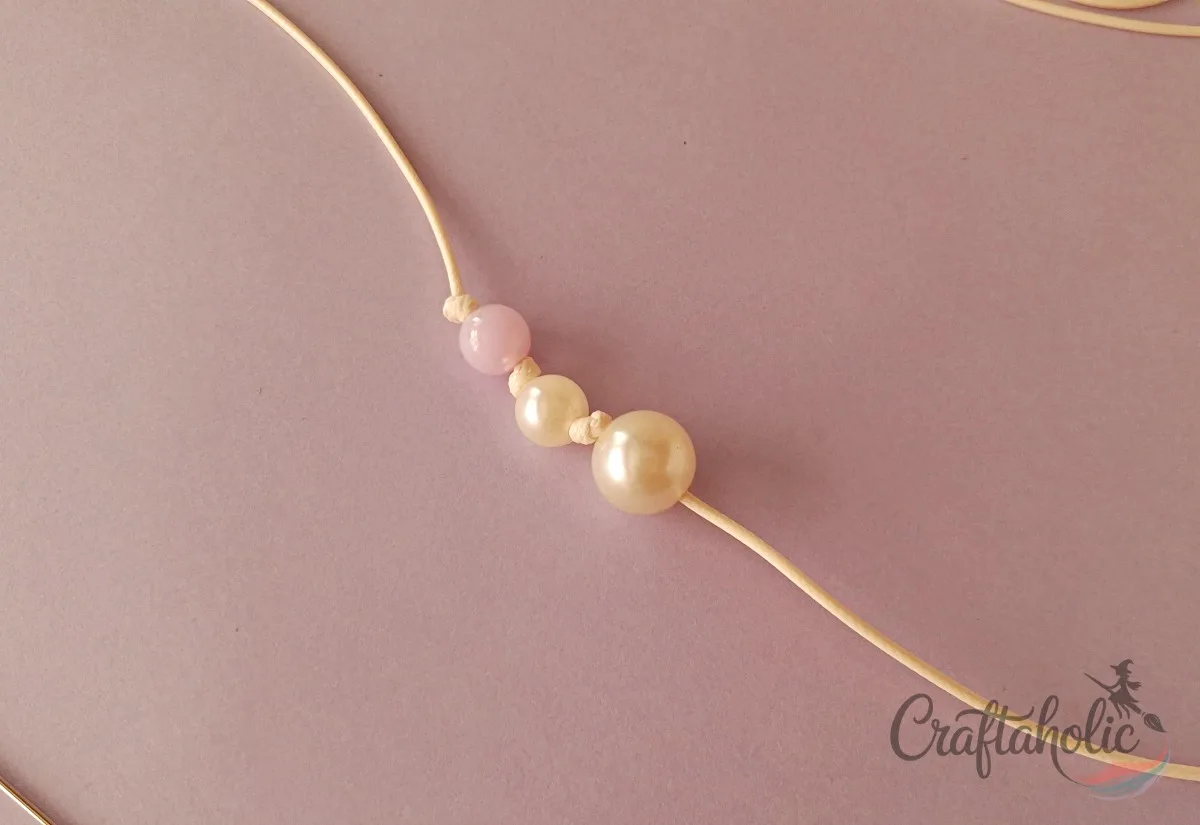
Step 9: Finish Knotting the Rest of the Beads
Keep adding a bead and a knot until every bead is locked along the cord. I used five beads for mine, four 8mm pearls and one 10mm focal pearl, which landed at a comfortable bracelet length. Add more beads and knots if you want it longer.
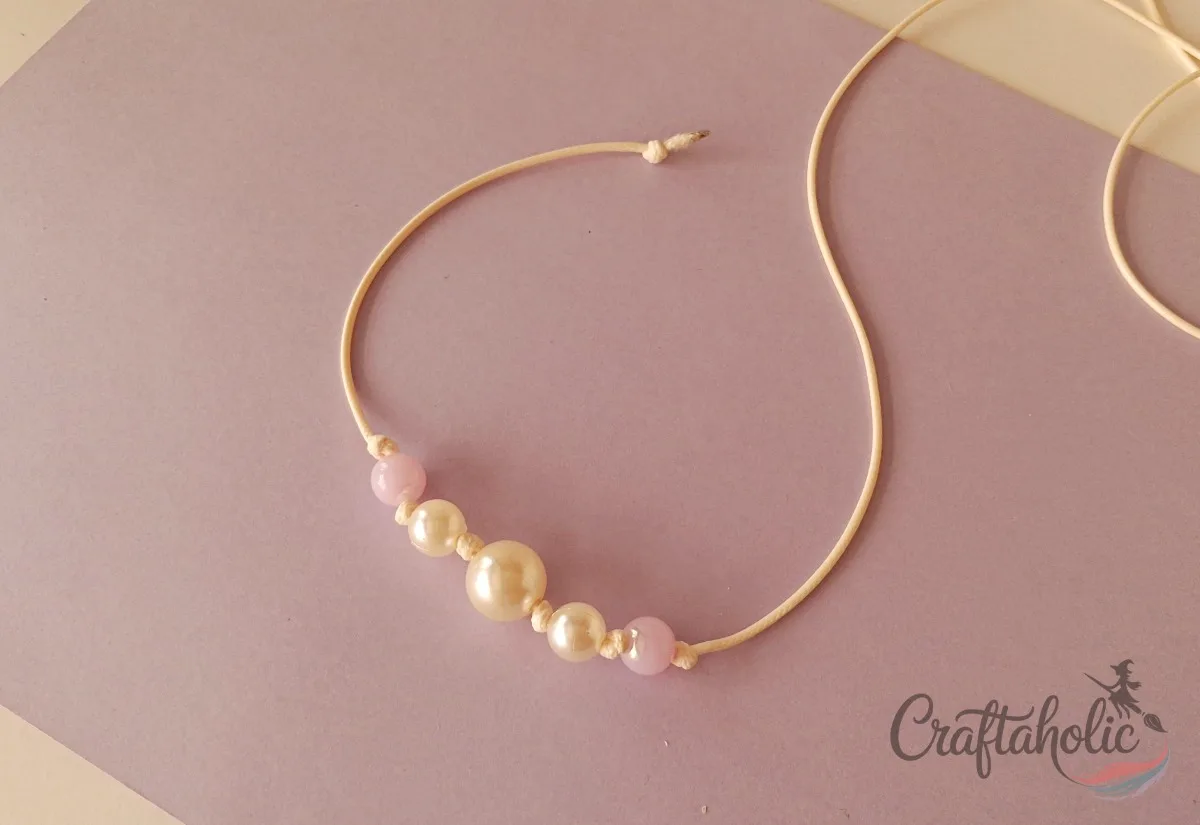
Step 10: Match and Trim the Second Cord End
Lay the sealed end flat and fold the still-attached end over it to match the same length. Cut the cord from the spool at that point, so you now have two loose ends of equal length.
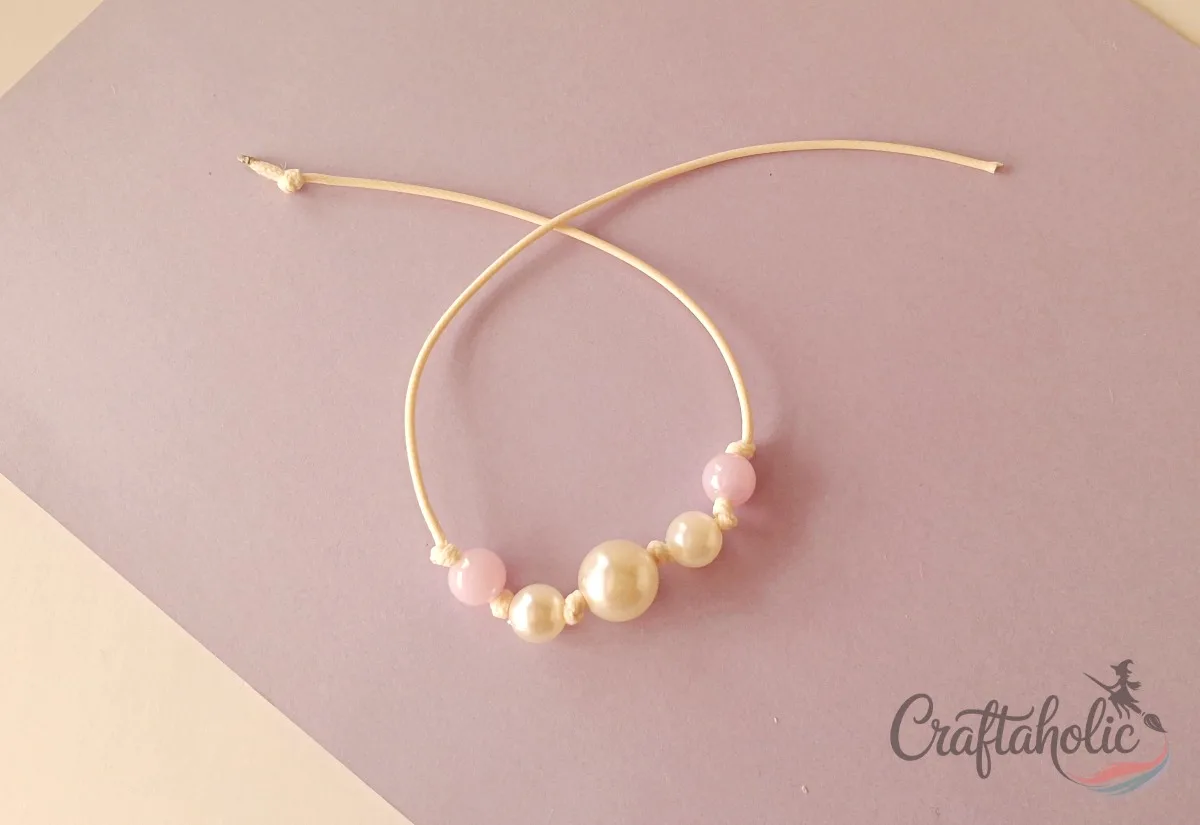
Step 11: Set Up the Two Ends for the Sliding Knot
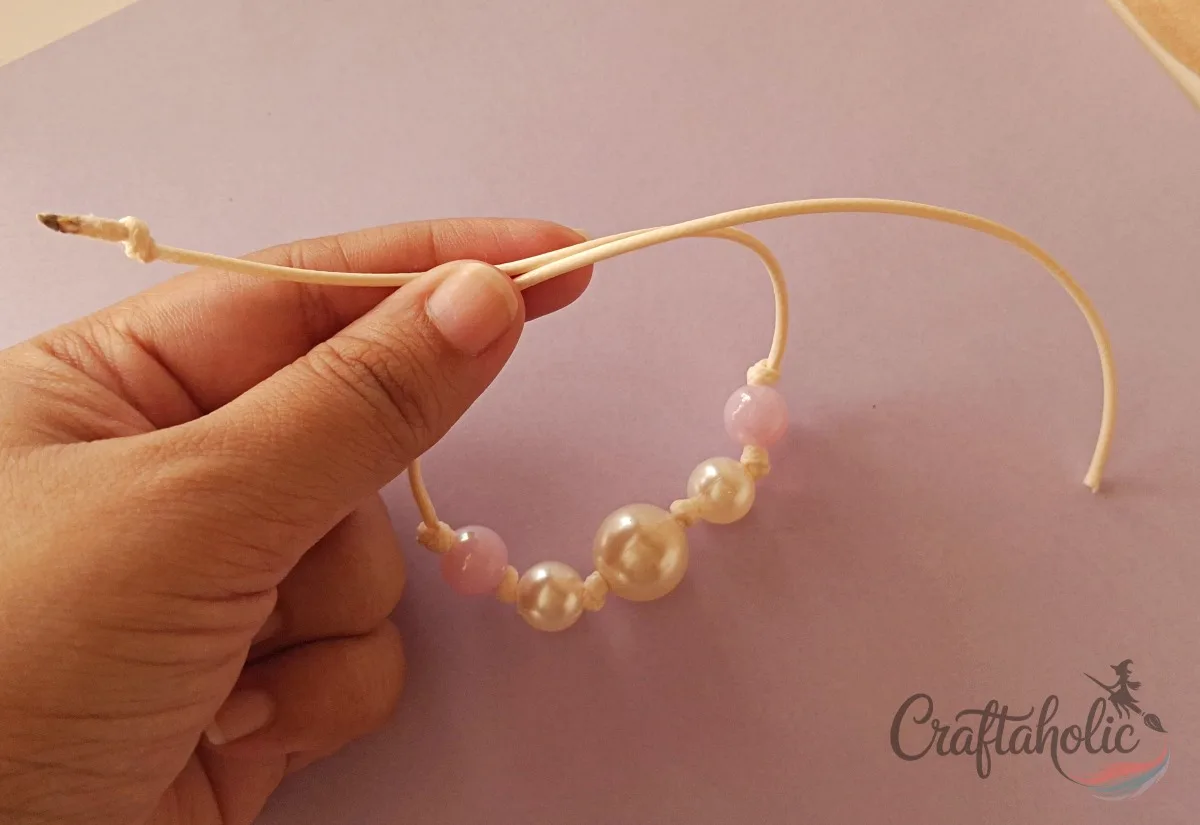
Hold both loose ends between your thumb and pointer finger. Cross them so the end underneath, call it Cord 1, lies flat and still, and the end on top, Cord 2, crosses over it. Cord 1 becomes the fixed side of the closure, and Cord 2 is the one you’ll coil into the sliding knot.
Step 12: Loop Cord 2 Around Both Strands
Bring Cord 2 behind both strands and pull it through to the front, so it forms a loop around Cord 1 and itself.
Step 13: Wrap Cord 2 Around Your Finger Once
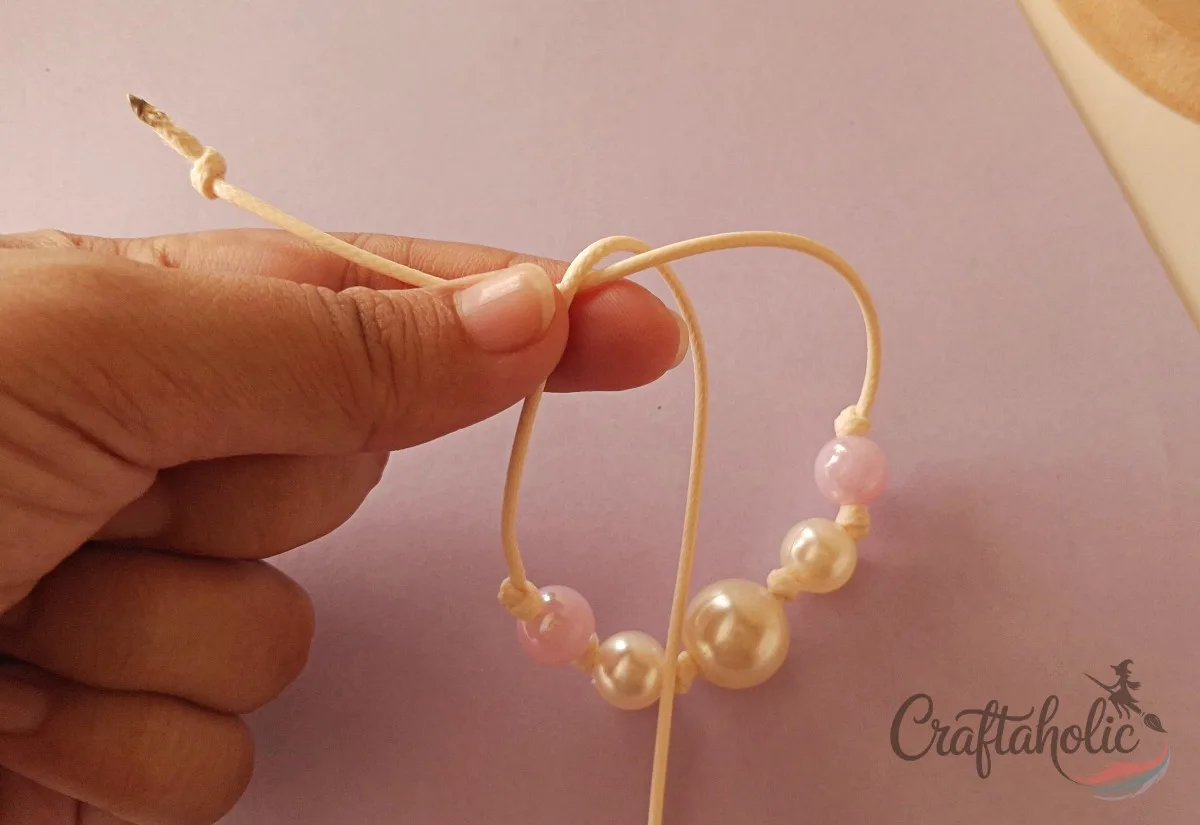
Keeping that loop loose, wrap Cord 2 around both strands and around your pointer finger one time.
Step 14: Wrap Cord 2 a Second Time
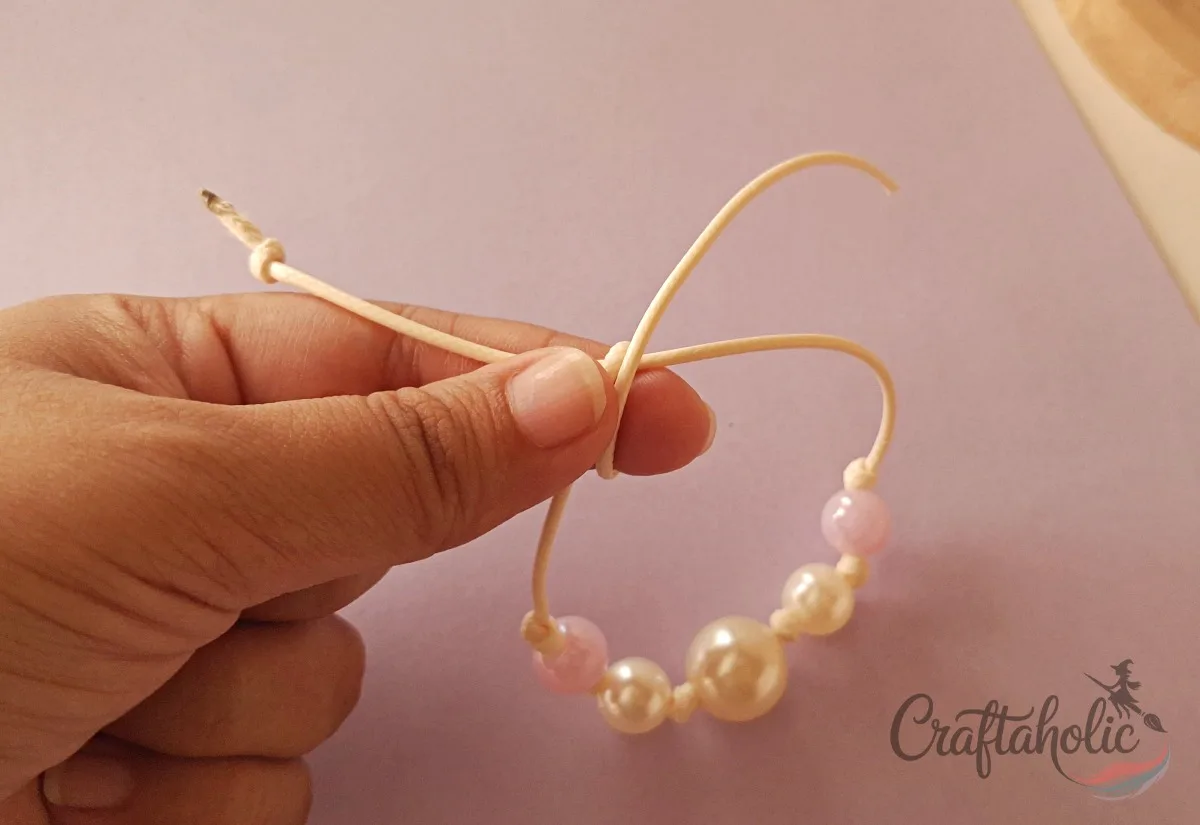
Wrap Cord 2 around the same strands and the same finger a second time, right next to the first wrap, so you have two loops sitting side by side.
Step 15: Slide the Loops Off Your Finger
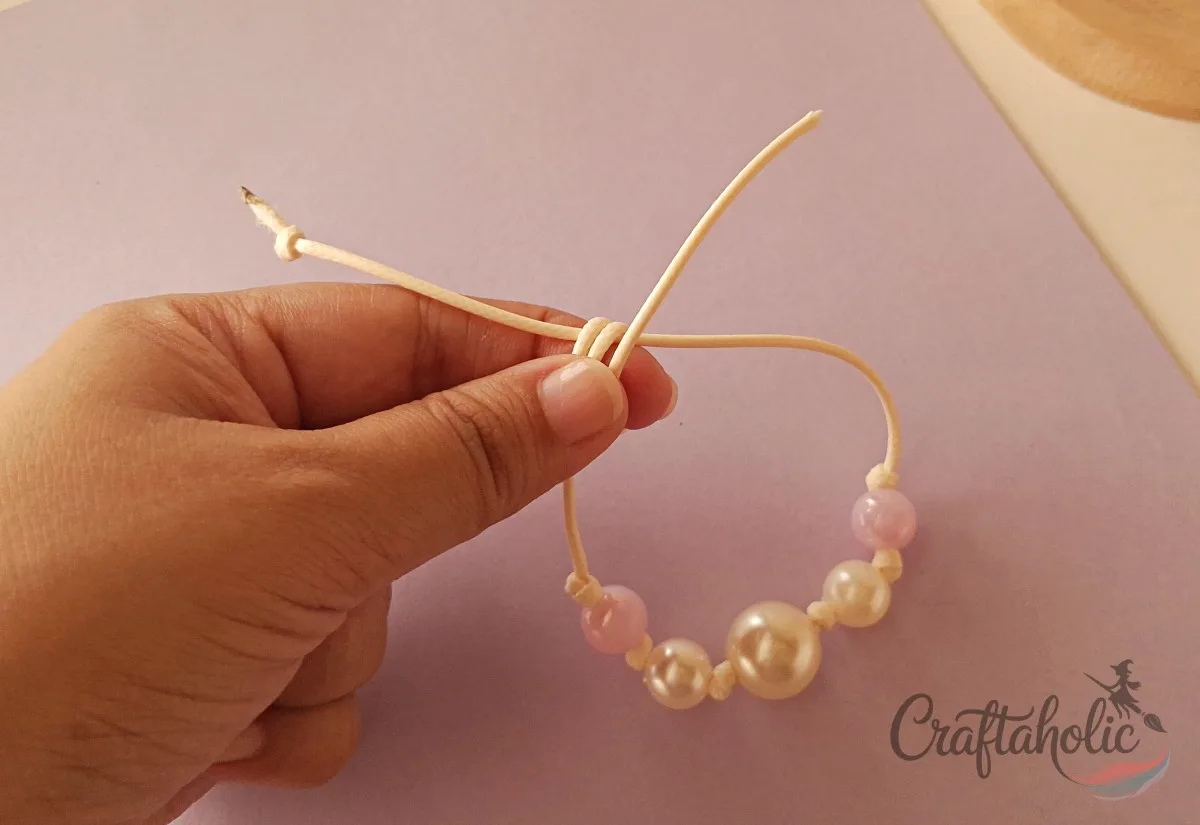
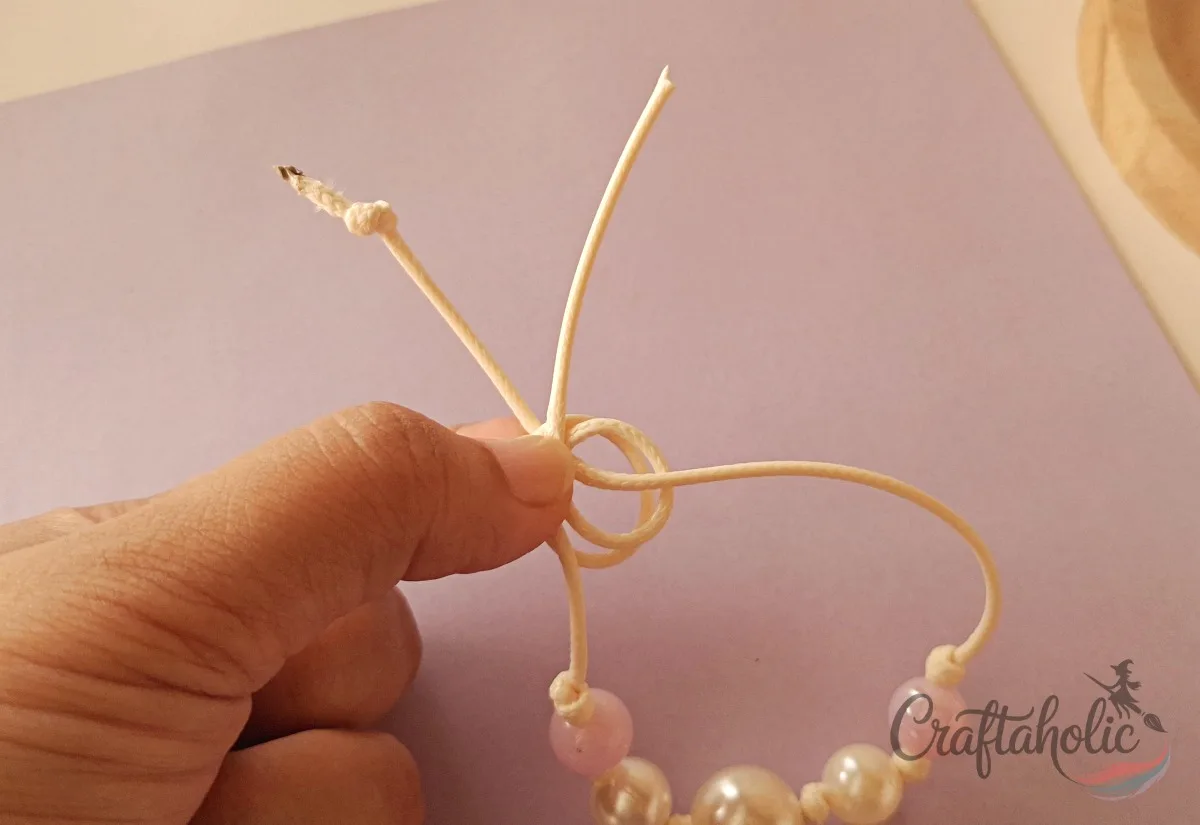
Tip: Pinch the two loops and both cord ends firmly so nothing unwinds, then carefully slide them off your finger.
Step 16: Thread Cord 2’s Tail Through the Loops
Take the tail end of Cord 2 and thread it through the double loop from behind, so it passes through both wraps.
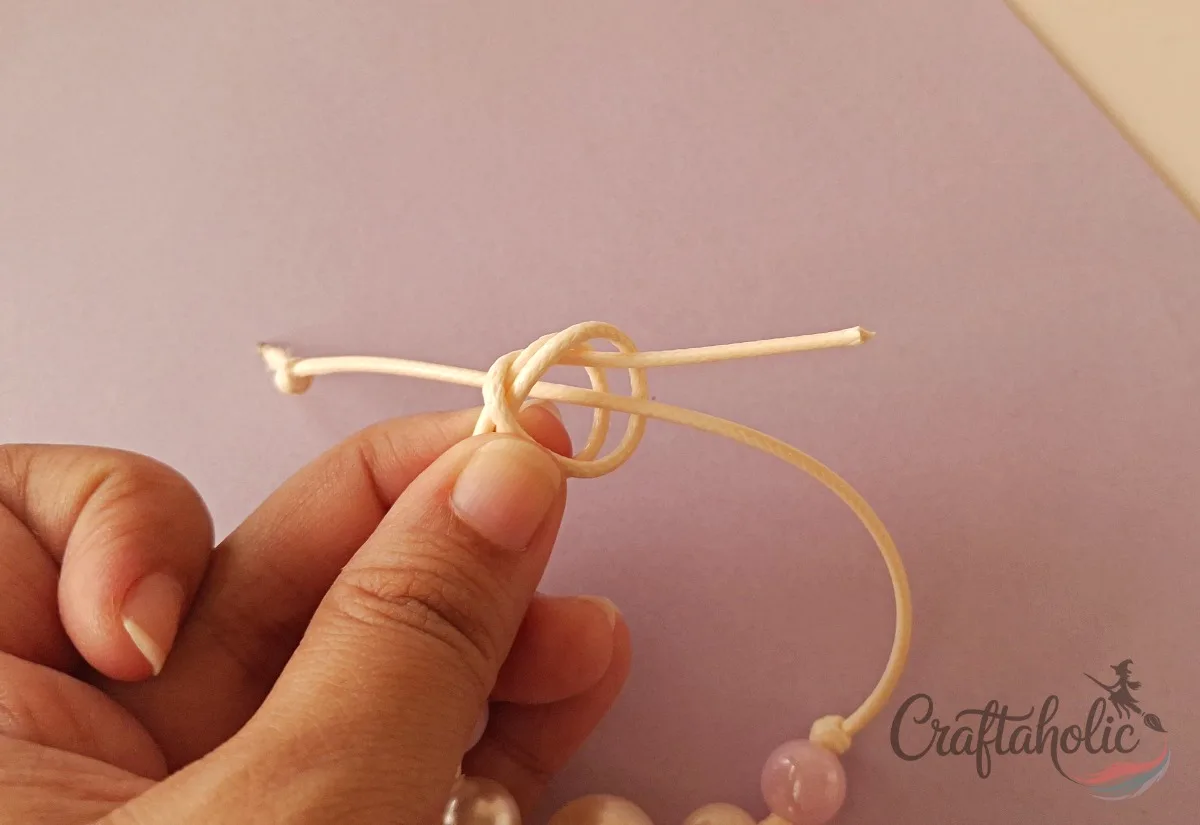
Step 17: Pull the Sliding Knot Tight
Hold both sides of the coiled section and pull them apart gently until the wraps cinch down into a tight little knot. That knot is what slides along Cord 1 to loosen or tighten the bracelet.
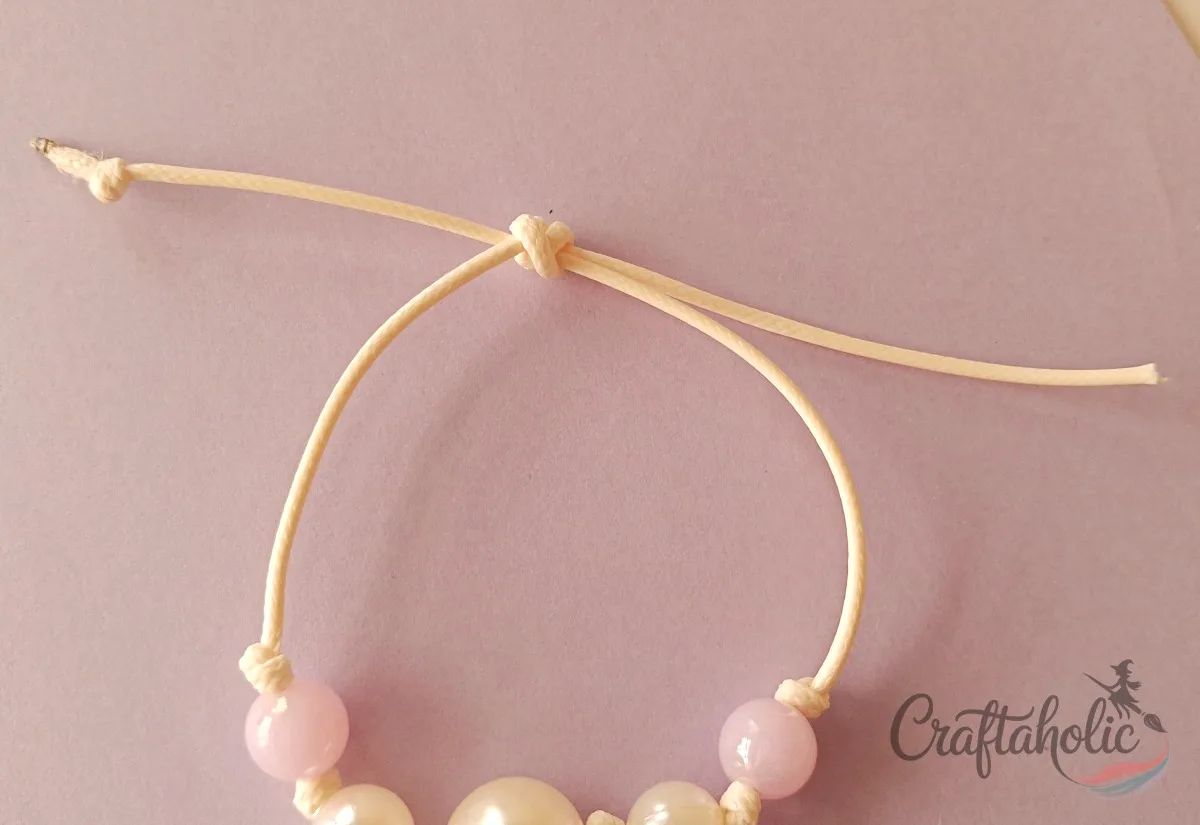
Step 18: Knot the Fixed End and Seal It
Tie a simple overhand knot near the end of Cord 1, the side that stayed straight through all of this. Seal that cut end with the lighter the same way you did in step two, and your bracelet is done.
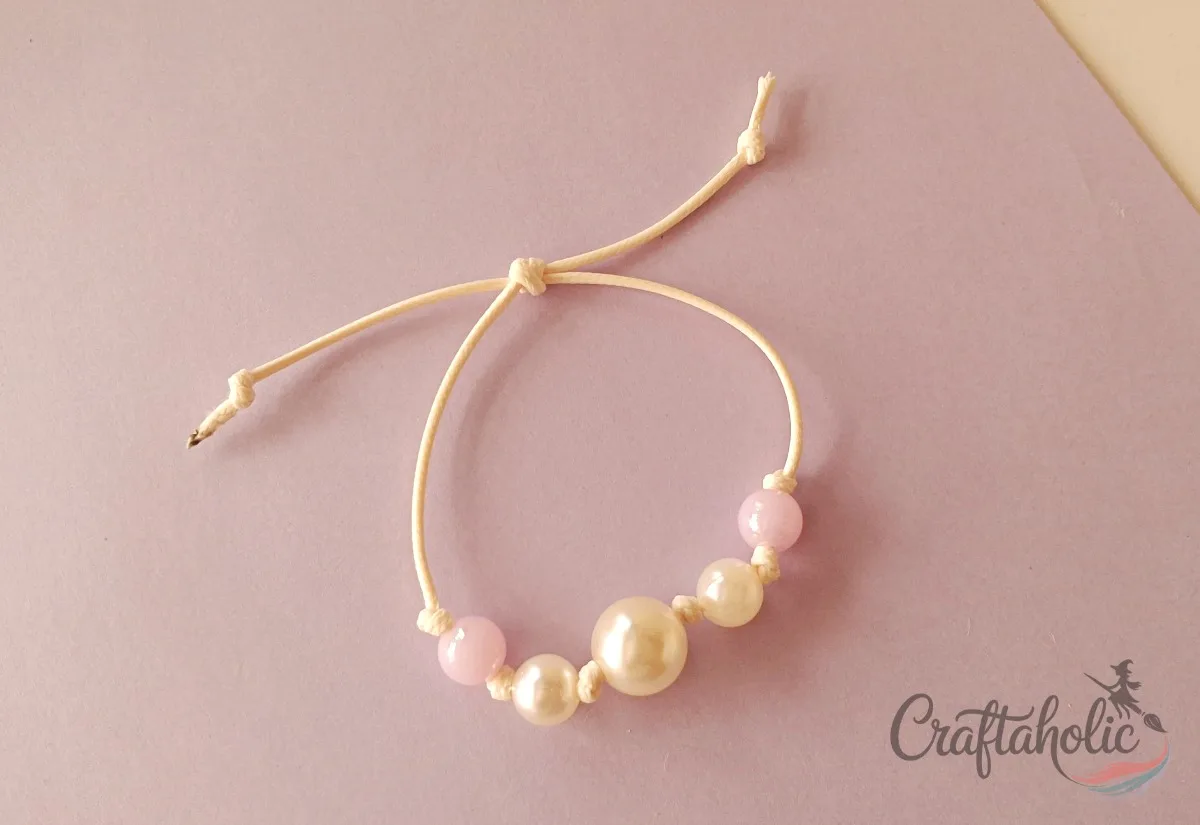
Step 19: Mix Up the Colors for More Bracelets
Once you’ve got the rhythm down, try different cord and bead colors for your next one. Only Cord 2’s side has the sliding knot, so Cord 1 stays fixed on the wrist while the other side is what you pull to loosen or tighten the fit.
Share it in "I Made It" and let us cheer you on.
Post your finished make in "I Made It" so the community can celebrate it with you. Cheer on other makers too. Each month, the most loved craft wins 1 year of Craftaholic Premium ($59)
Tips for Your Floating Pearl Bracelet
- Mix in one or two colored glass or acrylic beads near your focal pearl for contrast, like in the photos here.
- Leave a touch of extra slack in step four if your wrist runs larger. It’s easier to shorten that gap later than to redo the knots.
- Store finished bracelets flat in a tray rather than bunched in a drawer, so the beads don’t all slide to one end of the cord.
- The sliding closure here is the same one used on a single sliding knot bracelet, so once you’ve got it down, you can mix and match beads between styles.
Frequently Asked Questions
What size beads work best for a floating pearl bracelet?
Three to five beads work best for this style. I like mixing a few sizes, such as four 8mm pearls with one larger 10mm pearl as the focal point, so the spacing along the cord looks intentional rather than cluttered. Past five or six beads, the bracelet starts to feel heavy on the wrist.
How does the adjustable sliding knot actually work?
One end of the bracelet, the fixed side, gets a simple overhand knot and never moves. The other end gets a coiled knot that grips the fixed cord but can still slide along it, so pulling the two ends apart loosens the bracelet and pushing them together tightens it.
Can I use a different cord instead of nylon?
Yes, waxed cotton cord or thin leather cord both work as long as they’re around 2mm thick and fit through your bead holes. Thicker cord knots more securely but needs beads with a correspondingly larger hole.
What if I don’t have a lighter to seal the cord?
A small dab of clear nail polish or craft glue on the cut end does almost the same job of stopping it from fraying, though a quick pass of a flame is still the fastest option if you have one safely on hand.
Why isn’t my sliding knot actually sliding?
It usually means the coil was wrapped too tightly around the fixed cord, or more than two wraps were used in step fourteen. Loosen the coil slightly and test the slide before you trim and seal the ends, since it’s much easier to fix at that point than after the final knot is sealed.
More Bracelet Tutorials
- How to Make an Adjustable Sliding Knot Bracelet with Beads
- How to Make a Mixed Beaded Bracelet with Faux Pearls
- Colorful Rosary Beaded Bracelet
Share your floating pearl bracelet in the I Made It space inside Craftaholic Community. The most-loved post each month wins a one year free Premium membership.
0 Comments
Join the conversation
Log in to your Craftaholic Community account to comment, ask questions, and cheer on fellow makers.
Log in to comment