

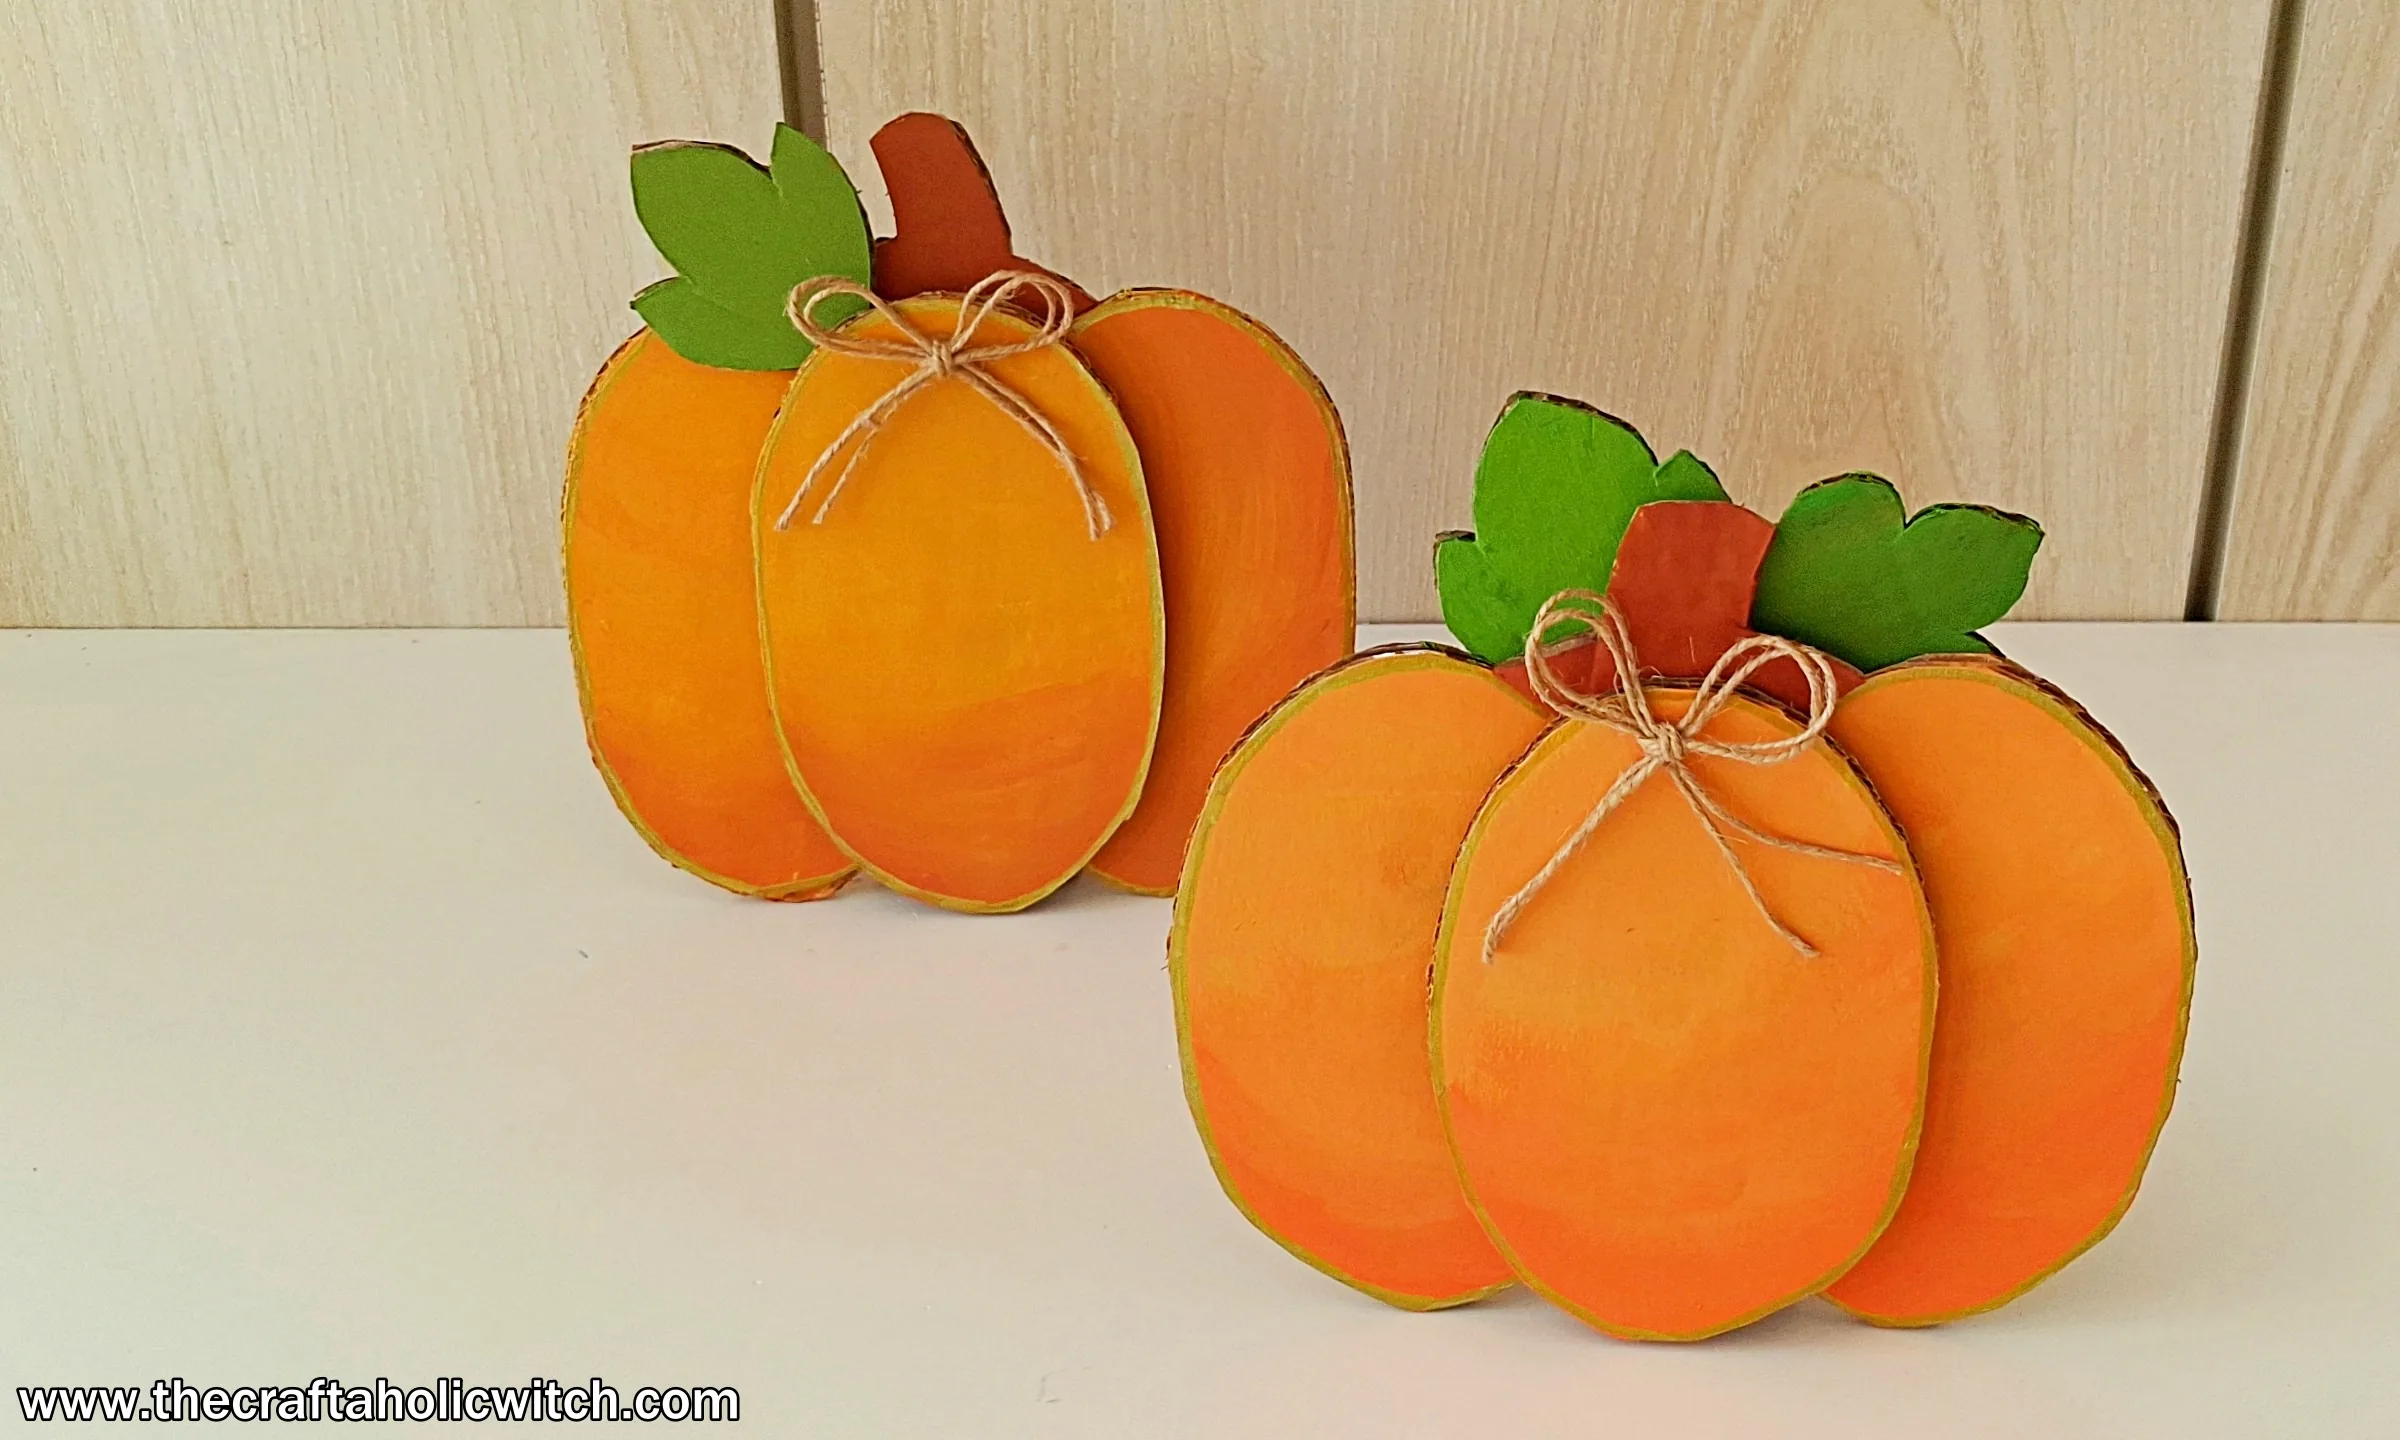
Every fall I end up with a delivery box by the door and a mantel that still looks bare, which is how this cardboard pumpkin craft started.
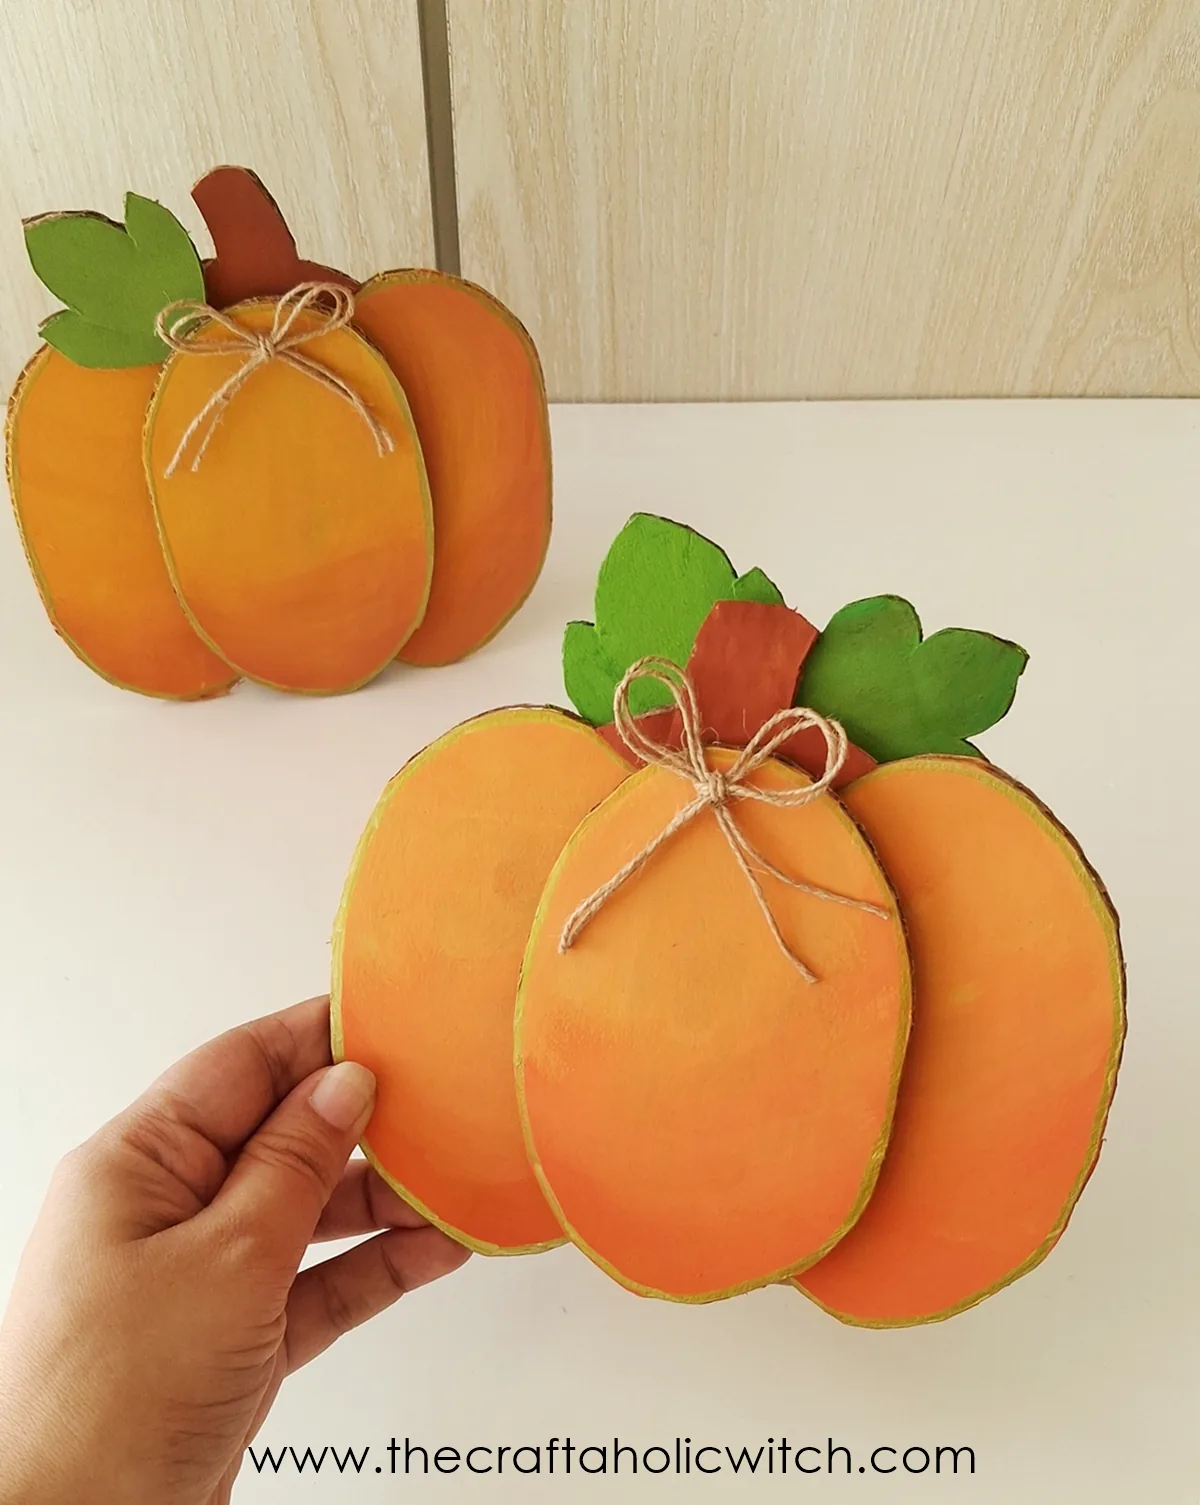
You’ll turn that box into a freestanding pumpkin built from three layered cardboard ovals, with a painted leaf and stem on top, in about an hour. A twine bow finishes it, and a folded cardboard prop on the back keeps it upright on a shelf or table.
I made two in slightly different oranges, and they look right at home next to our other fall decor ideas. If you like turning recycled materials into pieces for the house, the Home Decor collection has plenty more.
Cardboard Pumpkin Craft at a Glance
- Difficulty: Beginner
- Time: 60-90 minutes, including paint drying
- Cost: Under $5 (cardboard from a shipping box)
- Ages: 8+ (an adult handles the utility knife and hot glue gun)
- Best for: Fall mantels, shelves and Thanksgiving tables
What You Need to Make a Cardboard Pumpkin
Materials
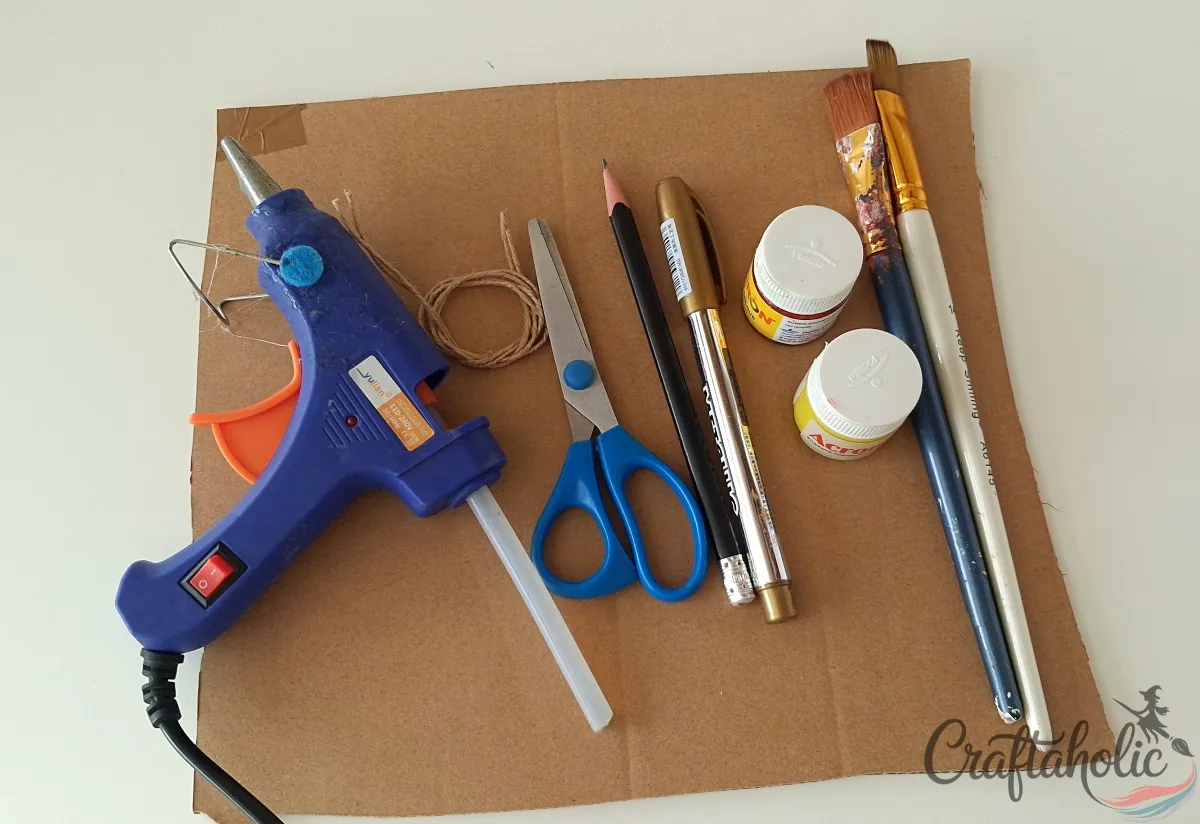
- Cardboard sheet: one flat sheet from a shipping box is enough for every piece
- Printed template: gives you matching ovals, a leaf, a stem, a back strip and a stand
- Acrylic paint: orange for the pumpkin, green for the leaf and brown for the stem, though any colors work
- String: I used natural jute twine for a rustic bow, but any string you have will do
- Gold ink marker: for outlining the edge of each oval
Tools
- Pencil: for tracing the template pieces onto the cardboard
- Scissors or utility knife: scissors handle thin cardboard, while thick cardboard needs a sharp utility knife
- Hot glue gun: bonds cardboard in seconds, so the layers hold without waiting on glue to dry
- Paintbrush: any medium brush covers the ovals evenly
Get the Free Template
Download the printable pumpkin template from the Free Template space inside Craftaholic Community: Cardboard Pumpkin Template. It includes the three oval patterns, the leaf, the stem, the back strip and the stand.
Ask inside "Crafty Q&A" while you are making.
"Crafty Q&A" is free to join. Share your question, photo, or the exact step where you got stuck, and chat with other makers plus the Craftaholic Witch team. You can also join any discussion thread already happening inside the space.
How to Make a Cardboard Pumpkin Craft
Step 1: Trace the Pumpkin Pieces Onto Cardboard
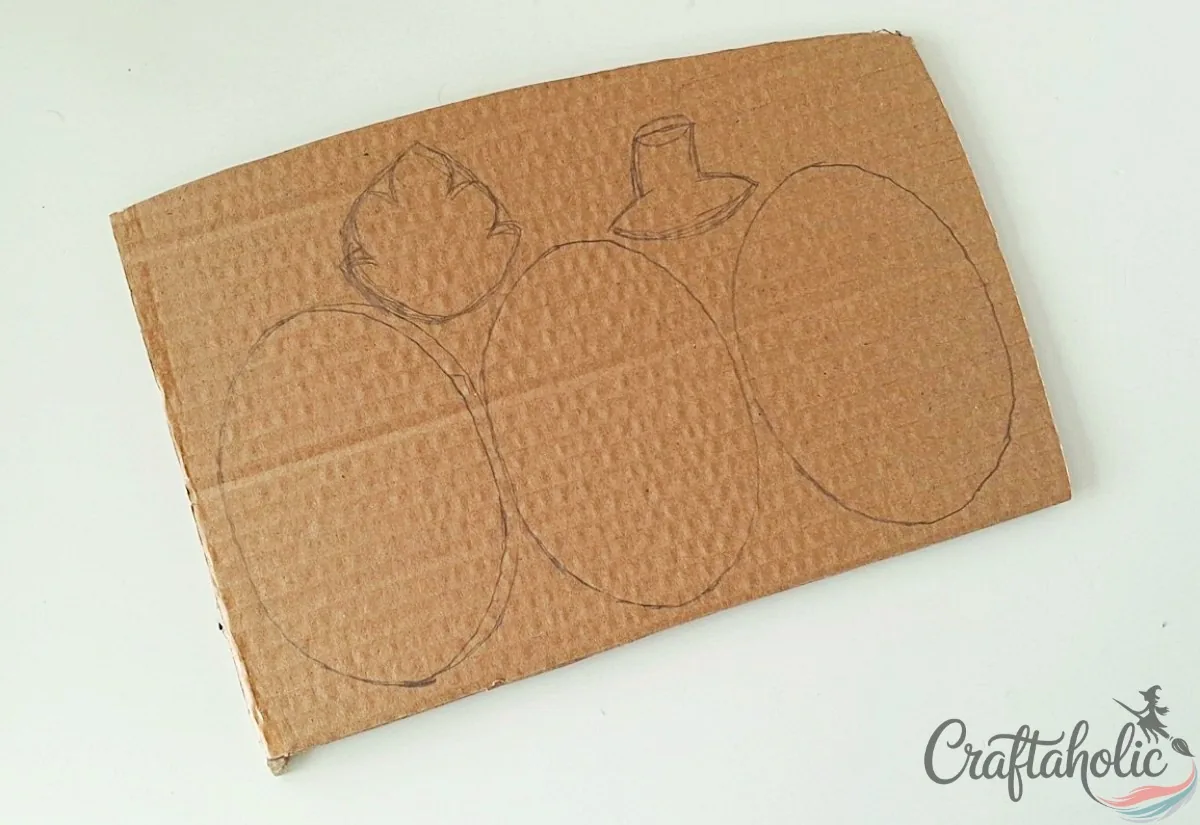
Print the template and cut out each paper pattern. Lay them on a flat piece of cardboard and trace around every one with a pencil: three ovals for the pumpkin body, plus the leaf, the stem, the back strip and the stand.
Step 2: Cut Out the Ovals, Leaf, Stem, Strip and Stand
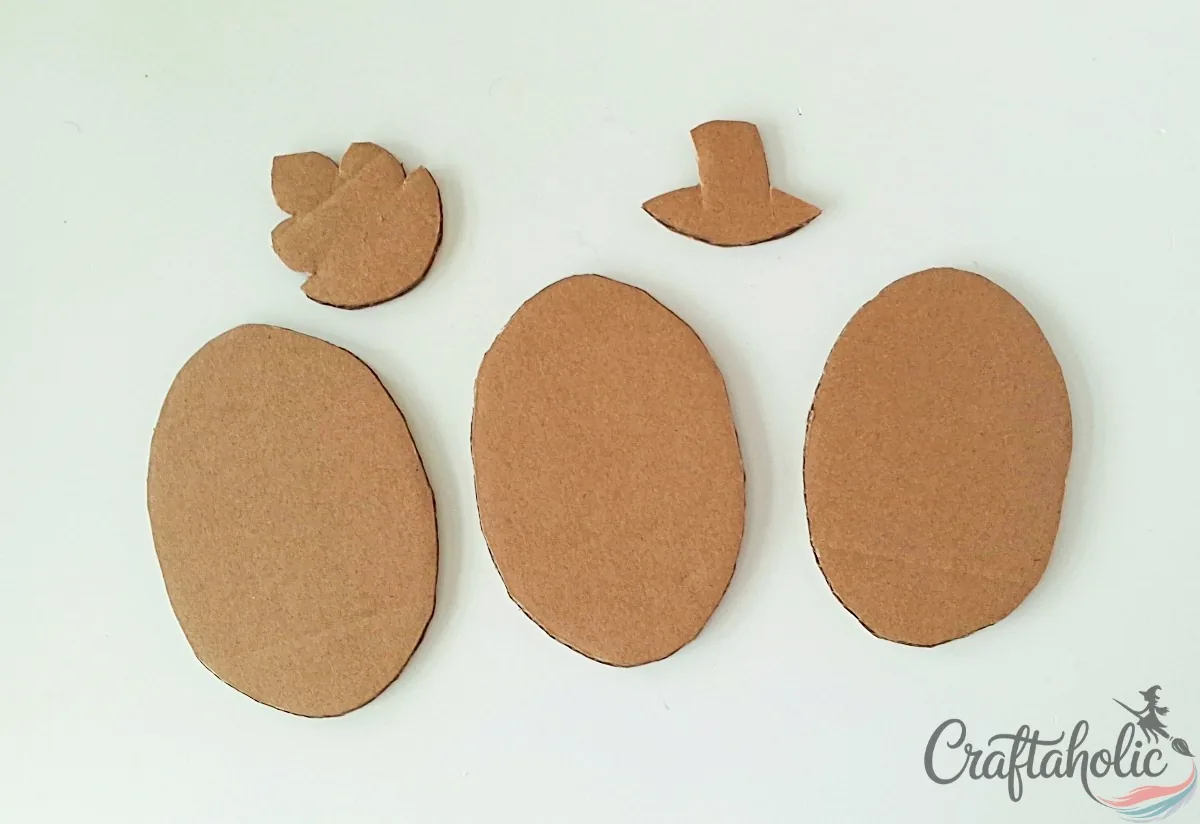
Thin cardboard cuts fine with a sharp pair of scissors. If your cardboard is thick, switch to a utility knife and work on a scrap board, making a few light passes instead of one hard push. A slightly wobbly edge is fine, because it looks hand-made once the pumpkin is painted.
Warning: Keep your free hand well behind the knife blade, and let an adult handle the utility knife if kids are helping.
Step 3: Paint the Three Ovals
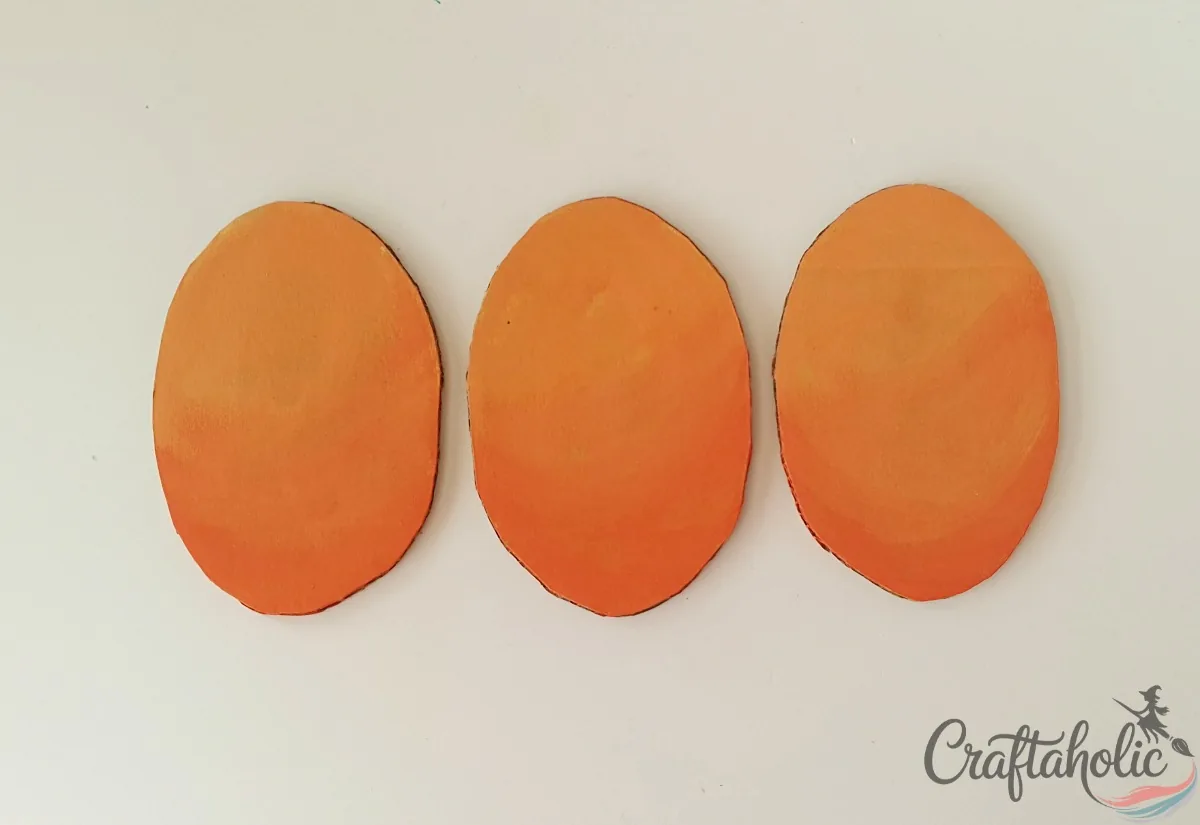
Paint the front of each oval with acrylic paint, leaving the backs bare. Orange is the classic pumpkin choice, but any color works. I blended a lighter yellow-orange near the top into a deeper orange at the bottom, which gives the pumpkin a soft glow.
Two coats gives the best finish. Let the first coat dry before you add the second, then let the ovals dry completely before moving on.
Step 4: Glue the Back Strip to One Oval
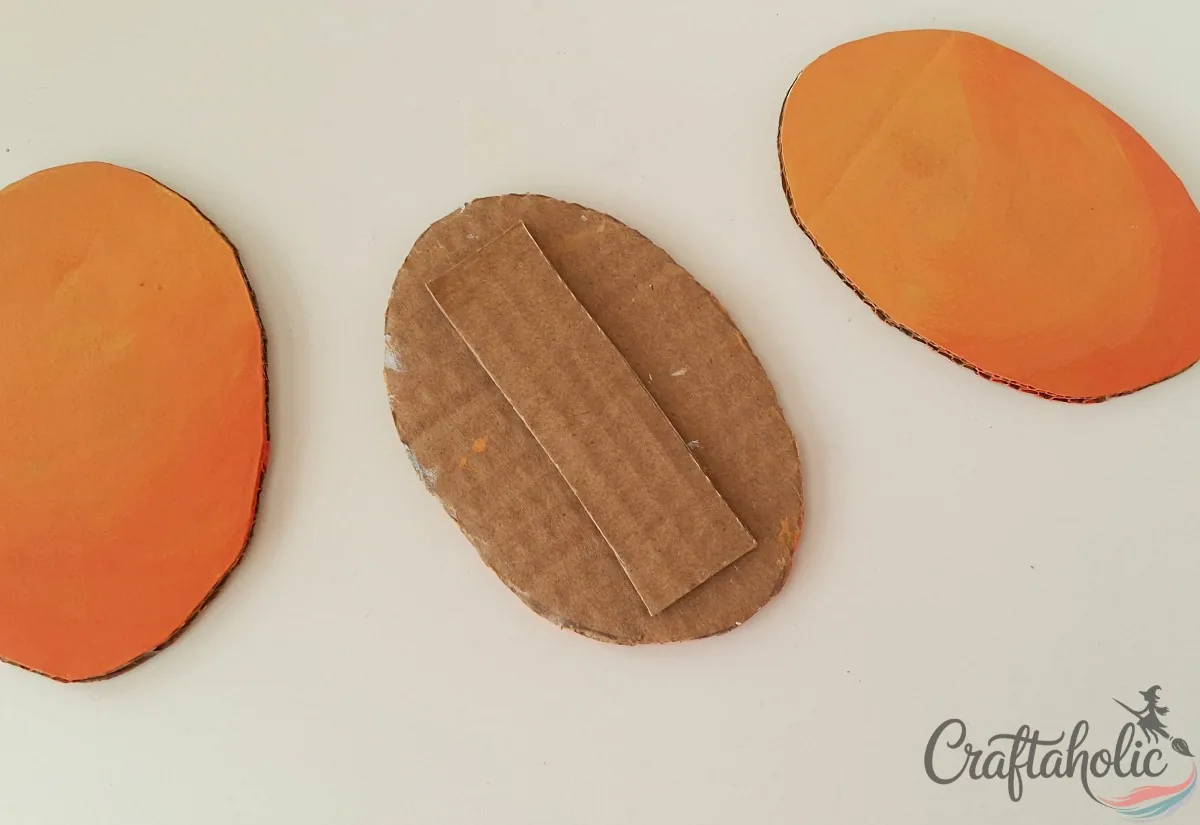
Take the cardboard back strip and hot glue it to the back of any one painted oval, once the paint is dry. This oval becomes the middle of the pumpkin, so from here on I’ll call it the strip oval and the other two the plain ovals.
Step 5: Lay the Two Plain Ovals Side by Side
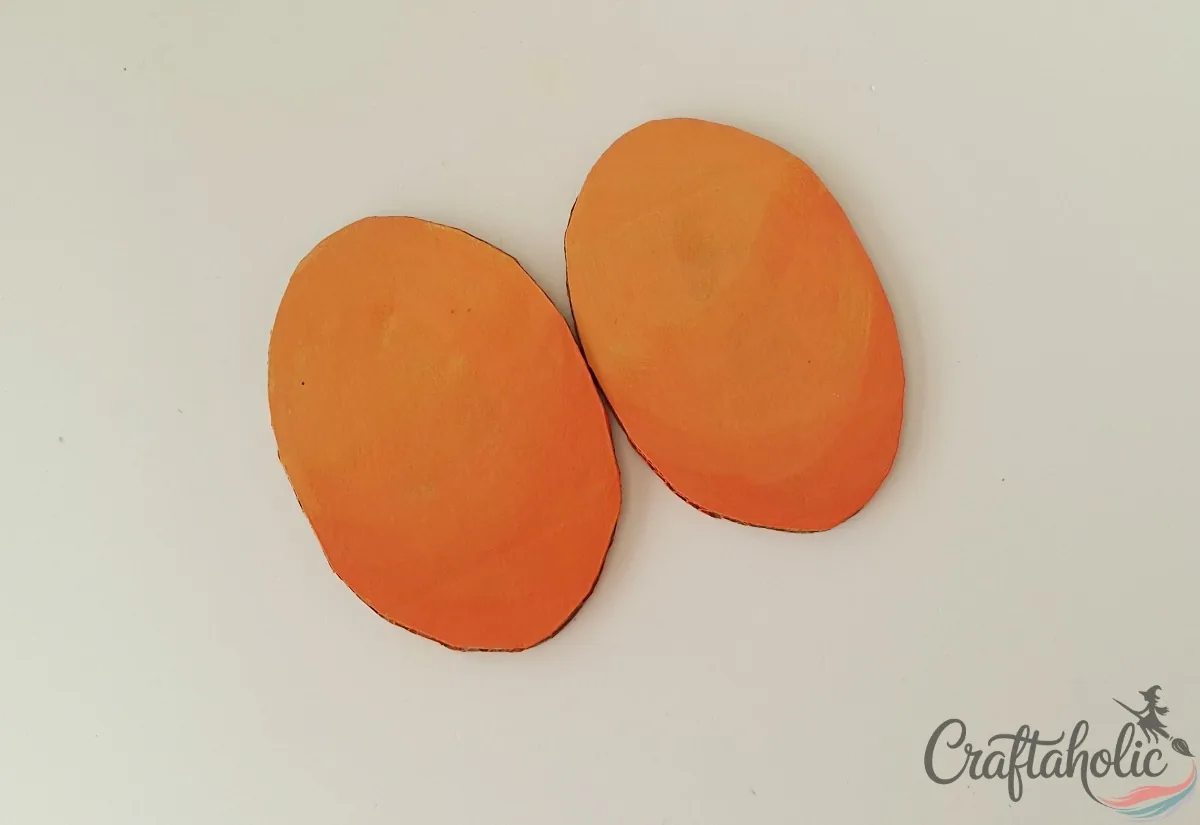
Set the two plain ovals on a flat surface with the painted sides facing up and their long edges touching. Push them together so no gap shows between them, because any space here will show through the middle of the finished pumpkin.
Step 6: Glue the Strip Oval Over the Seam
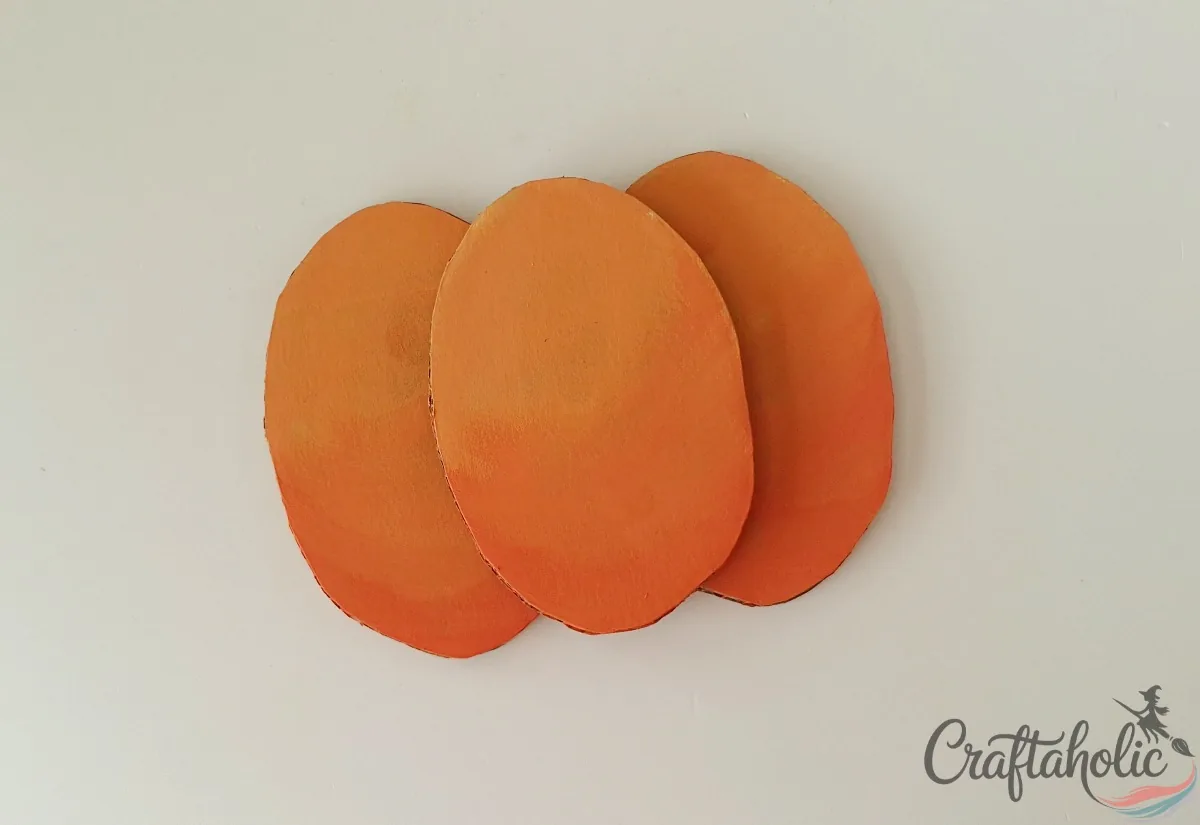
Run hot glue along all four sides of the back strip on the strip oval. Press the strip oval down over the seam where the two plain ovals meet, centered so the same amount of each plain oval peeks out on either side. Hold it for a few seconds while the glue sets.
Step 7: Paint the Leaf Green and the Stem Brown
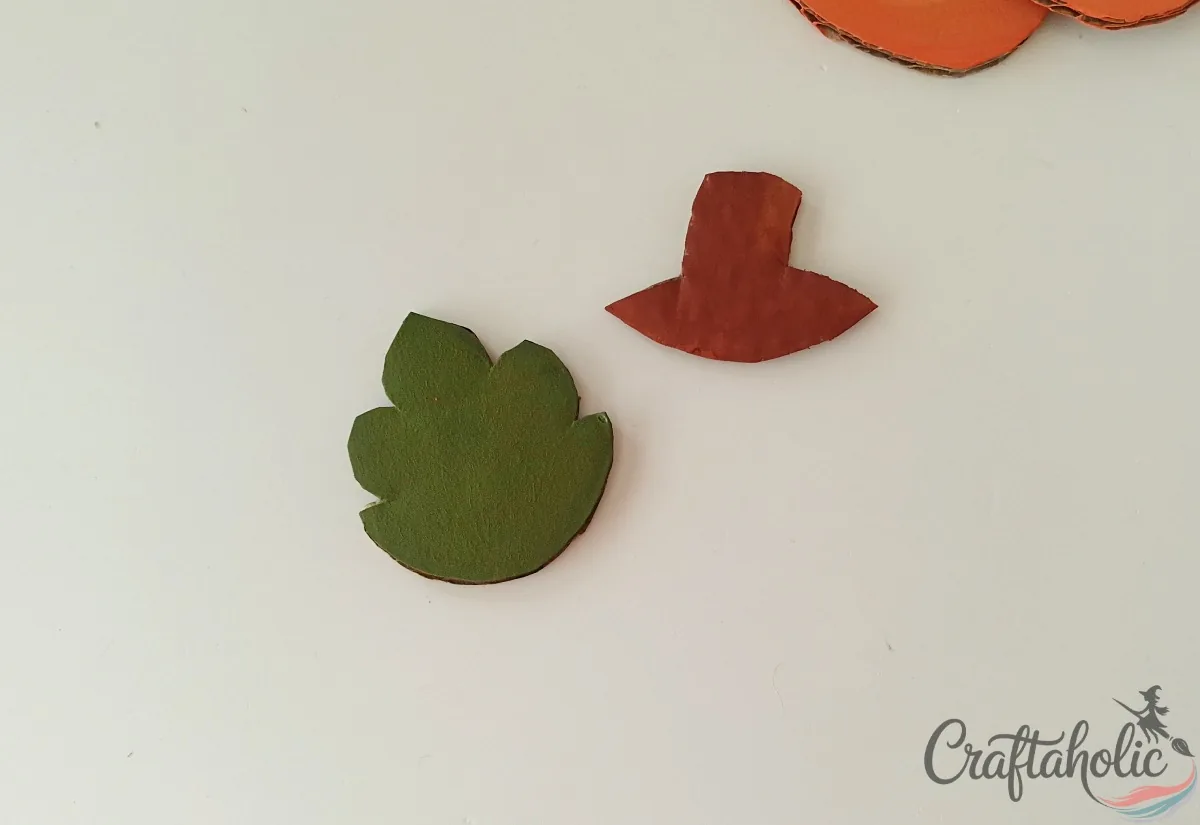
Paint the leaf green and the stem brown, then set them aside to dry. Two thin coats keep the cardboard color from showing through.
Step 8: Glue the Stem Behind the Top of the Pumpkin
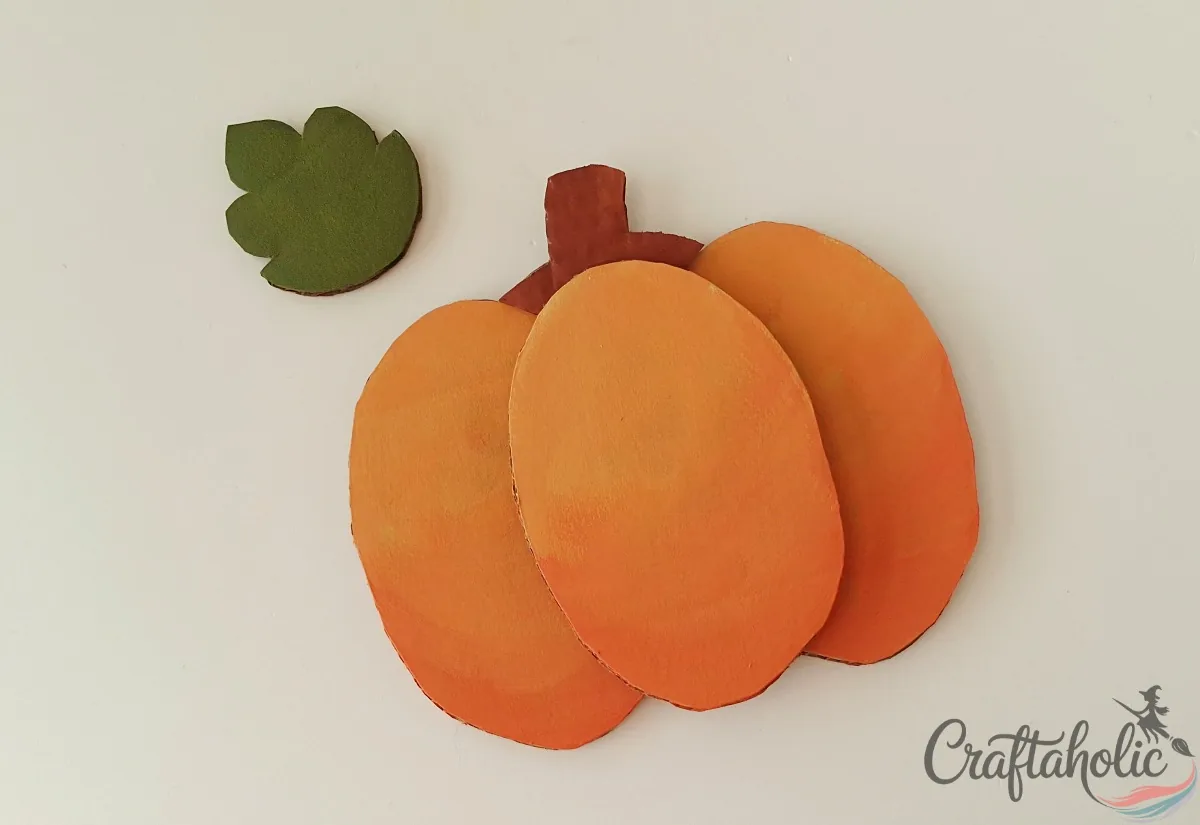
Turn the pumpkin over so the back faces you. Put hot glue on the end of the stem and press it to the back of the strip oval, near the top edge, so the stem rises above the pumpkin.
Step 9: Add the Leaf, Twine Bow and Gold Outlines
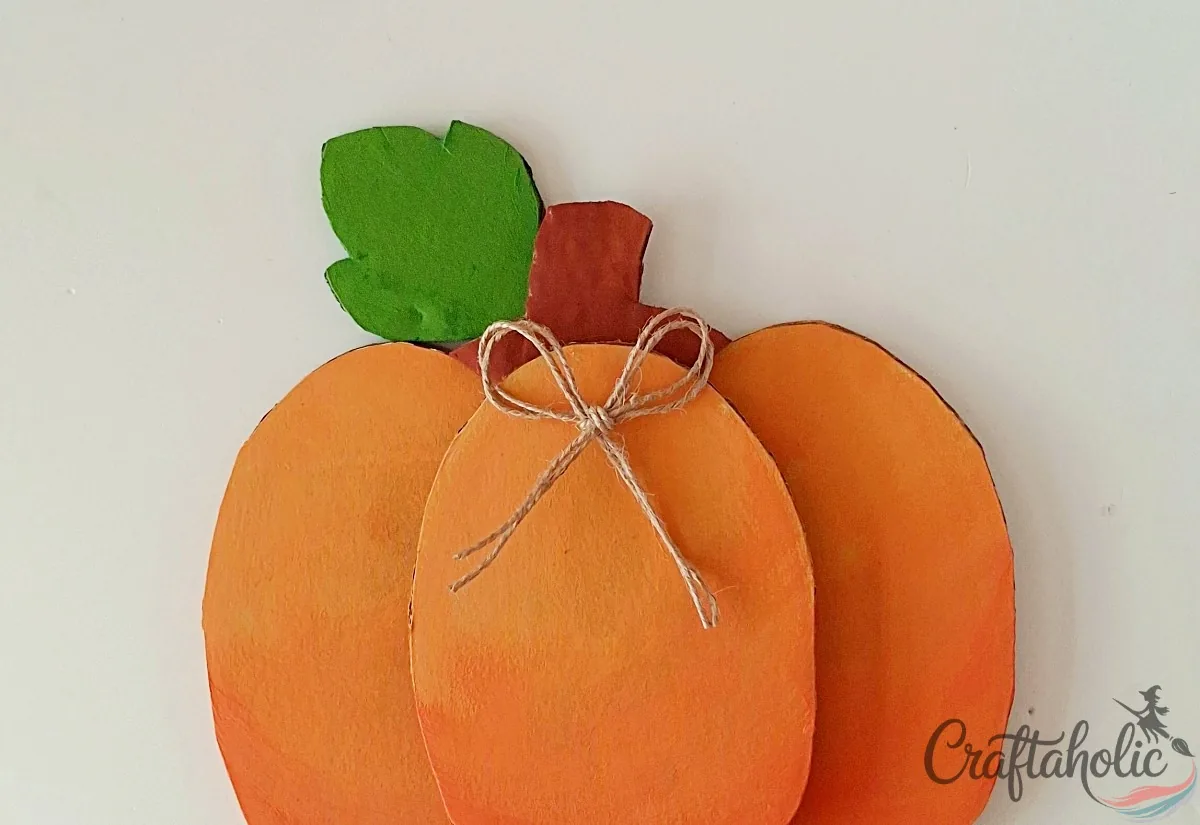
Hot glue the painted leaf to the back of the stem. Then decorate the front however you like. I tied a small twine bow and attached it to the top middle of the pumpkin, then traced the edge of each oval with a gold ink marker.
Step 10: Fold and Glue the Stand to the Back
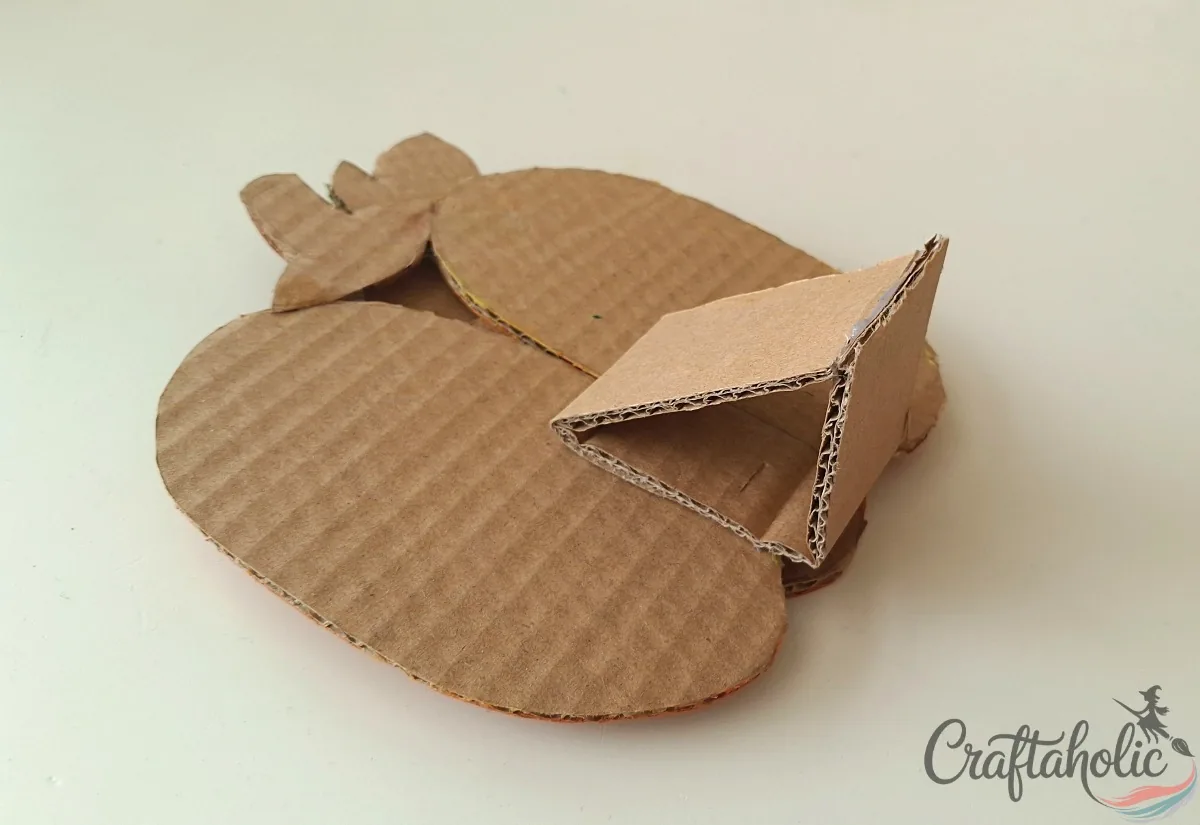
Fold the stand piece into a narrow triangle with one 90-degree corner. Glue the 90-degree side to the back of the pumpkin so the base of the triangle rests flat on the table behind it, like a little kickstand.
Stand it on a shelf before you call it finished. If it tips forward, make the base of the triangle a little longer.
Share it in "I Made It" and let us cheer you on.
Post your finished make in "I Made It" so the community can celebrate it with you. Cheer on other makers too. Each month, the most loved craft wins 1 year of Craftaholic Premium ($59)
Tips for Your Cardboard Pumpkin
- Paint a small batch in different colors, such as classic orange and a soft white, and group them on a mantel for a fall display.
- Scale the template up or down when you print it to make a bigger centerpiece pumpkin or a few small ones for a shelf. Thicker cardboard keeps the larger sizes from flopping.
- If the paint makes the cardboard curl a little, press the ovals flat under a heavy book while they finish drying.
Frequently Asked Questions
Can I make a cardboard pumpkin without a printed template?
Yes. Draw one oval by hand, cut it out, and trace it twice more so all three ovals match. Sketch the leaf, stem, back strip and stand freehand. The template just saves you the guesswork and keeps the proportions even.
What kind of cardboard works best for a cardboard pumpkin?
Flat cardboard from a shipping box works well. Thin cardboard cuts easily with scissors, while thicker cardboard needs a utility knife but gives you a sturdier pumpkin.
What paint should I use on cardboard?
Acrylic paint covers cardboard well. Brush on two coats and let the first dry completely before adding the second, so the color comes out solid and even.
How do I make the cardboard pumpkin stand up?
Glue a folded cardboard triangle to the back as a prop. Fold the stand piece into a narrow triangle and glue its 90-degree side to the back of the pumpkin. The base of the triangle rests on the shelf or table behind it and keeps the pumpkin upright.
Can kids make this cardboard pumpkin craft?
Yes, with a little help. Kids can trace the template, paint the pieces and add the twine and marker details, while an adult handles the utility knife and the hot glue gun.
More Fall and Cardboard Craft Tutorials
- How to Make a Last-Minute Fall Wreath from Cardboard
- How to Make a DIY Recycled Pumpkin Box (Toilet Paper Roll Craft)
- Easy Cardboard Snowflake Ornament
- How to Make a Classroom Reward Jar (Easy Cardboard Craft)
- Easy 3D Paper Pumpkin to Make with Kids (with Video)
Share your cardboard pumpkin in the I Made It space inside Craftaholic Community. The most-loved post each month wins a one year free Premium membership.
0 Comments
Join the conversation
Log in to your Craftaholic Community account to comment, ask questions, and cheer on fellow makers.
Log in to comment