


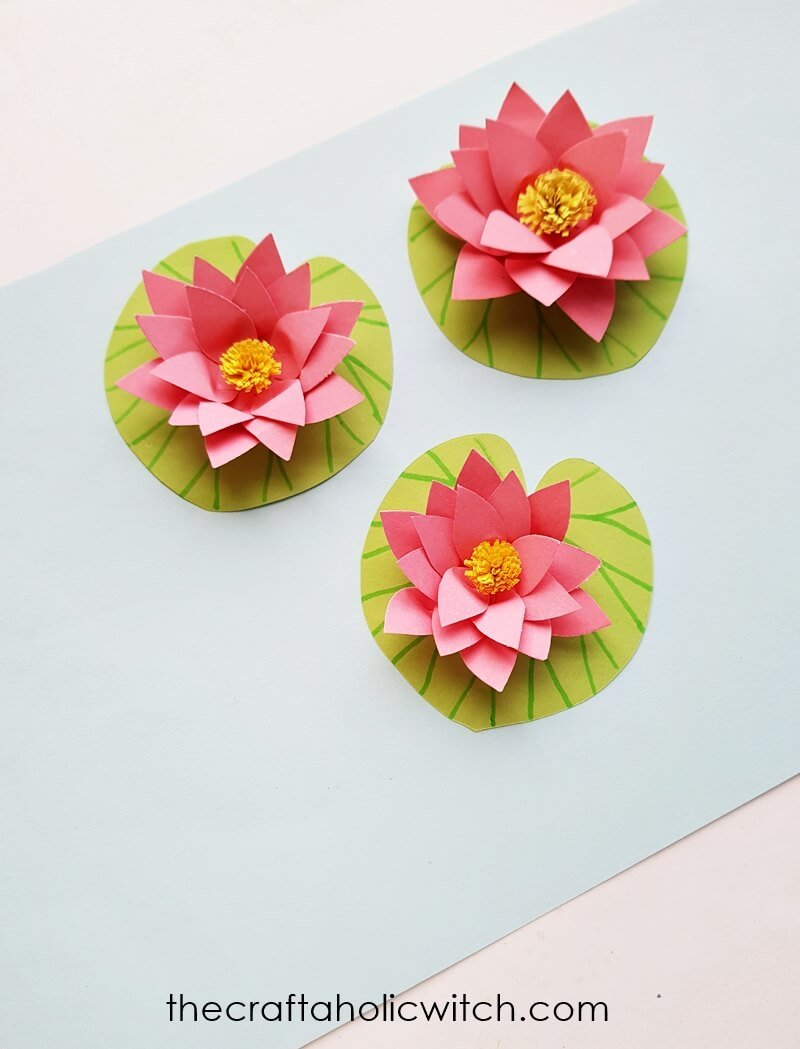
You can turn a few sheets of colored craft paper into a full paper water lily, eighteen folded petals, a coiled yellow center, and a veined leaf, in about an hour with our free printable template.
I designed this one so you never need anything fancier than paper, glue, a pencil, and scissors, the same supplies most craft drawers already have. It takes patience more than skill: folding and gluing eighteen small petals is repetitive, but each one gets easier once your hands find the rhythm.
Once it’s dry, this paper water lily holds its shape well for scrapbook pages, gift box toppers, spring wall decor, or a quick Easter craft session with the kids.
Paper Water Lily at a Glance
- Difficulty: Intermediate
- Time: 60-90 minutes
- Cost: Under $3
- Ages: 8+ with adult help
- Best for: Spring and Easter decor, scrapbooking, and gift box toppers
Join Craft Challenge: Craft Your Calm
Make something that brings you a sense of peace, share a photo, and tell us your story. It's free to enter, open to everyone, and the entry with the most reactions takes home a $100 gift card. Takes five minutes to join.
Entries close August 30, 2026. No purchase necessary.
What You Need to Make a Paper Water Lily
Materials
- Pink or white craft paper for eighteen petals, though any shade works, since thinner craft paper folds and overlaps more easily than cardstock.
- Yellow craft paper for the fringed center.
- Green craft paper for the leaves.
- Craft glue, used sparingly so the petals stay crisp instead of wrinkling.
Tools
- Pencil, for tracing the template pieces onto your paper.
- Scissors, for cutting the petals, leaves, and base, and for snipping the one centimeter slit in each petal.
- Green marker or sharpie, for drawing vein lines onto the leaf cutouts.
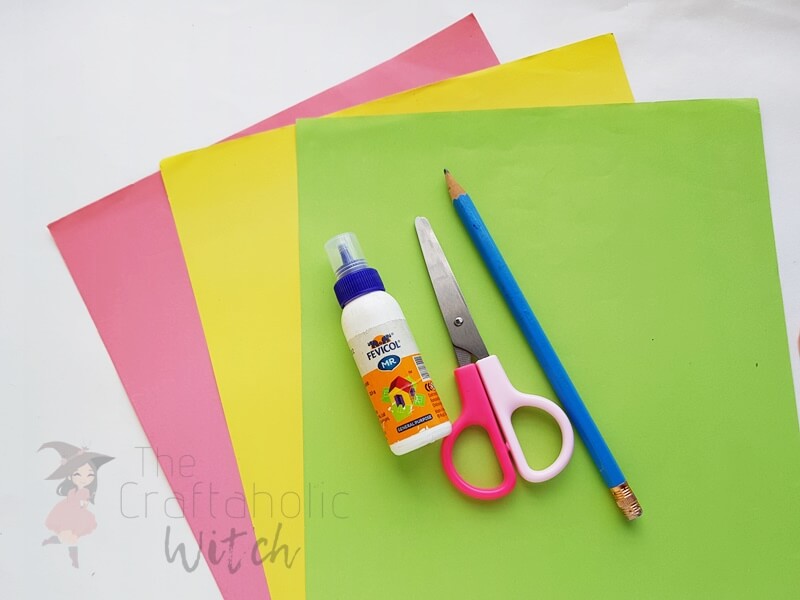
Download the free paper water lily template from Craftaholic Community, then gather your supplies and get crafty.
Ask inside "Crafty Q&A" while you are making.
"Crafty Q&A" is free to join. Share your question, photo, or the exact step where you got stuck, and chat with other makers plus the Craftaholic Witch team. You can also join any discussion thread already happening inside the space.
How to Make a Paper Water Lily
Step 1: Trace and Cut the Petal, Strip, and Leaf Pieces
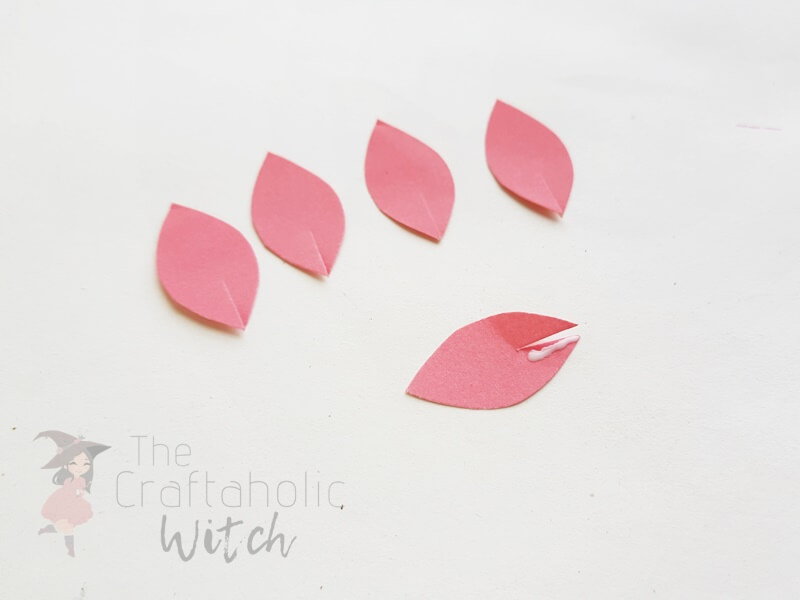
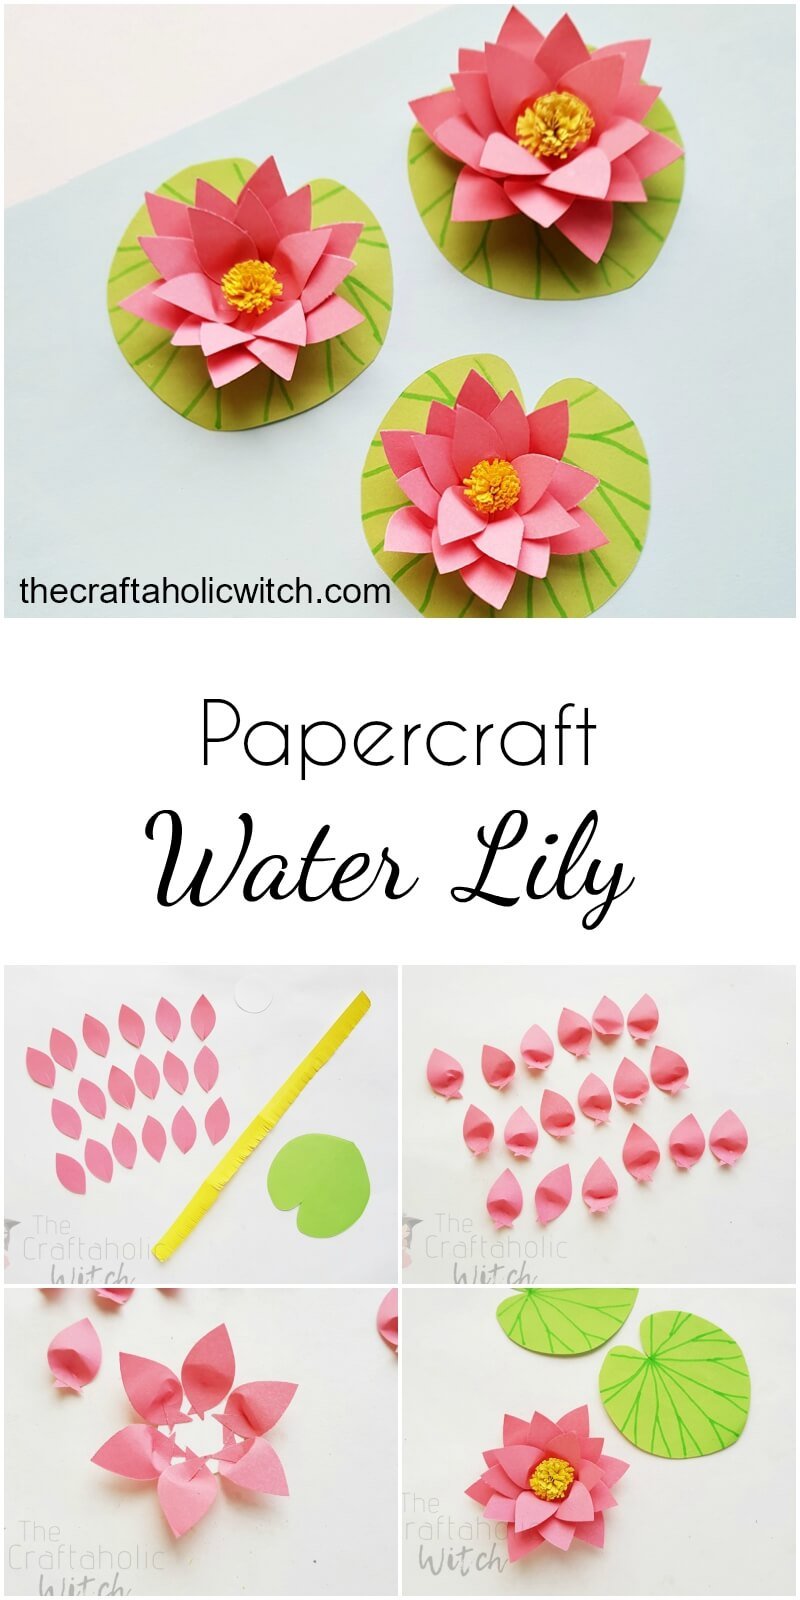
Trace the petal, fringed strip, and leaf shapes from the template onto your chosen papers: pink or white for the petals, yellow for the strip, and green for the leaves. Cut each piece out, then snip a one centimeter slit into the pointed end of every petal. Cut the round base from any leftover paper color.
Step 2: Glue the Slit Closed on One Petal
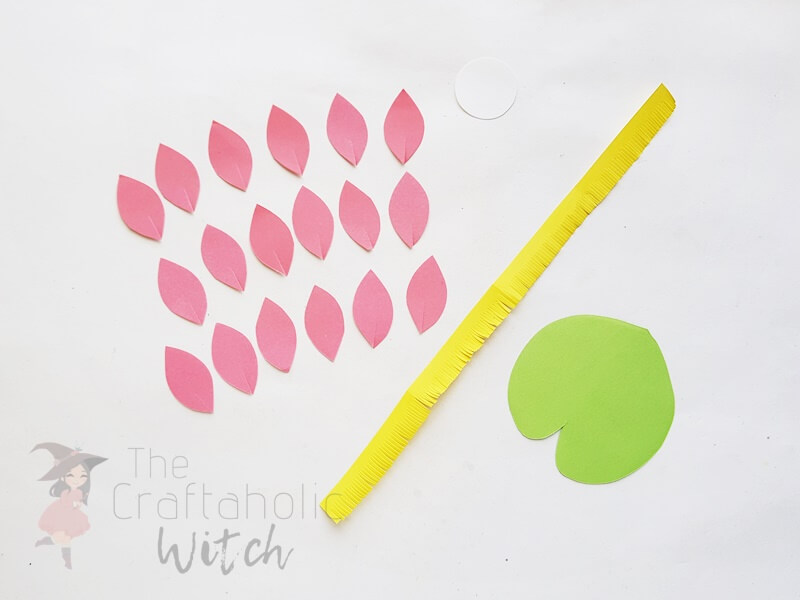
Take one petal cutout and run a thin line of glue along both sides of the slit at its point.
Step 3: Overlap the Slit to Cup the Petal
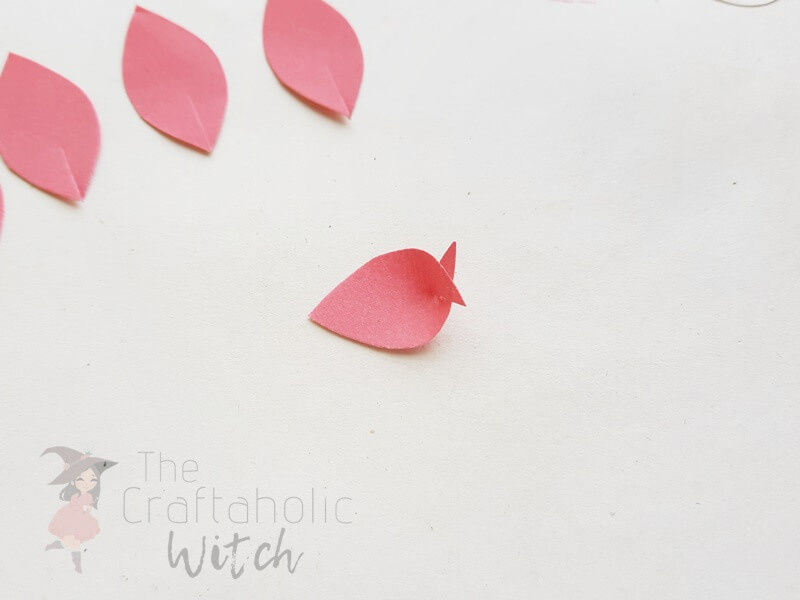
Overlap the two sides of the slit and press the dry side over the glued side to join them. Hold the seam for a few seconds so it doesn’t spring back open, that’s the moment that gives the petal its curved, cupped shape instead of lying flat.
Step 4: Fold the Tip Back for a 3D Look
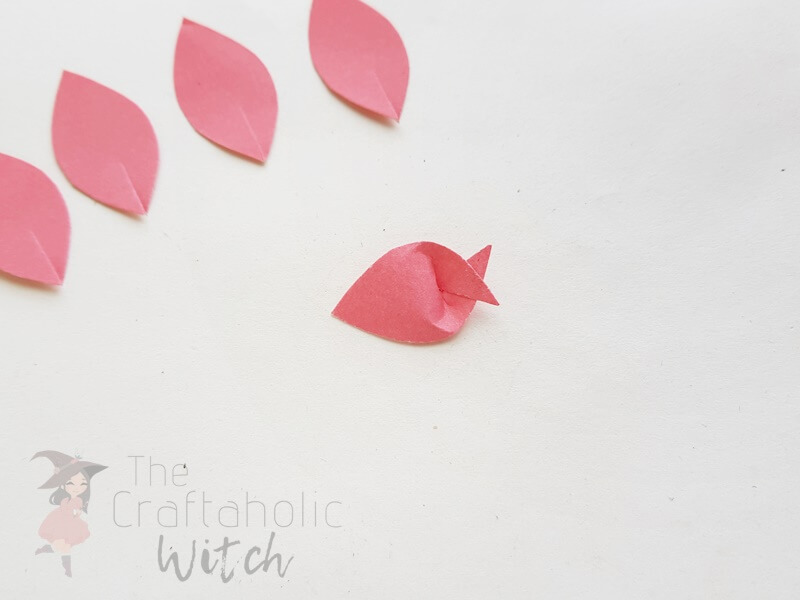
Once the glue has dried, fold the top point of the petal toward the back. That single fold is what turns a flat cutout into a petal with real dimension.
Step 5: Repeat to Make All Eighteen Petals
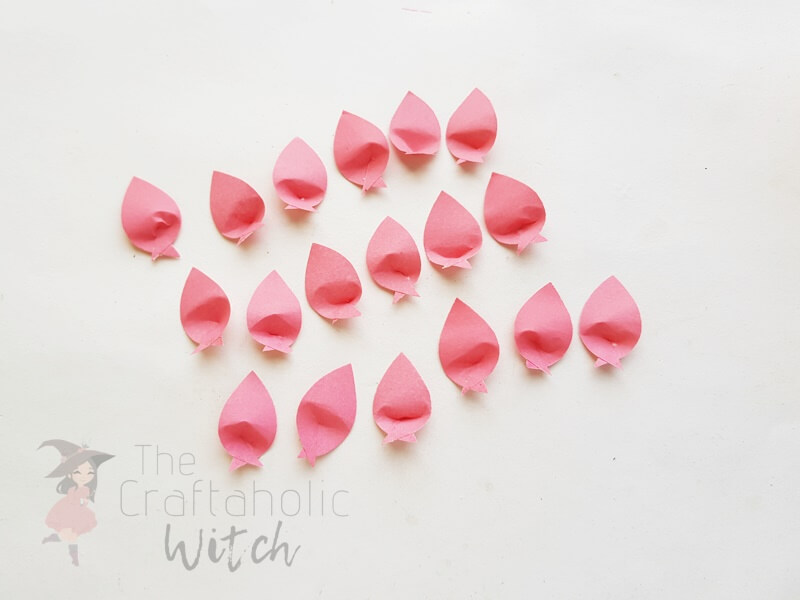
Glue and fold the rest of the cutouts the same way until you have eighteen finished petals. It’s the slowest part of this project, but a stack of curved petals is oddly satisfying to look at once they’re all done.
Step 6: Glue the First Six Petals Around the Base
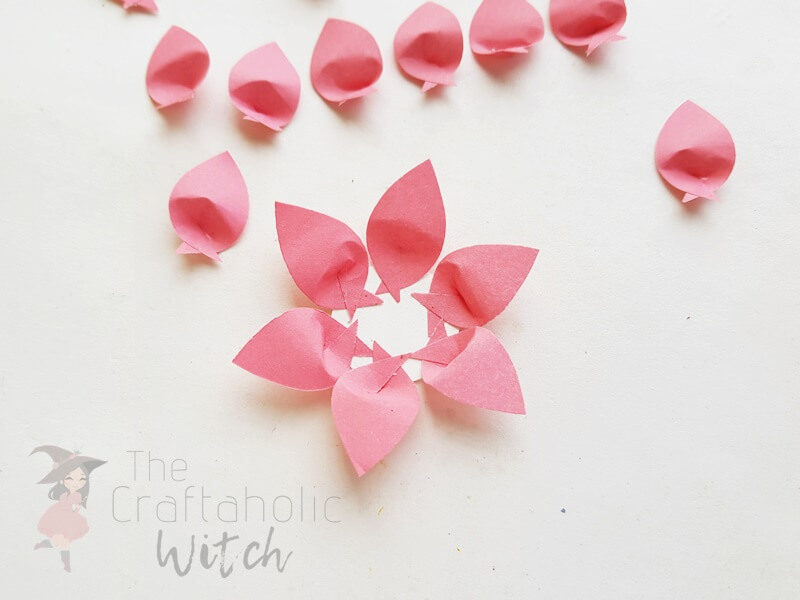
Set the round base flat on your table and dot glue at six evenly spaced points around its edge. Press one petal onto each dot with the overlapped seam facing down against the glue. This outer ring is your first layer.
Step 7: Add the Second and Third Layers of Petals
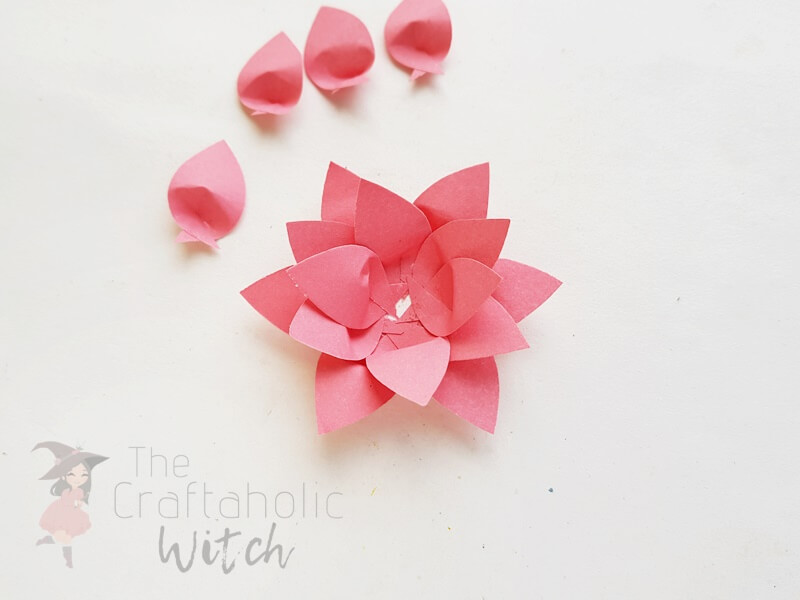
Glue six more petals just inside the first ring for your second layer, then the final six in the very center for the third. Each layer sits slightly higher and tighter than the one before it, which is what gives the finished flower its rounded, blooming shape.
Step 8: Coil the Fringed Strip Into the Center

Starting from one end, coil the yellow fringed strip tightly, adding a dab of glue along the plain edge as you go so it holds. Glue the loose end down once you reach it to lock the coil in place.
Step 9: Add the Center, Then Vein the Leaves
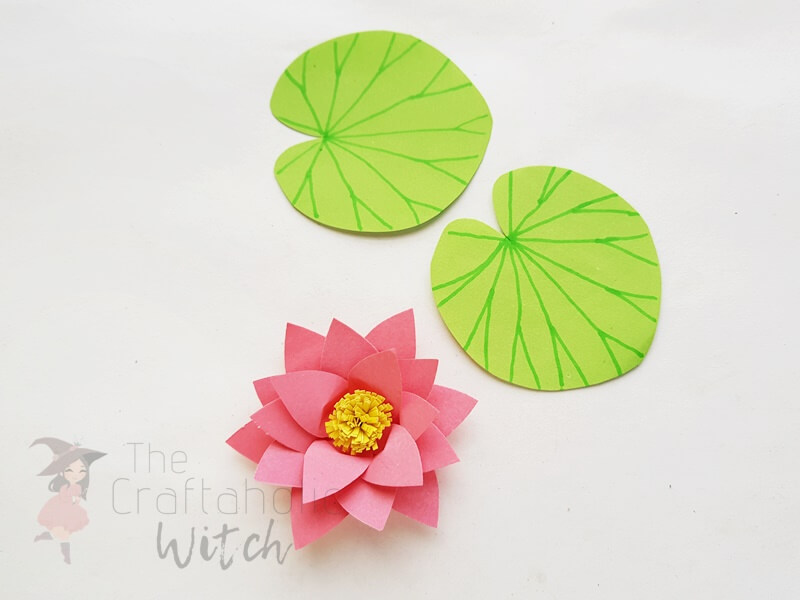
Glue the coiled center into the middle of your layered petals, then use your fingertips to gently spread the fringed strands open so they fan out. Finally, use a green marker or sharpie to draw a few vein lines down each leaf cutout, then glue the leaves on wherever you’d like around the base.
Share it in "I Made It" and let us cheer you on.
Post your finished make in "I Made It" so the community can celebrate it with you. Cheer on other makers too. Each month, the most loved craft wins 1 year of Craftaholic Premium ($59)
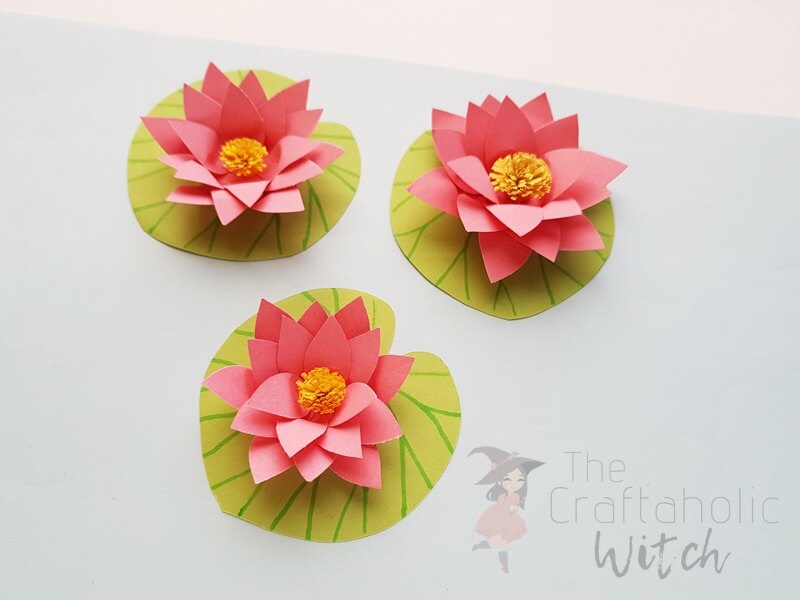
A finished batch looks even better clustered in twos and threes with the leaves tucked in around the base.
Tips for a Better Paper Water Lily
- Mix two or three shades of the same color for the petal layers, it gives the layered look a more natural gradient than one flat color.
- Scale the template up or down before printing to make a bigger accent flower or a cluster of smaller ones.
- Swap the yellow fringed center for orange or white if you want a different lily variety.
Frequently Asked Questions
What kind of paper works best for a paper water lily?
Lightweight colored craft paper works best because it folds and overlaps into a curved petal shape without resisting the fold. Cardstock is too stiff to cup properly and makes the finished flower look flat instead of rounded.
How long does it take to make one paper water lily?
Making one full paper water lily takes about 60 to 90 minutes, most of it spent folding and gluing the eighteen petals. Once you’ve made a few, the folding goes faster and a whole flower can come together closer to 45 minutes.
Do I need the printable template to make these paper lilies?
You don’t strictly need it, but the template keeps all eighteen petals, the base, and the leaves the same size so the layers line up evenly. Free-handing the shapes works fine too if you don’t mind a slightly less uniform look.
Can I make a bigger or smaller paper water lily?
Yes, scale the template up or down before you print it, and the same folding steps still apply at any size. Just keep the petal-to-base ratio the same, or the outer layer won’t have enough room to overlap properly.
How long do paper water lilies last, and how should I store them?
A finished paper water lily lasts indefinitely if you keep it away from moisture and direct sun, both of which warp the petals and fade the color over time. Store extras flat in a box or drawer rather than stacked, so the folded petals don’t flatten out.
More Paper Flower Tutorials
- How to Make Beautiful Paper Lilac Flowers
- How to Make a Realistic Paper Gardenia Flower
- How to Make Paper Baby’s Breath Flowers
- How to Make Paper Hyacinth Flowers from Tissue Paper
Share your paper water lily in the I Made It space inside Craftaholic Community. The most-loved post each month wins a one year free Premium membership.
0 Comments
Join the conversation
Log in to your Craftaholic Community account to comment, ask questions, and cheer on fellow makers.
Log in to comment