


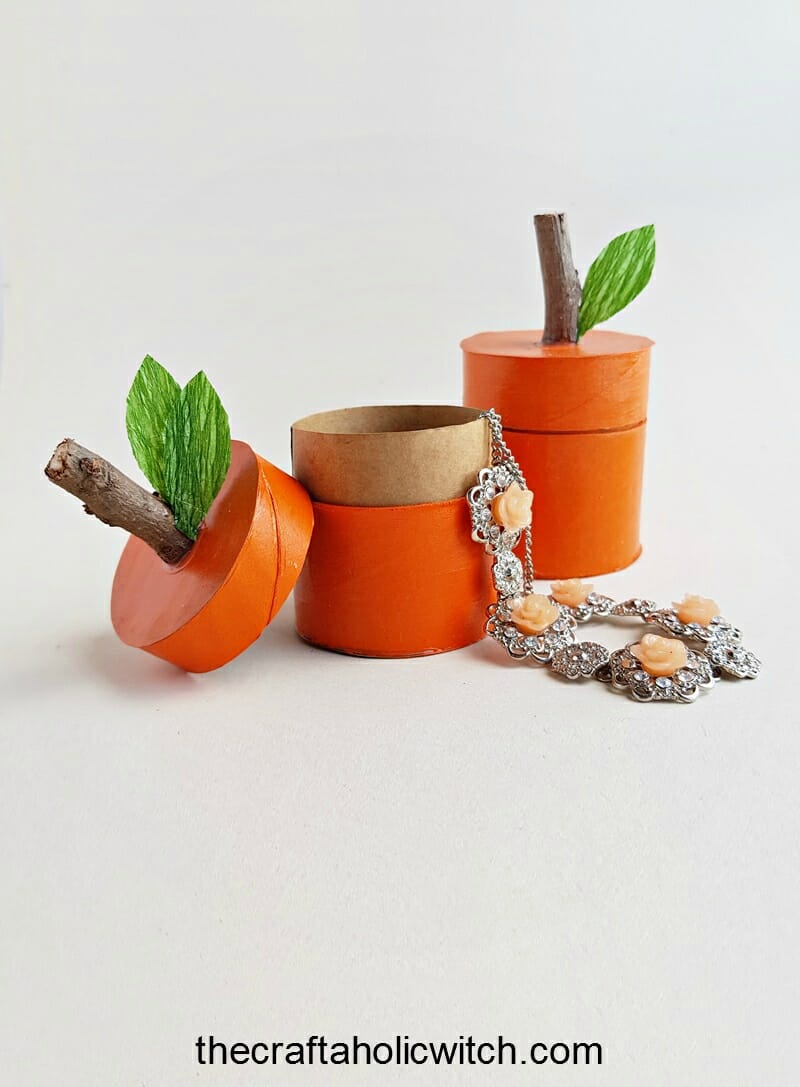
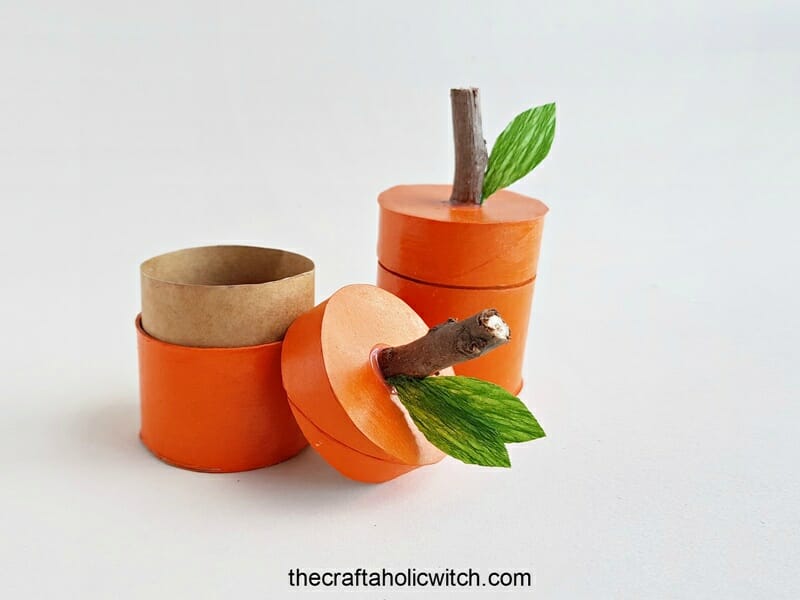
This pumpkin box sits on my desk every fall and never fails to make people ask where I bought it. I made it from a toilet paper roll, a scrap of cardstock, and a stick from the garden. The whole project takes under an hour, costs almost nothing, and the finished box is actually useful, not just cute. It fits a handful of rings, a few earrings, or whatever small treasure you want to tuck inside as a gift.
It’s a great project to do with kids, too. The steps are simple enough for a 6-year-old to follow with a little help on the X-acto knife parts, and it’s a natural conversation starter about reusing materials before they hit the bin.
Recycled Pumpkin Box at a Glance
- Difficulty: Beginner
- Time: 45-60 minutes
- Cost: Under $2 (most materials already on hand)
- Ages: 6+
- Best for: Fall decor, Halloween gifting, jewelry storage
Join Craft Challenge: Craft Your Calm
Make something that brings you a sense of peace, share a photo, and tell us your story. It's free to enter, open to everyone, and the entry with the most reactions takes home a $100 gift card. Takes five minutes to join.
Entries close August 30, 2026. No purchase necessary.
What You Need to Make a Recycled Pumpkin Box
Materials
- Toilet paper roll – the base for both the box body and the lid; one roll makes one complete pumpkin box
- Brown cardstock paper – gives the roll its inner structure and becomes the bottom and top panels; regular scrapbook cardstock works perfectly
- Orange acrylic paint – for the pumpkin color; a small craft-store bottle is plenty for several boxes
- Craft glue – holds the lining and circles in place; white PVA glue works just as well
- Dry twig – the stem; pick one from the garden, about 3-4 cm long and thin enough to stand upright when glued
Tools
- Ruler – for measuring the box and lid heights accurately
- Pencil – for marking cut lines and tracing circles onto cardstock
- Scissors – for cutting the cardstock strip and circles
- X-acto knife – for a cleaner cut through the toilet paper roll tube; a regular craft knife works too
- Paint brush – a medium flat brush covers the tube evenly
Ask inside "Crafty Q&A" while you are making.
"Crafty Q&A" is free to join. Share your question, photo, or the exact step where you got stuck, and chat with other makers plus the Craftaholic Witch team. You can also join any discussion thread already happening inside the space.
How to Make a Recycled Pumpkin Box
Step 1: Measure and Mark the Box and Lid Heights
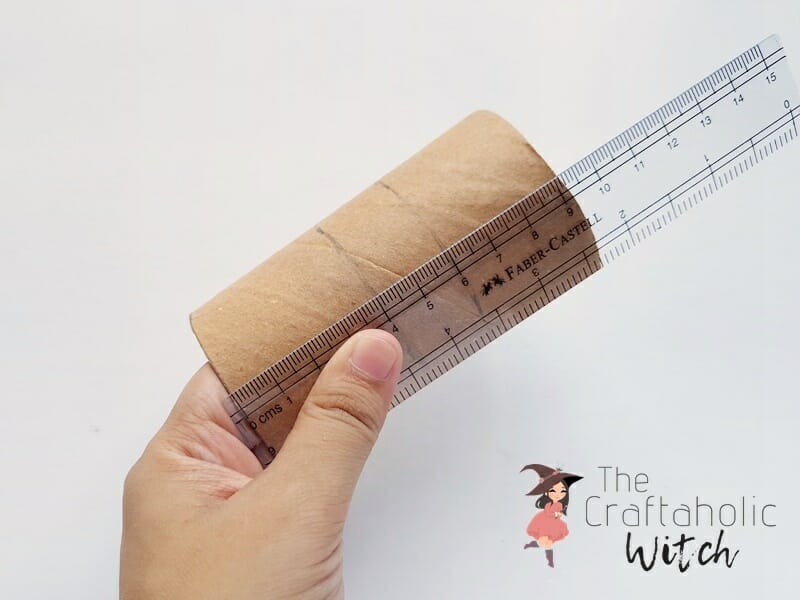
Decide how tall you want the box body and the lid, then use a ruler and pencil to mark both measurements around the tube. A box height of about 6 cm and a lid of about 1.5 cm gives you a nicely proportioned shape. Mark all the way around the roll so your cuts stay level.
Step 2: Cut the Roll into Box and Lid Sections
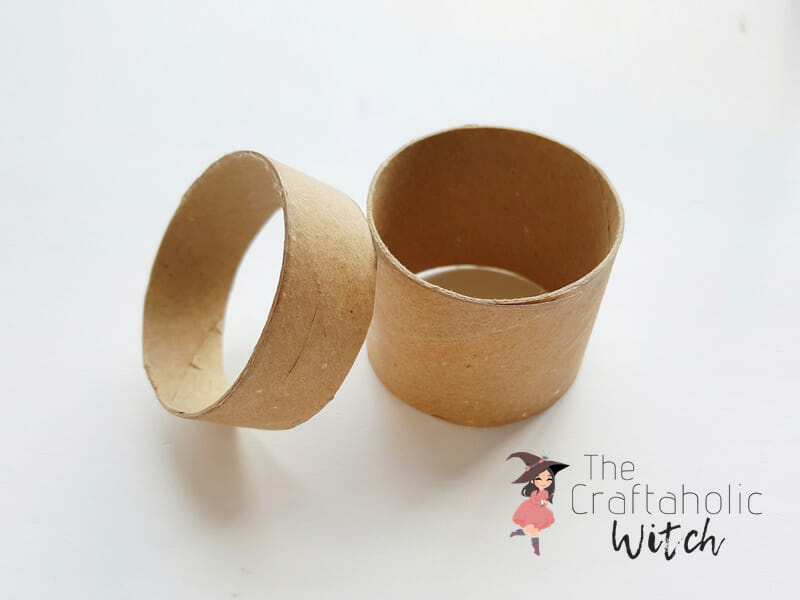
Score along your pencil lines with the X-acto knife, then cut through. Work slowly and rotate the roll as you go rather than trying to push the blade all the way through in one pass. You’ll end up with two separate cylinders: the taller piece for the box body and the shorter ring for the lid.
Step 3: Size the Cardstock Lining Strip
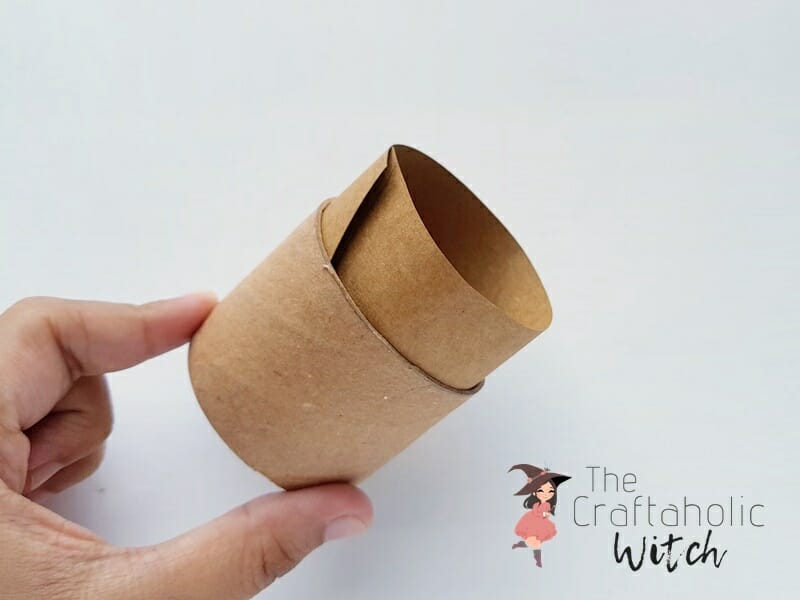
Cut a strip of cardstock with a width equal to the combined height of the box body and lid, and a length long enough to wrap once around the inside of the roll. Roll the strip loosely and slip it inside the box section with one end flush with the open end of the roll. Mark on the strip exactly where it meets the opposite edge so you know the overlap point.
Tip: Cut the strip a centimeter or two longer than you think you need. You can trim the excess after it’s glued in, but you can’t add length back.
Step 4: Apply Glue to the Inner Surface of the Box Roll
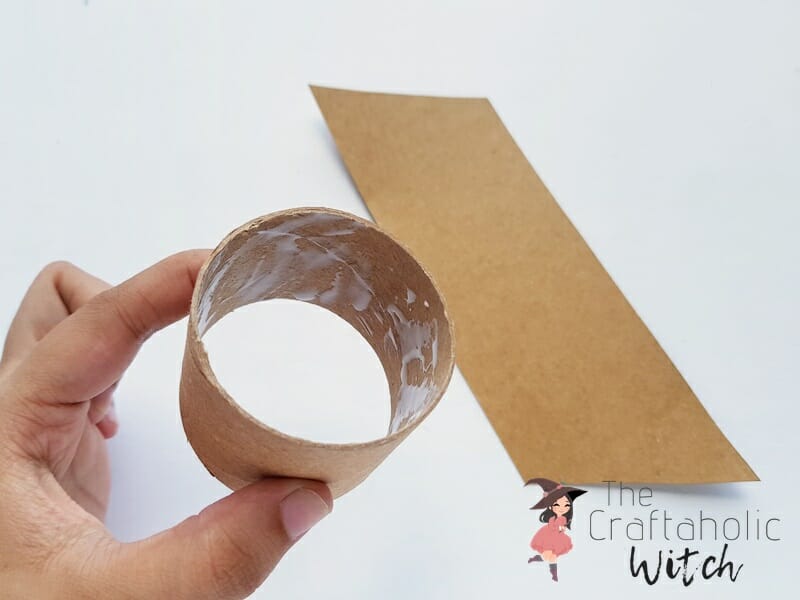
Remove the cardstock strip and spread a thin, even layer of craft glue all over the inside of the box roll. Keep it thin. If you pool the glue it will seep through the cardboard and make the outside tacky once you paint it.
Step 5: Roll and Press the Cardstock Lining Inside
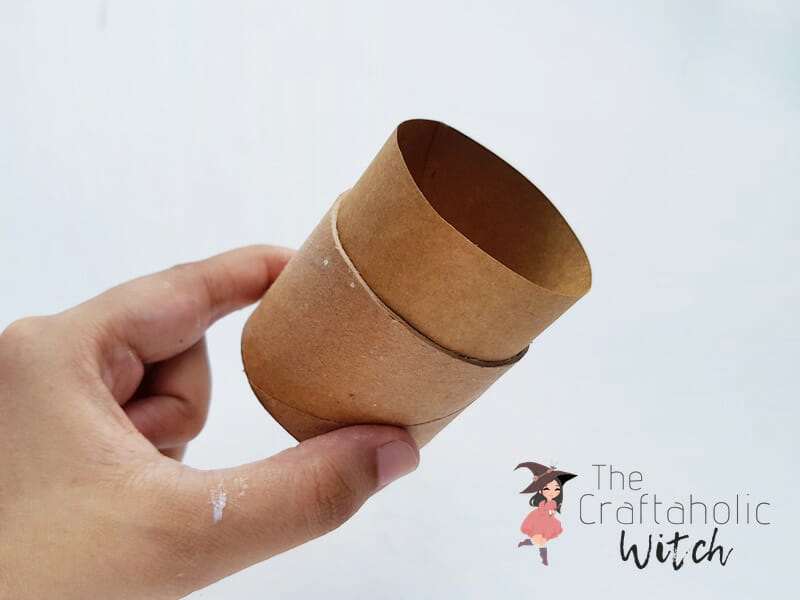
Roll the cardstock strip tightly and slide it into the glued roll, one end flush with the top of the box. Press it firmly against the inner wall all the way around. The lining should sit snug with no gaps. Hold it for a minute, then set the roll aside upright to dry. This lining is what gives the finished box its rigidity, so let it set fully before moving on.
Step 6: Trace and Cut the Bottom and Lid Circles
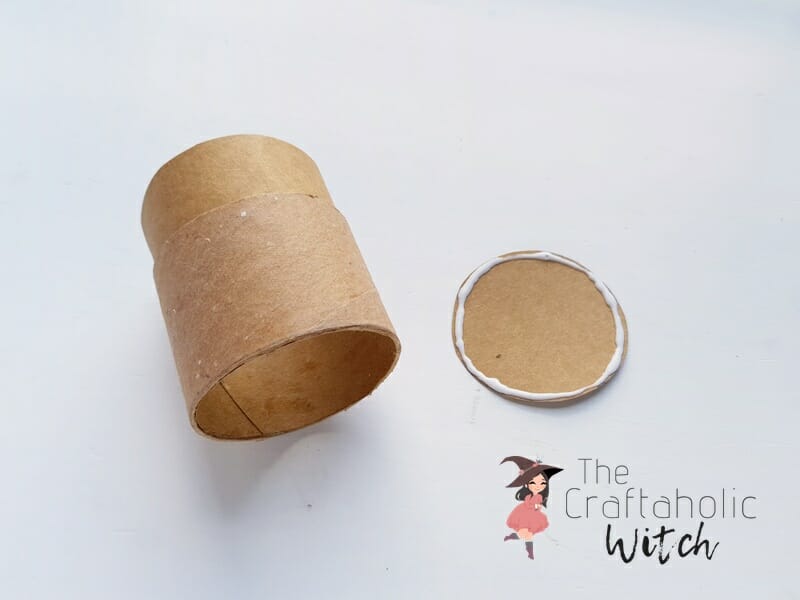
Set the box roll upright on a piece of cardstock and trace around the outer edge with your pencil. Repeat for a second circle. Cut both out, then run a thin bead of craft glue around the rim of each circle, staying close to the edge.
Step 7: Attach the Circles to Seal the Box and Lid
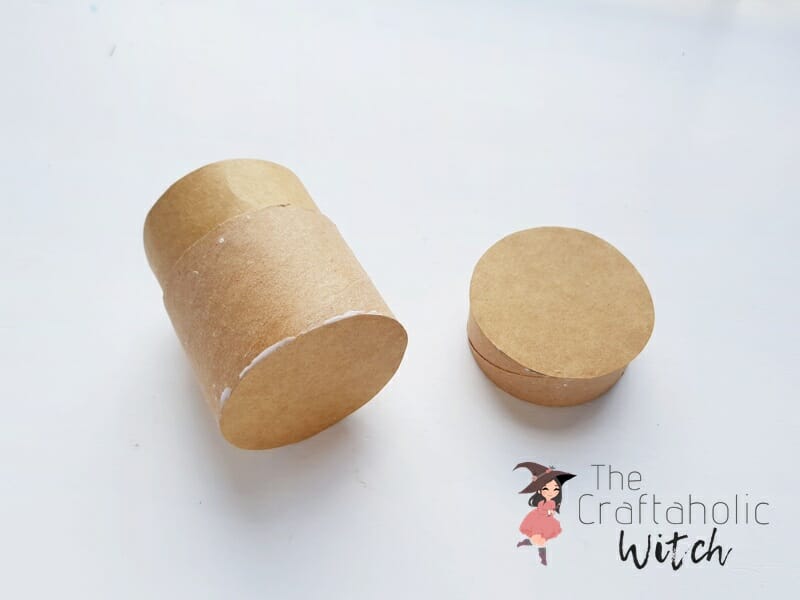
Press the open end of the box roll straight down onto one glued circle, centering it so the roll sits square. Flip it over and press firmly along the inside seam. Repeat with the lid ring and the second circle. These become the base of the box and the top of the lid, so make sure both seams are tight before the glue sets.
Step 8: Paint the Box and Lid Orange
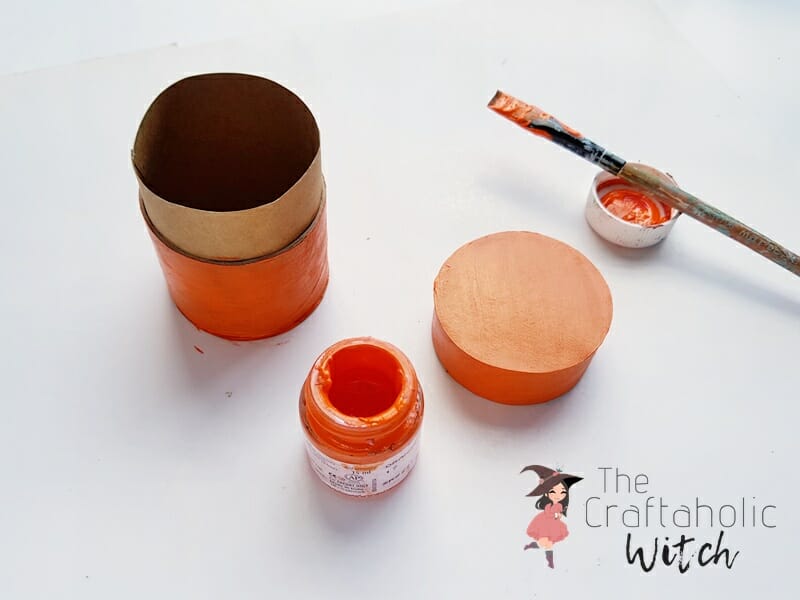
Brush orange acrylic paint all over the outside of the box and lid, covering the cardstock circles too. One coat won’t be enough; the cardboard soaks it up fast. Let it dry completely, then apply a second coat for an even, opaque finish.
Step 9: Glue the Twig Stem onto the Lid
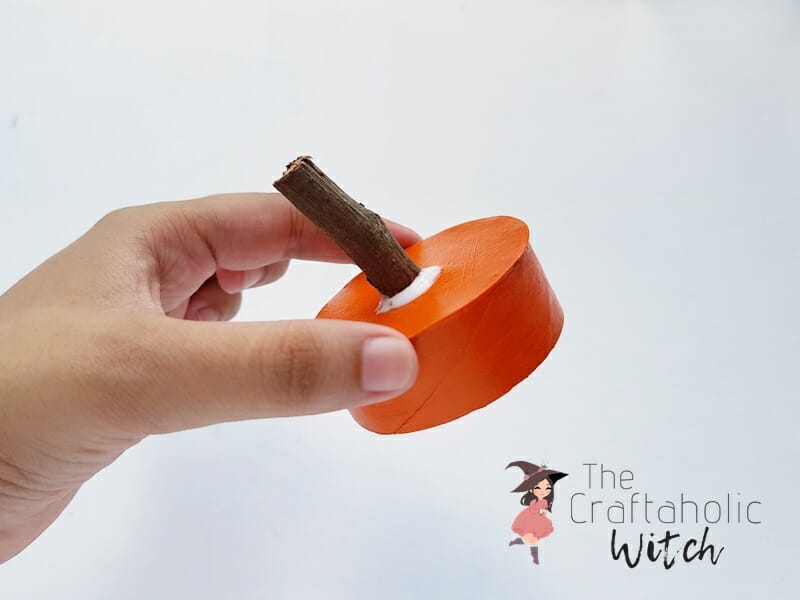
Once the paint is completely dry, put a dot of craft glue in the center of the lid and press the twig into it, holding it upright for a minute until it grabs. A twig about 3-4 cm long looks proportional on a standard toilet-roll box. If the stem keeps leaning, let the glue firm up for 30 seconds before positioning it so it doesn’t slide.
Share it in "I Made It" and let us cheer you on.
Post your finished make in "I Made It" so the community can celebrate it with you. Cheer on other makers too. Each month, the most loved craft wins 1 year of Craftaholic Premium ($59)
Tips for Your Recycled Pumpkin Box
- For a snug-fitting lid, stop the cardstock lining inside the lid ring about 1-2 mm short of the rim. That small ledge lets the box body rest inside without the lid falling through.
- If you’re making these with younger kids, swap the dry twig for a short cinnamon stick. It’s safer to handle and smells like fall.
- Make a batch of 3 or 4 at once since the drying time is the same regardless of quantity. Grouped on a tray they make an easy fall centerpiece.
Frequently Asked Questions
Can I use a paper towel roll instead of a toilet paper roll?
Yes. A paper towel roll gives you a taller box, and you can cut more than one box from a single tube, which is handy if you want a set. The process is identical; just adjust your box and lid height measurements to suit the larger diameter.
How do I keep the lid from falling off the box?
Stop the cardstock lining inside the lid ring 1-2 mm short of the rim. That small inner ledge gives the box body something to rest against, creating a gentle friction fit. No extra glue needed.
What can I store in the recycled pumpkin box?
It works well as a small jewelry box for rings, earrings, or a bracelet, or as a Halloween gift box for a little treat or a folded note. The standard toilet-paper-roll size holds a small handful of items comfortably.
How do I get a smooth, even paint finish on the cardboard?
Two thin coats beat one thick one. Apply the first coat, let it dry completely (about 20-30 minutes with acrylic paint), then apply the second. If you still see brush strokes, a light third coat blended with a slightly damp brush smooths them out.
More Halloween and Fall Craft Tutorials
- DIY Recycled Spoon Witch for Halloween (Free Template Included!)
- How to Make Paper (Easy Method of Making Recycled Paper)
- DIY Recycled Jewelry Box
Share your pumpkin box in the I Made It space inside Craftaholic Community. The most-loved post each month wins a one year free Premium membership.
0 Comments
Join the conversation
Log in to your Craftaholic Community account to comment, ask questions, and cheer on fellow makers.
Log in to comment