
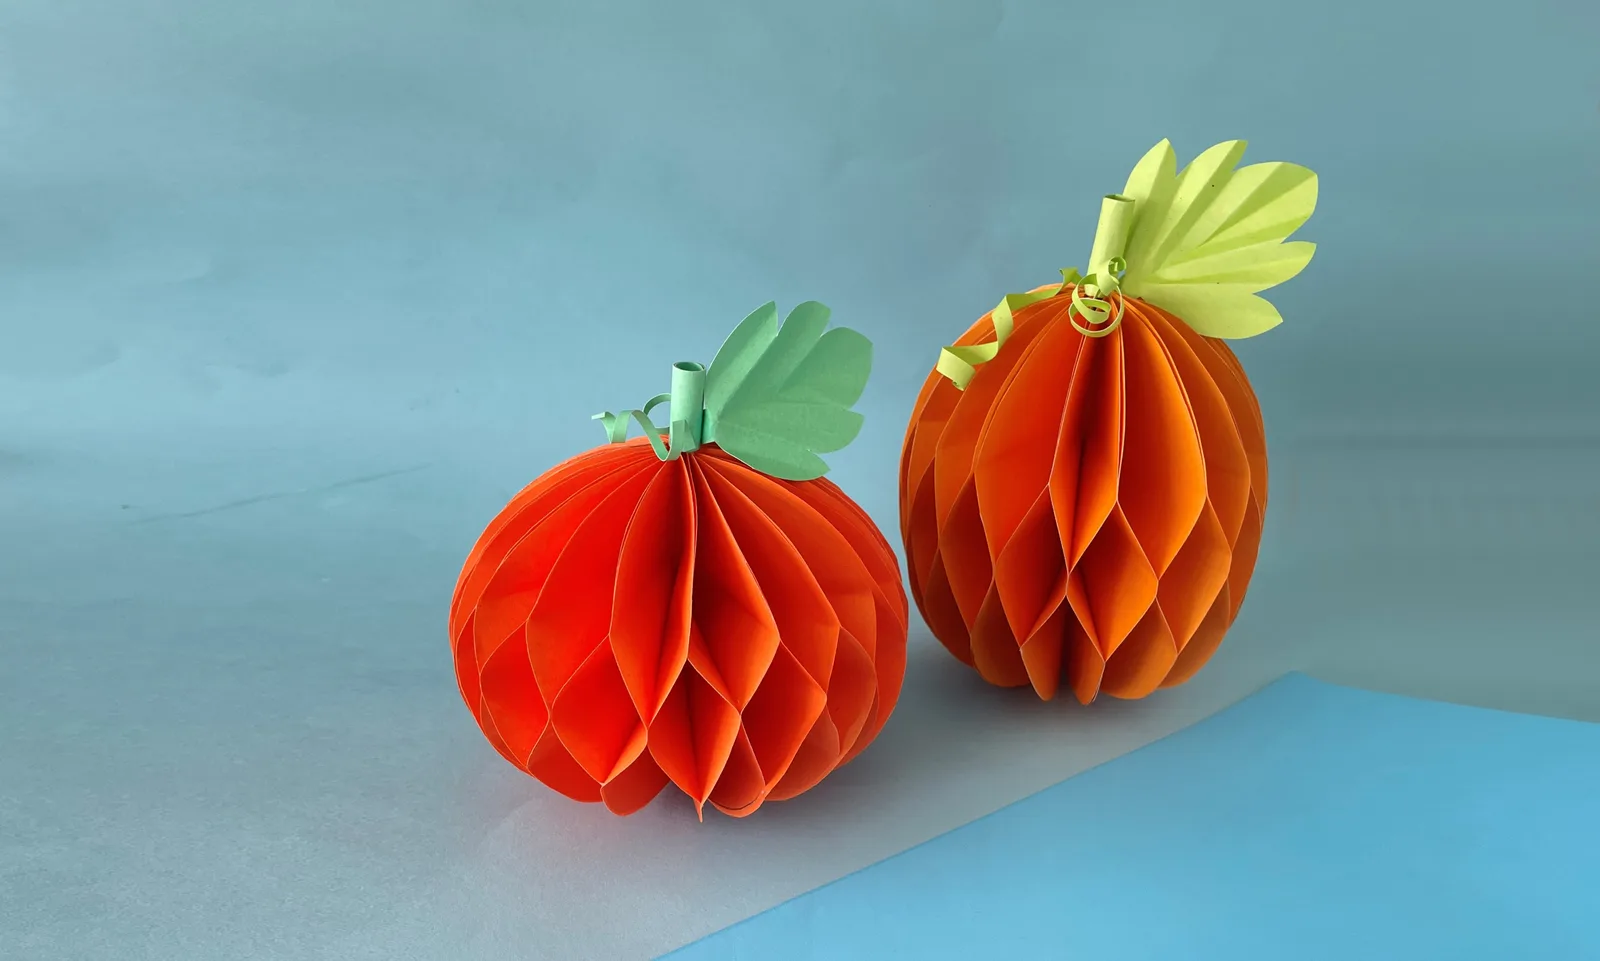
A honeycomb paper pumpkin gets its shape from one move repeated 18 times: you fold a piece in half and glue it to the one before it, and the whole stack opens into a ball.
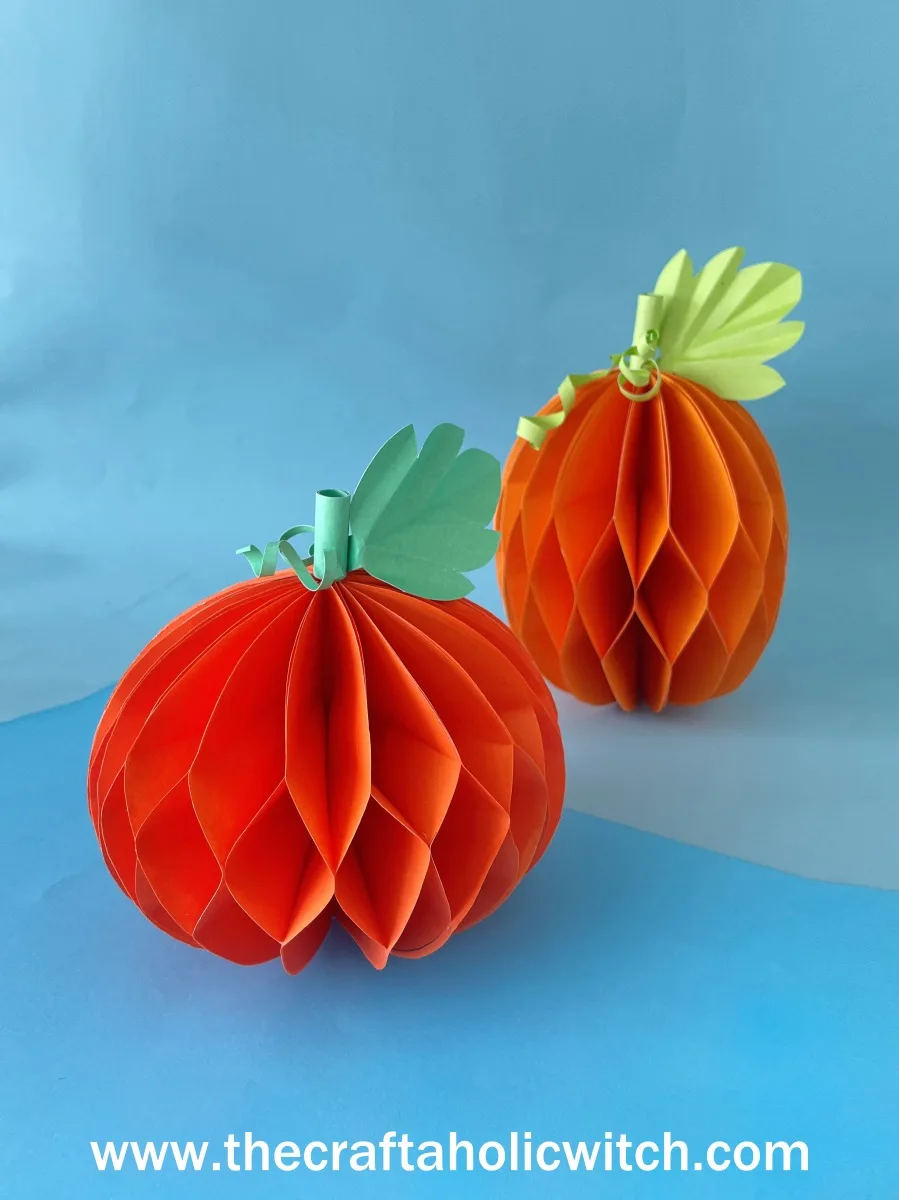
I made a tall pumpkin and a short one from the same template, which is why you will see a pair in the photos. Plan on about an hour and a half with the glue drying time, using colored craft paper and a few basic tools. When it is done it sits happily on a mantel or a Thanksgiving table all season.
If you would rather build a pumpkin from petal folds, my 3D paper pumpkin with a video tutorial takes a different route. For more projects like this, browse the paper decor and 3D crafts collection or the full paper crafts section.
Honeycomb Paper Pumpkin at a Glance
- Difficulty: Beginner
- Time: About 90 minutes, including glue drying
- Cost: Under $5
- Ages: 8+ (an adult helps with cutting and glue placement)
- Best for: Fall mantels, shelves and Thanksgiving tables
What You Need to Make a Honeycomb Paper Pumpkin
Materials
- Thick colored craft paper: orange for the pumpkin and green for the stem, leaf and vine, though any colors work
- Printed template: gives you the tall and short pumpkin shapes along with the stem, leaf and vine patterns
Tools
- Pencil: for tracing the template patterns onto the paper
- Scissors: for cutting out the 18 pumpkin pieces and the green details
- Craft glue: joins the folded pieces into one stack that opens into the pumpkin
- Quilling tool (optional): curls the vine strip into a coil
- Clothes pin or paper clip (optional): holds the two sides together while the glue grabs
Get the Free Template
Download the printable pumpkin template from the Free Template space inside Craftaholic Community: Honeycomb Paper Pumpkin Template. It includes a tall pumpkin shape and a short pumpkin shape, plus the stem, leaf and vine patterns.
Ask inside "Crafty Q&A" while you are making.
"Crafty Q&A" is free to join. Share your question, photo, or the exact step where you got stuck, and chat with other makers plus the Craftaholic Witch team. You can also join any discussion thread already happening inside the space.
Step-by-Step Instructions
Step 1: Cut Out the Pumpkin, Stem, Vine and Leaf Pieces
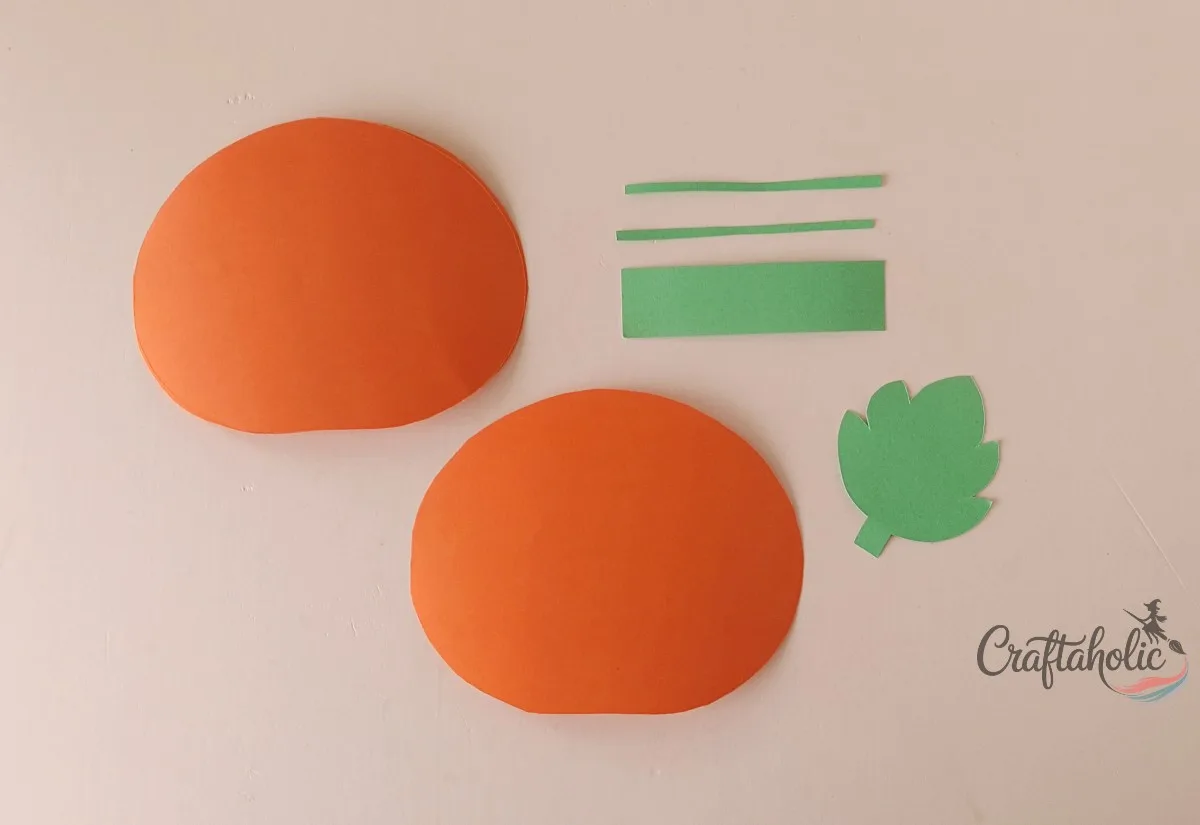
Cut out the printed template patterns. The template has 2 pumpkin shapes, one tall and one short, so pick whichever you like. Trace the pumpkin pattern onto orange paper and the stem, leaf and vine patterns onto green paper, then cut everything out. You need at least 18 pumpkin pieces, so trace and cut all of them now.
Step 2: Fold the First Pumpkin Piece in Half
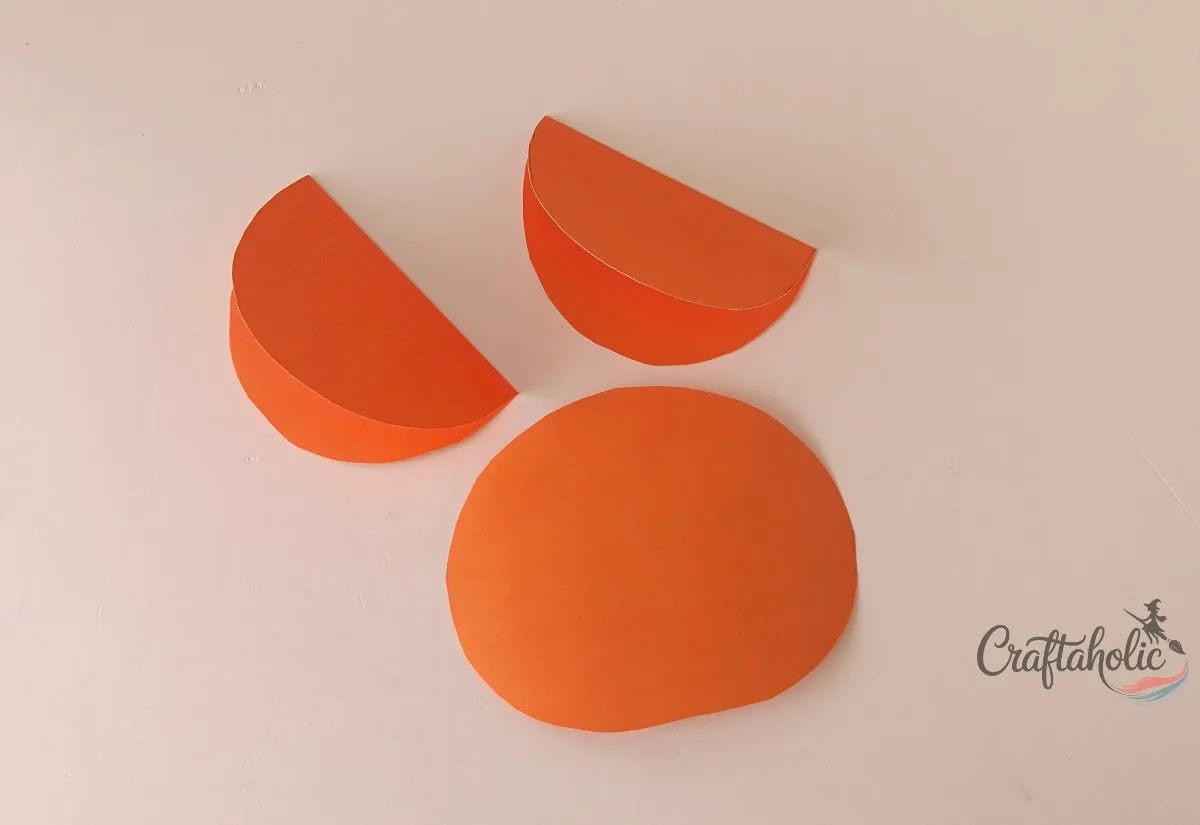
Take one pumpkin piece and fold it in half, vertically. Line the two sides up so the edges meet neatly, because every other piece will copy this crease.
Step 3: Fold All 18 Pumpkin Pieces
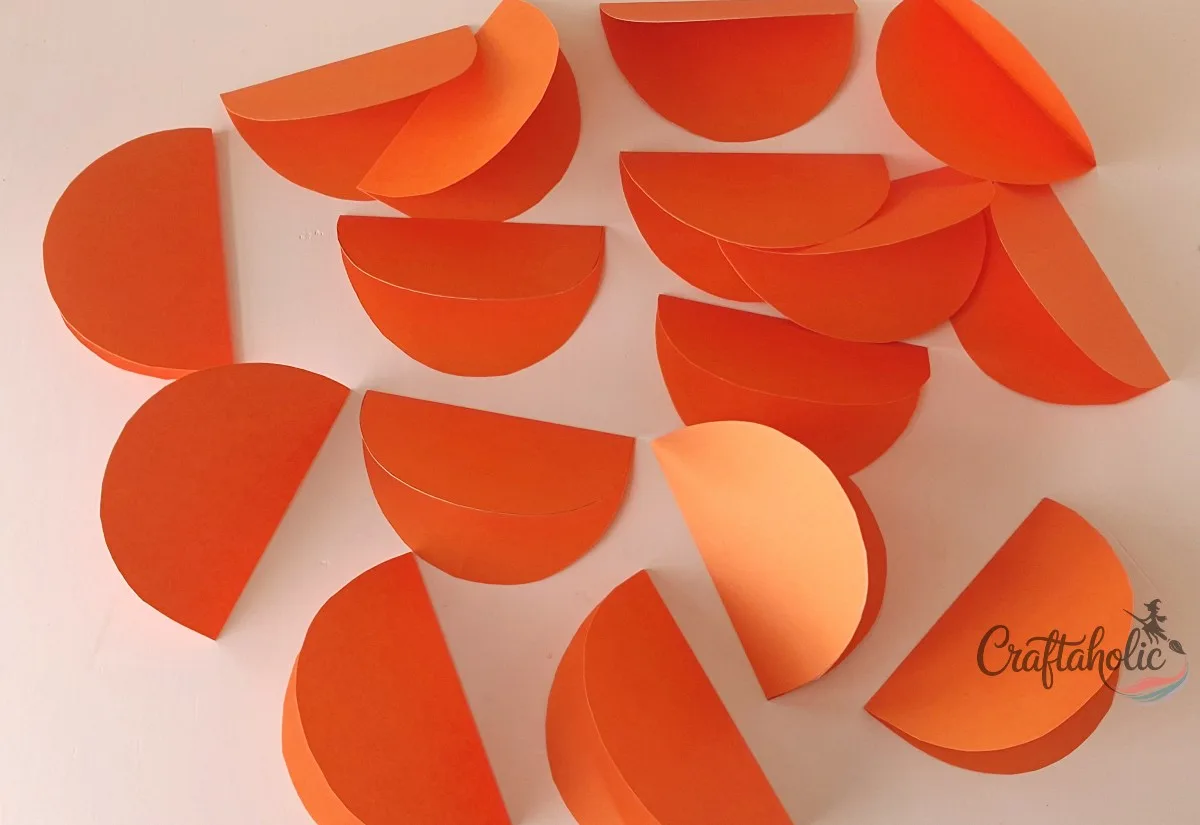
Fold the rest the same way, one by one, until all 18 pieces are half-folded. You can go up to 20 or 22 pieces if you like. The more layers you use, the thinner the pleats on the finished pumpkin.
Step 4: Glue a Middle Line and Refold One Piece
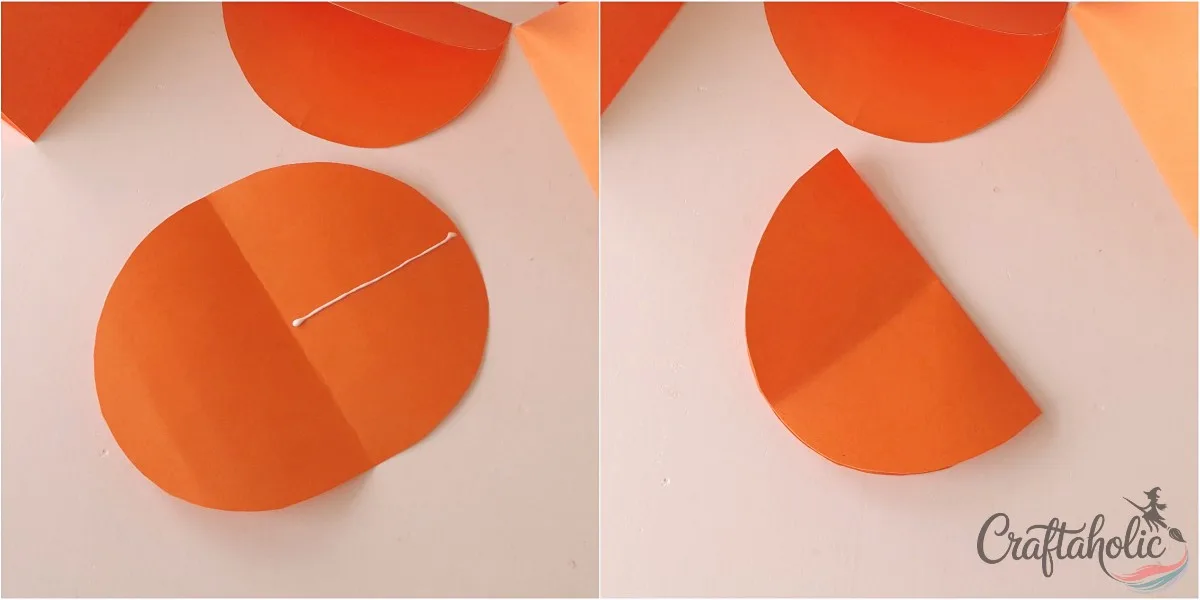
Unfold one of the half-folded pieces. Run a horizontal line of glue across the middle of either side of the crease, then fold the piece shut along the crease again. The inside faces now stick together along the glue line.
Step 5: Glue the Remaining Pieces in One Batch
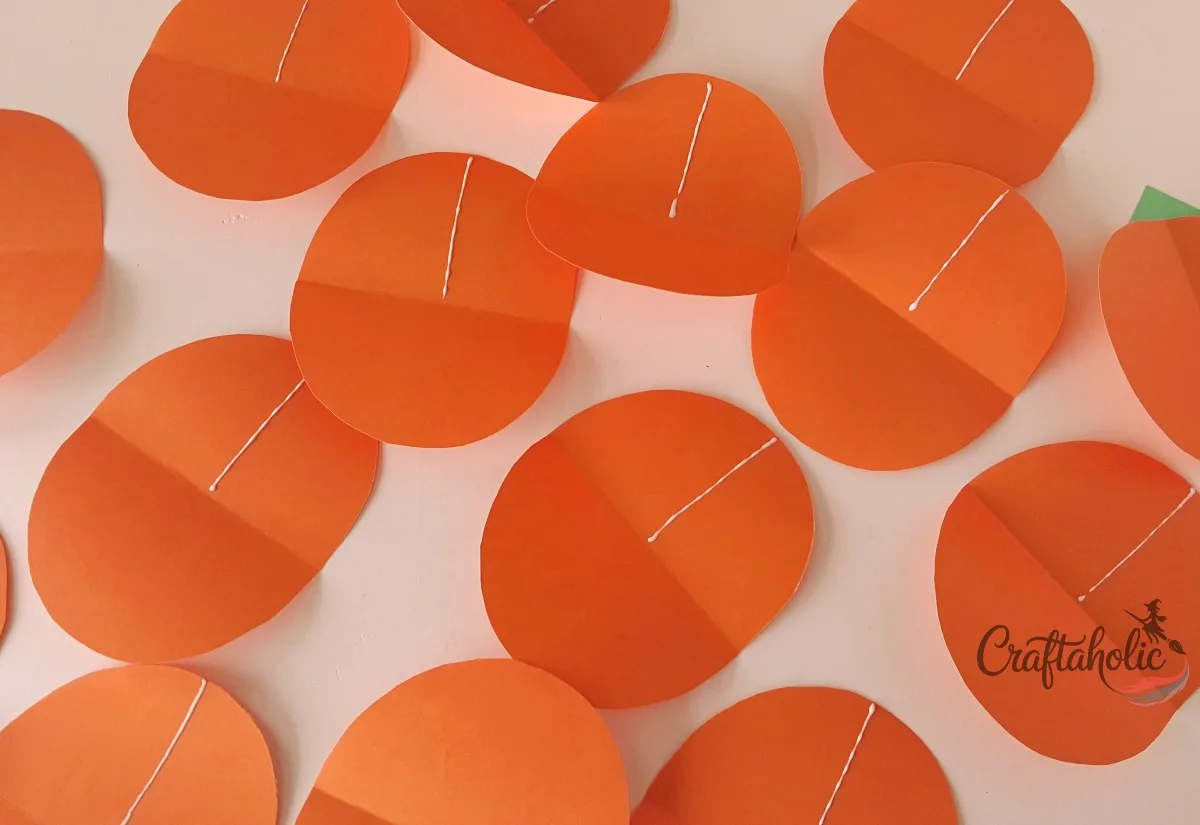
You do not have to glue and fold the pieces one at a time. Unfold all of them, lay them out in front of you and run the same middle line of glue on one side of each. Doing one job on every piece at once is faster and keeps the work neater.
Step 6: Fold the Glued Pieces Shut
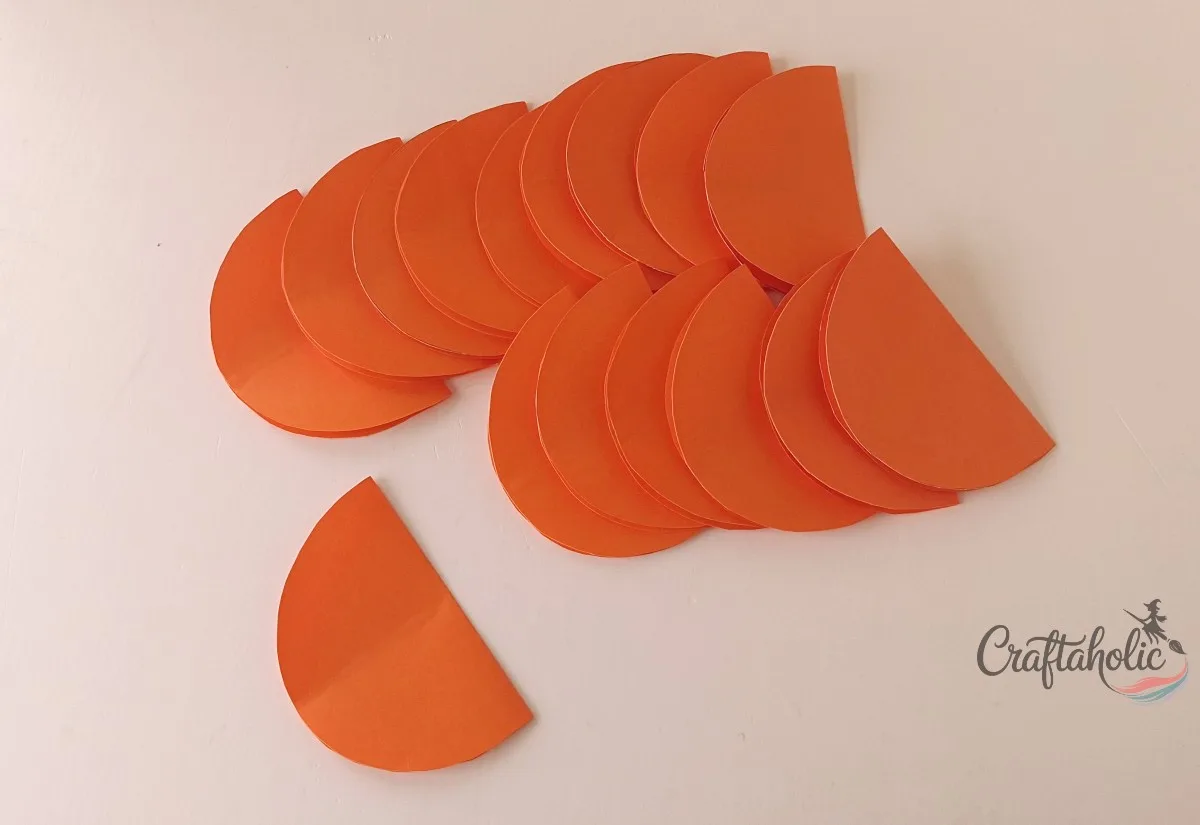
Now fold each glued piece shut along its crease, one after another. This goes quickly because the glue is already on every piece.
Step 7: Glue 2 Lines on a Folded Piece and Stack the Next One
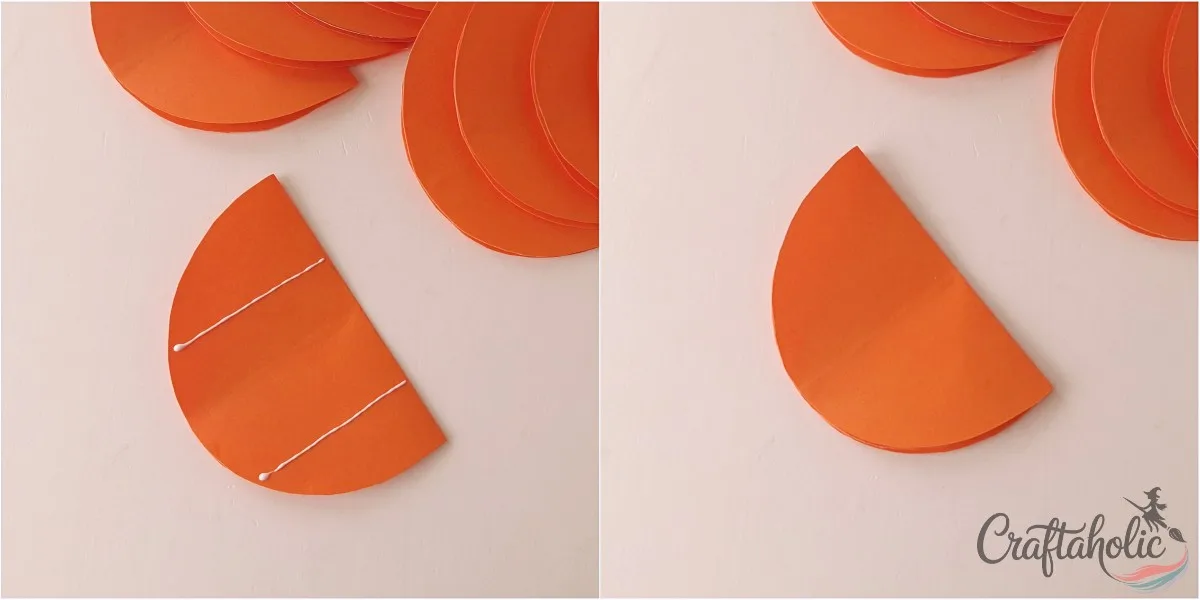
Pick up any one of the folded, glued pieces and put 2 lines of glue on one outer side, about 2 cm away from the middle glue line you made earlier, as shown in the photo. Set another folded piece on top of it. The 2 pieces now join along those 2 lines.
Step 8: Stack and Glue All 18 Pieces
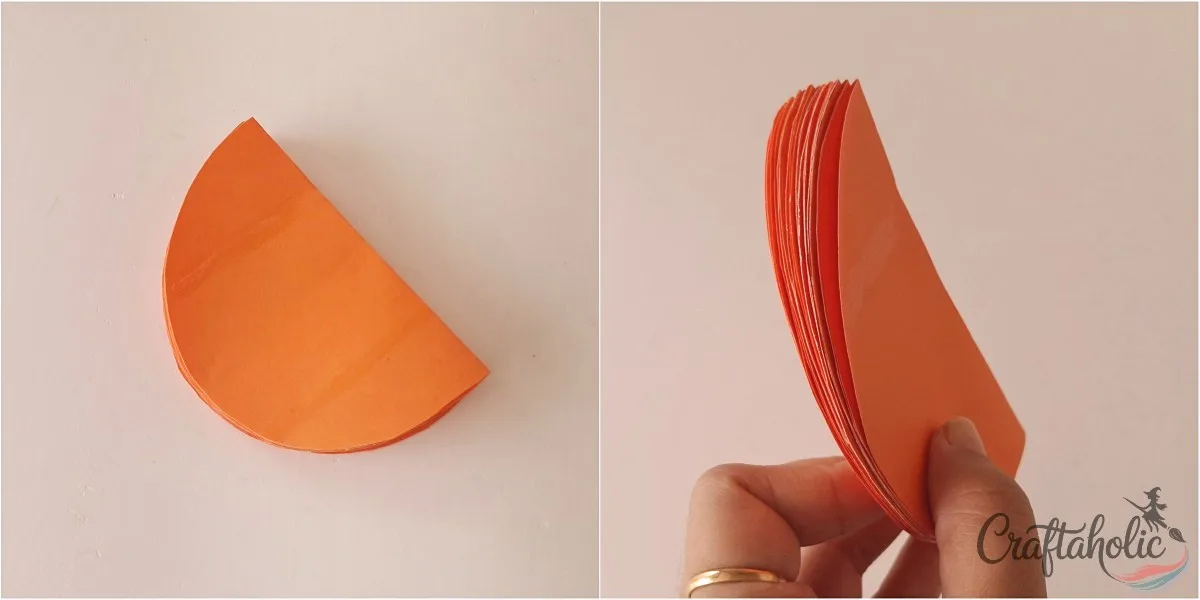
Repeat the same move with the remaining pieces until all 18 sit in one stack. Keep the 2 glue lines in the same spots on every piece, since the stack opens evenly only when they line up. Let the glue dry completely before you go on.
Step 9: Add the Last 2 Glue Lines and Open the Stack
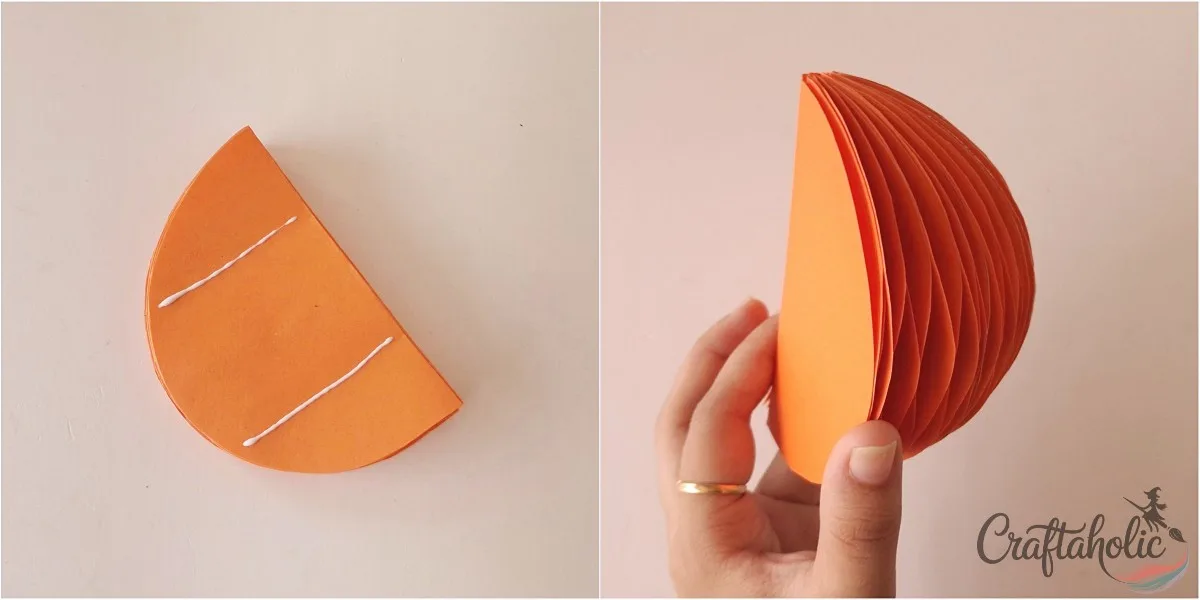
Put 2 more lines of glue on the outer side at one end of the stack, in the same positions as before. Then carefully open the whole stack out.
Step 10: Join the 2 Open Sides Into a Ball
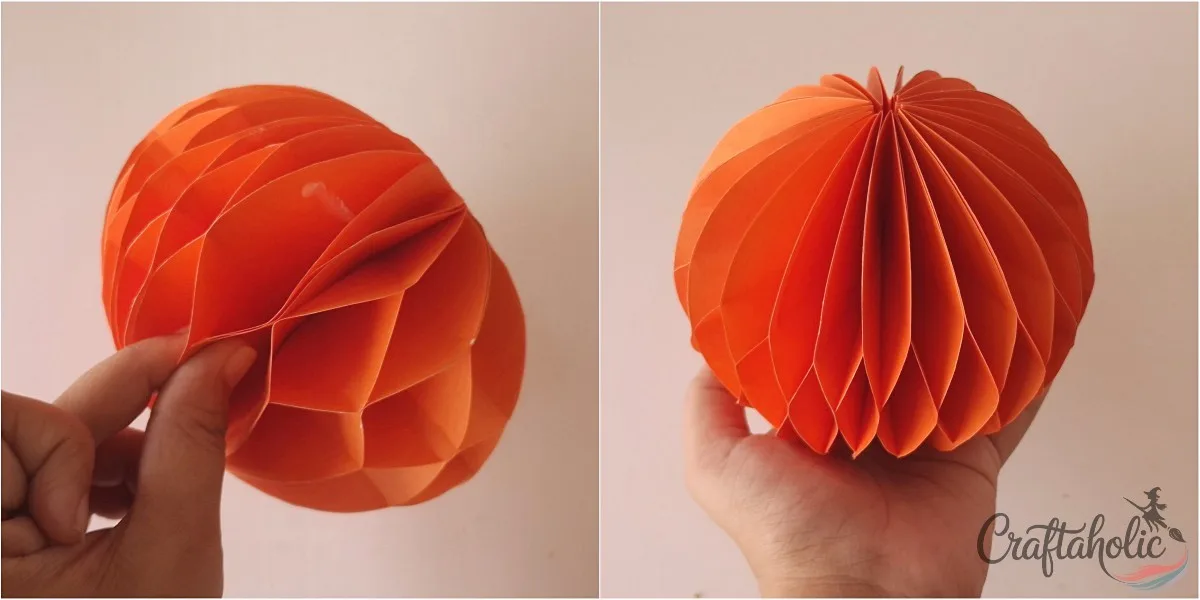
Bring the 2 open sides toward each other without smudging the glue lines. Hold the glued parts firmly, or use a clothes pin or paper clip to hold the sides together for about a minute, until they stay joined and the pumpkin holds its round shape.
Step 11: Make the Stem, Vine and Leaf
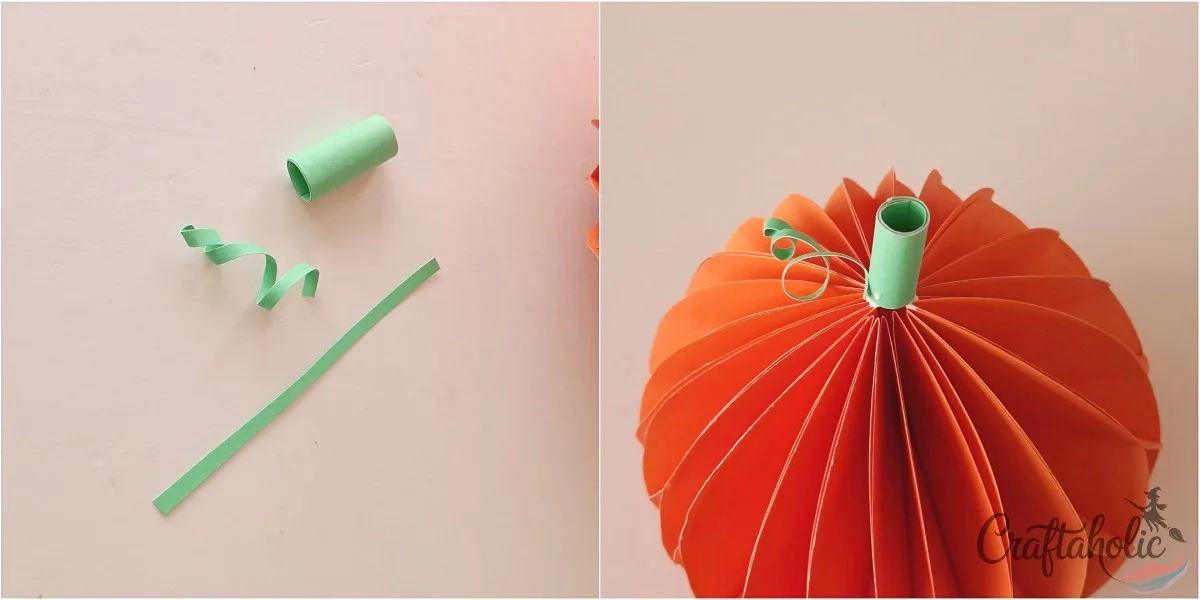
Roll the green stem piece into a cylinder. Curl the thin vine strip into a coil with a quilling tool. Fold the paper leaf in half, then crease diagonal lines on each side to make the leaf veins.
Step 12: Glue the Stem, Vine and Leaf on Top
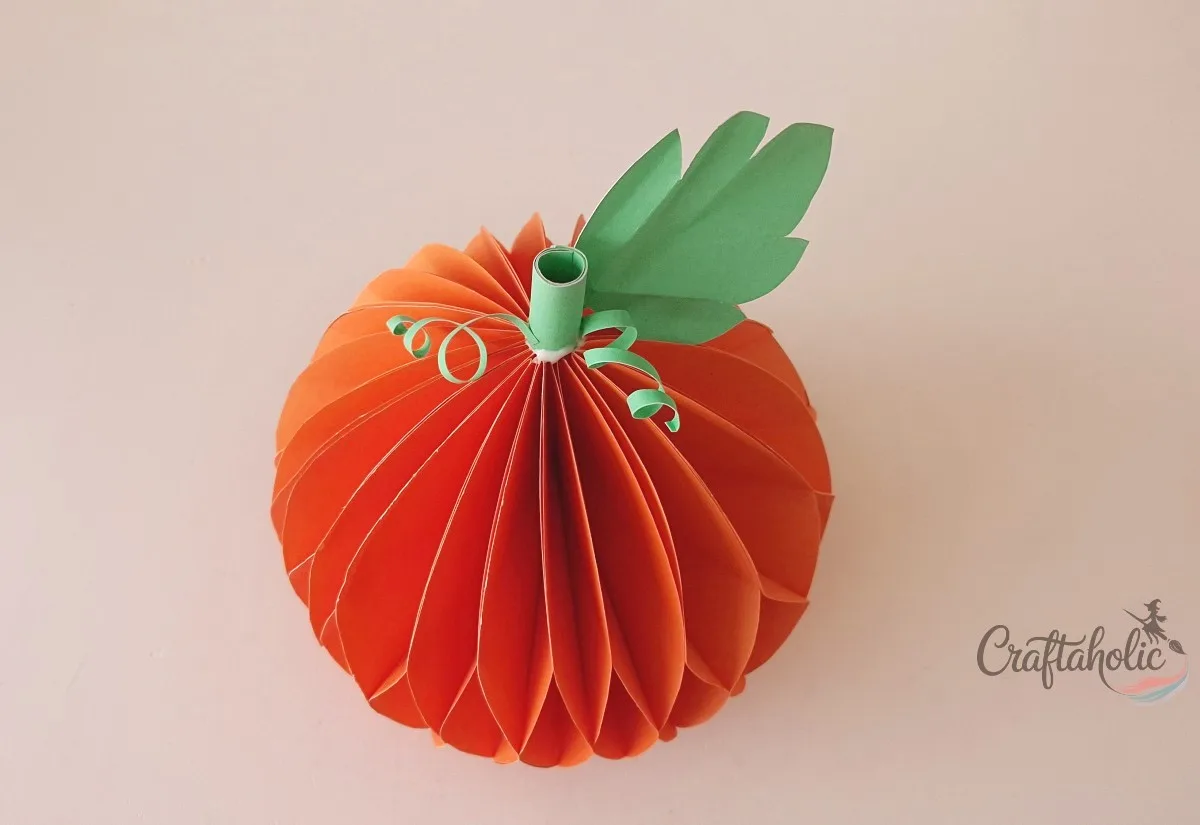
Glue the paper stem to the top middle of the pumpkin. Then glue the vine and the leaf right next to the stem. Let the glue dry before you move or display it.
Share it in "I Made It" and let us cheer you on.
Post your finished make in "I Made It" so the community can celebrate it with you. Cheer on other makers too. Each month, the most loved craft wins 1 year of Craftaholic Premium ($59)
Tips and Variations
- Cut one pumpkin in each template shape and display the tall and short ones as a pair, like the ones in the photos.
- Orange and green are the classic colors, but white, gold or a soft tan paper makes a calmer fall display with the same green details.
- Scale the template up or down when you print it to make a bigger centerpiece pumpkin or a few small ones for a shelf.
Frequently Asked Questions
How many pieces do I need for a pumpkin like this?
You need at least 18 pumpkin pieces. You can use 20 or 22 for a pumpkin with thinner pleats, since each extra layer makes the pleats finer.
What paper works best for this pumpkin?
Thick colored craft paper works best. I used orange for the pumpkin and green for the stem, leaf and vine. Thin paper tends to sag, so a thicker sheet helps the pumpkin keep its round shape.
How long does this paper pumpkin take to make?
Plan on about an hour and a half, including time for the glue to dry. Cutting and folding the 18 pieces takes the longest, and the glue-and-stack steps go quickly once the pieces are ready.
Can I make a honeycomb paper pumpkin without the printable template?
Yes. Draw a rounded pumpkin shape on a sheet of paper, cut it out and use it as your pattern for all 18 pieces. Trace the same shape every time so the pieces stack evenly. The template just saves you the guesswork and gives you both the tall and the short shape.
How is this different from the large 3D paper pumpkin?
This pumpkin folds 18 pieces in half and glues them with offset glue lines so the stack opens into a ribbed ball, and it comes with a printable template. The large 3D paper pumpkin fans 16 layered petals around a fold line and has you draw your own template.
Can kids make this paper pumpkin?
Yes, with a little help. Kids can fold the pieces and press them together, while an adult helps with cutting the 18 pieces neatly and with placing the glue lines in the right spots.
More Paper Pumpkin and Fall Paper Crafts
- Cardboard Pumpkin Craft That Stands on Its Own (Easy Fall Decor)
- Easy to Make Paper Halloween Treat Box Set with Free Template
- Toilet Paper Roll Fairy House Lantern (Free Template)
Share your honeycomb paper pumpkin in the I Made It space inside Craftaholic Community. The most-loved post each month wins a one year free Premium membership.
0 Comments
Join the conversation
Log in to your Craftaholic Community account to comment, ask questions, and cheer on fellow makers.
Log in to comment