

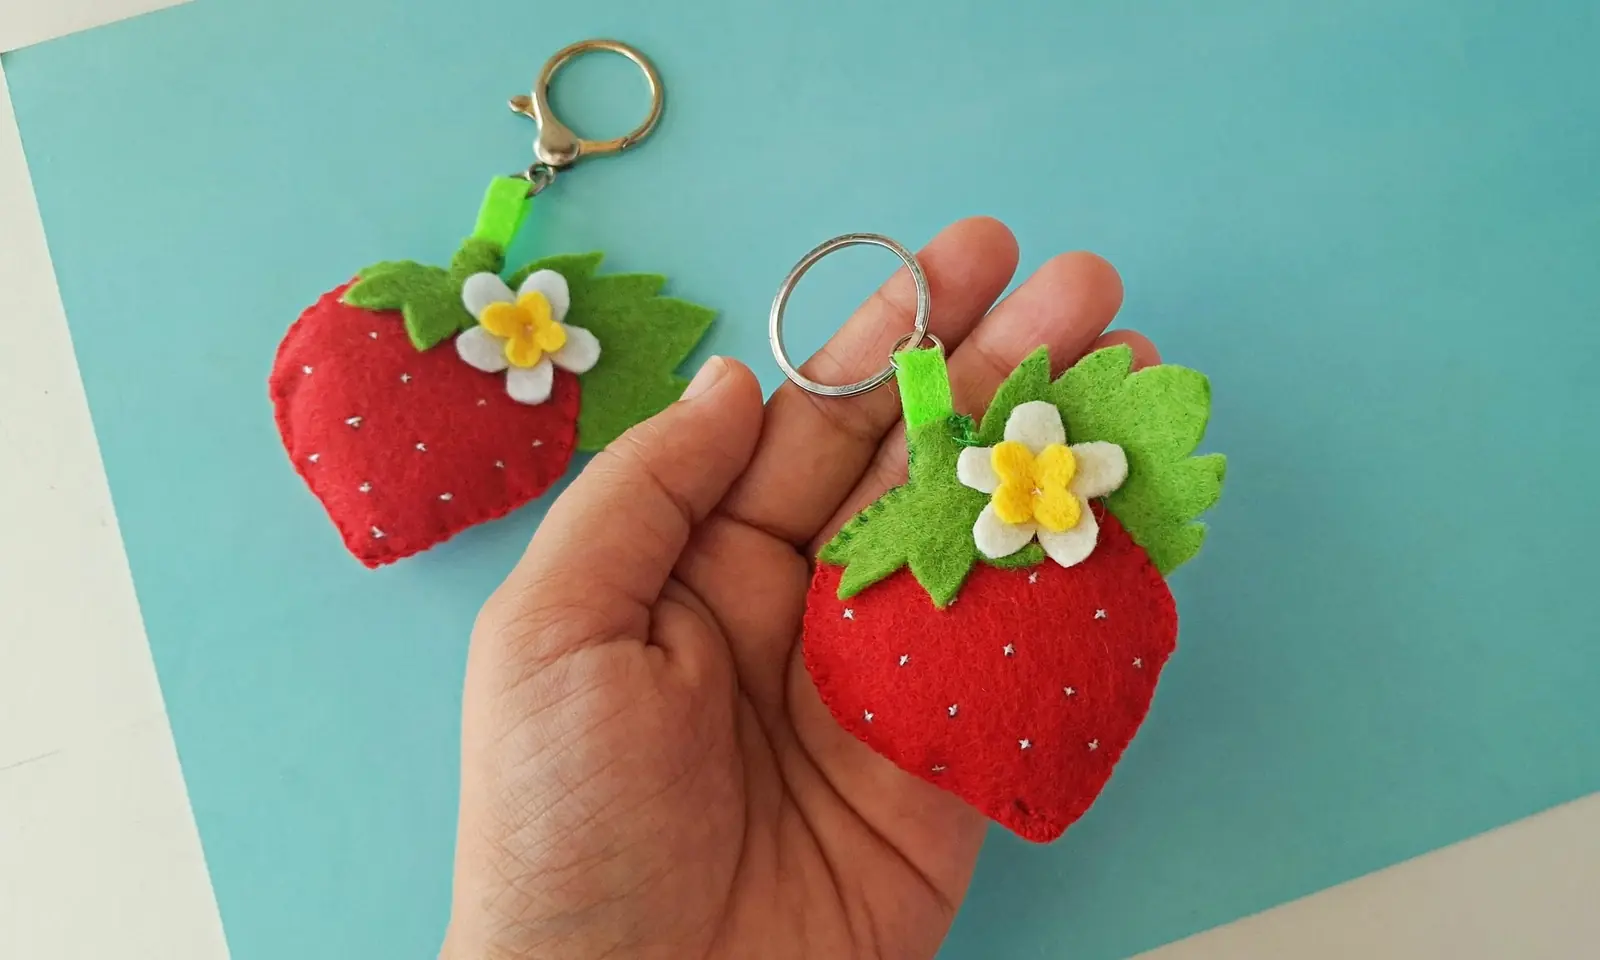
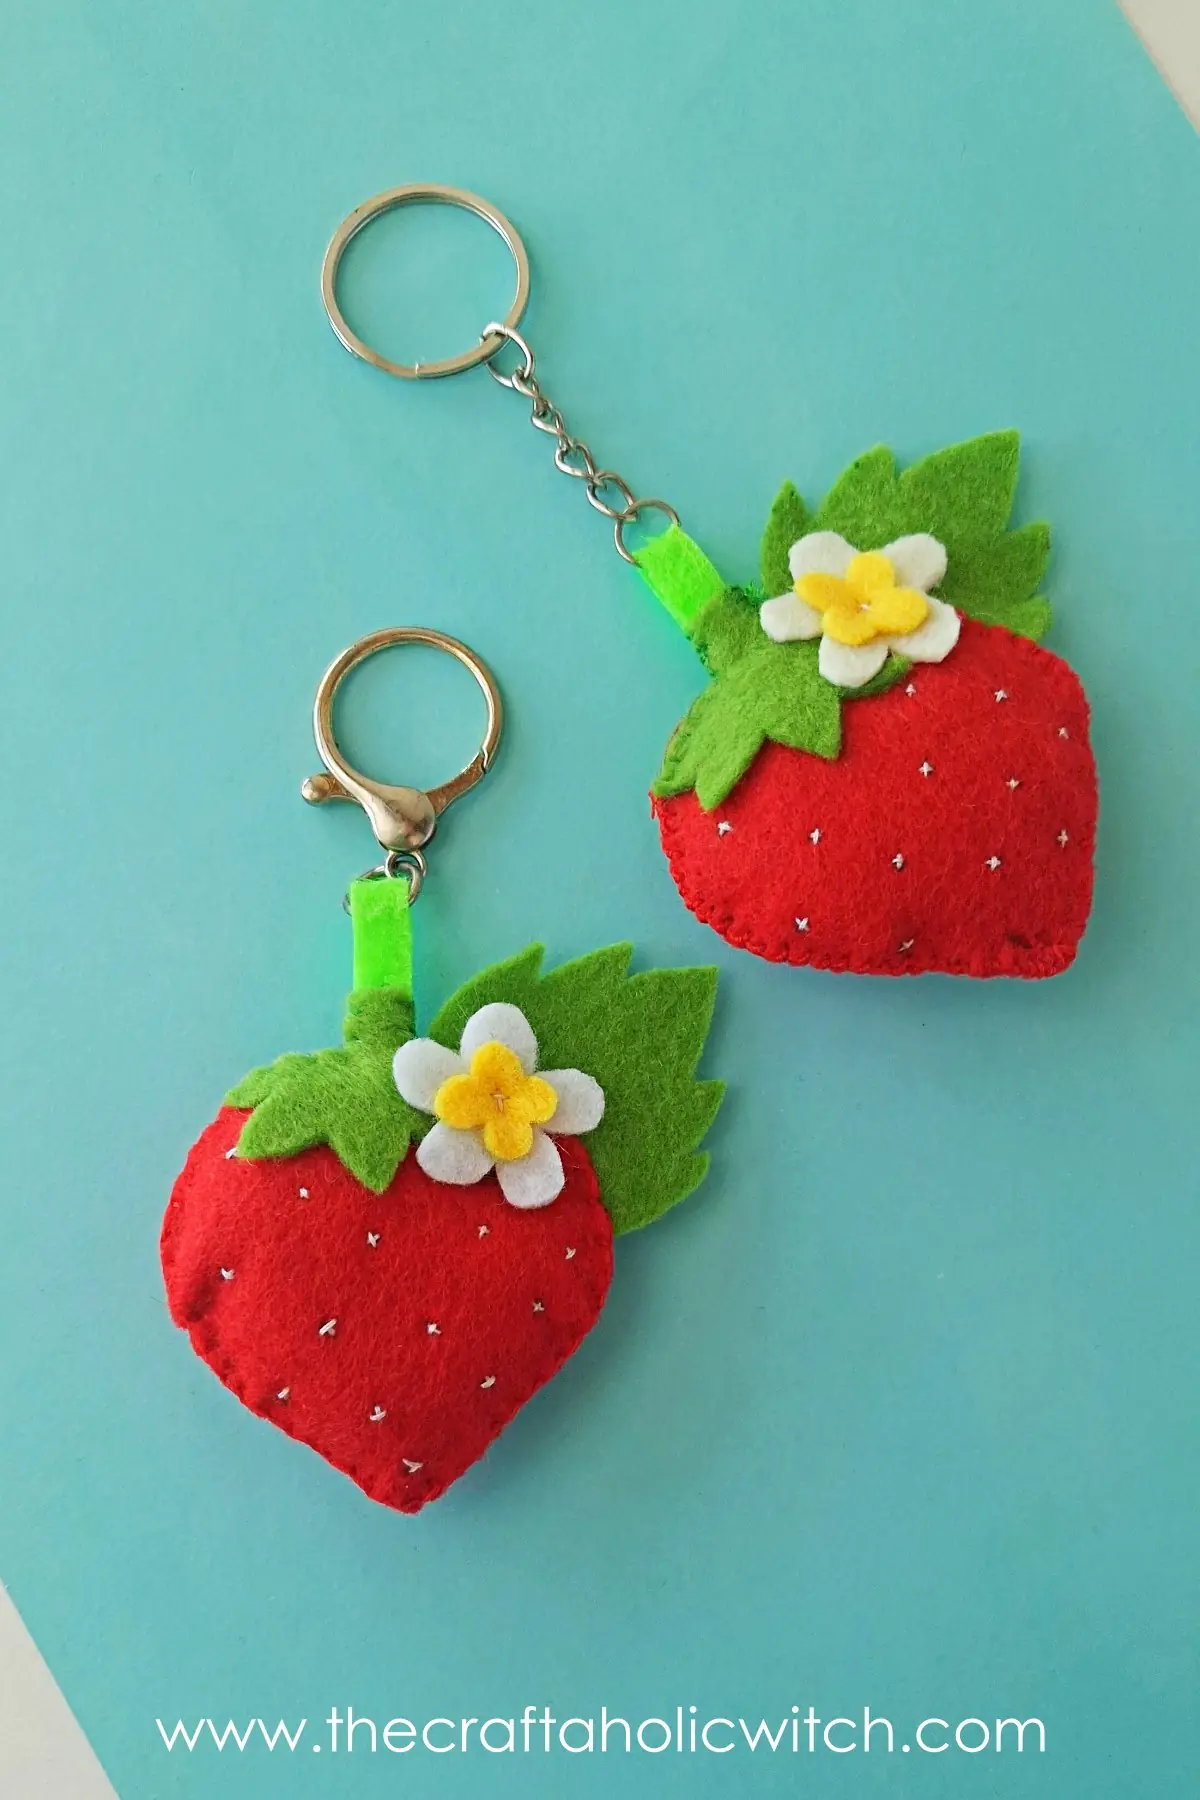
If you want a small sewing project that looks sweet and actually gets used, this felt strawberry keychain is a good one to make. It takes basic hand stitching, a tiny amount of felt, and about half an hour to turn into something you can clip onto keys, bags, or gift wrap.
I like projects like this because they use scraps well and still feel special when they are finished. Your first one does not need to be perfect. Once the layers are stitched together and the little flower goes on top, it already looks adorable.
Project Specifications
Difficulty: Beginner
Time: 30-45 minutes
Cost: Under $5
Ages: 10+ years
Best For: Scrap felt sewing, bag charms, handmade gifts
Perfect For
- Using up small felt scraps from bigger sewing projects
- Making a quick handmade gift that still feels polished
- Adding something cheerful to keys, backpacks, zipper pulls, or tote bags
Finished Look
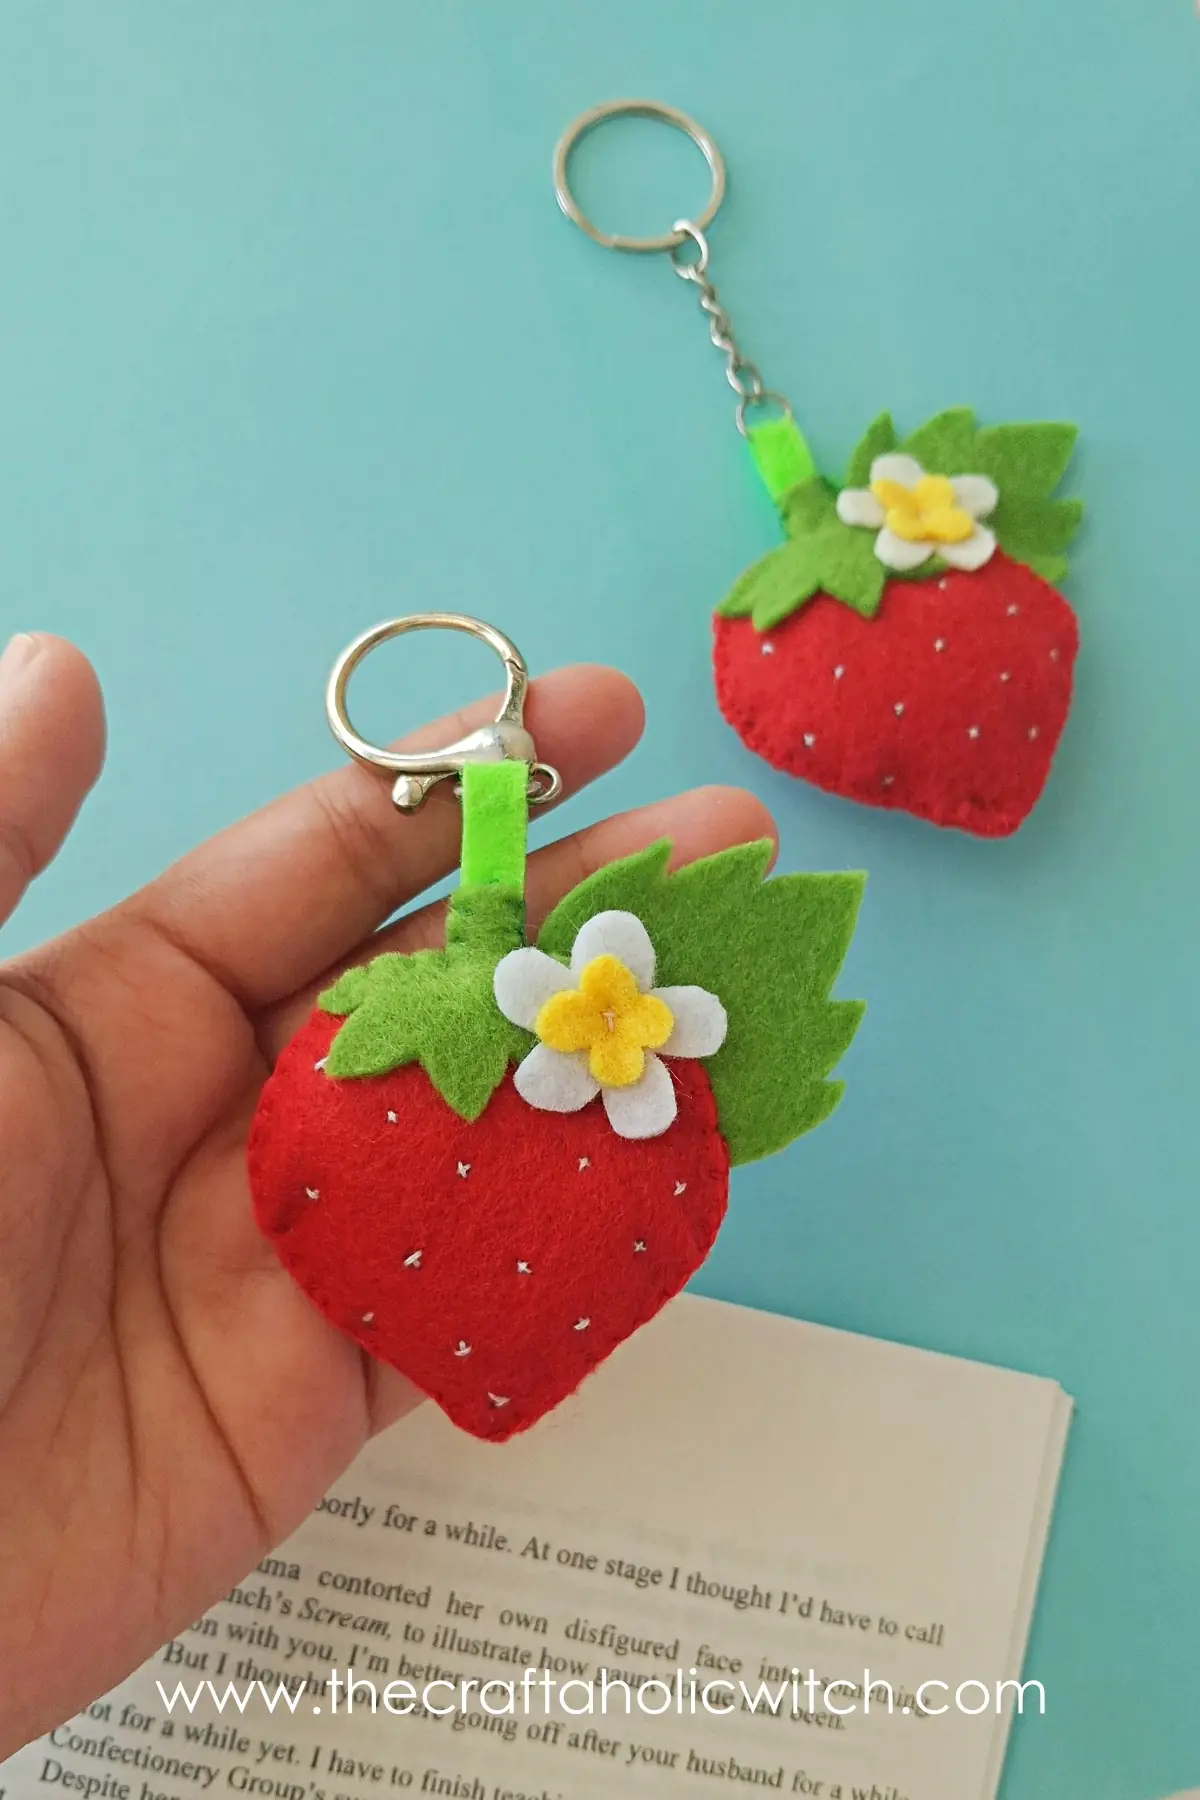
If you enjoy projects like this one, you will probably like the full Plushies & Soft Toys tutorials section too. It is a good place to find more felt sewing ideas once you finish this keychain.
What You’ll Need
- Red felt, 2 body pieces: Craft felt works well here because it holds the strawberry shape without fraying. Use a medium-stiff felt if you want a fuller keychain that does not flop.
- Green felt for the tops and leaf: This gives the strawberry its cap, stem detail, and side leaf. A slightly firmer felt makes the leafy edges look cleaner.
- White and yellow felt for the flower: The white flower and yellow center add the finished strawberry blossom look. If you want a simpler version, you can skip the flower and keep just the green top.
- White thread for the seed stitches: White thread shows up clearly on the red felt. Embroidery floss works too, but keep the stitches tiny so the seeds do not look bulky.
- Matching sewing thread: Use red for the body and green for the top pieces if possible. Matching thread helps the blanket stitching disappear into the felt.
- Needle: A basic hand-sewing needle is enough. If you are using thicker embroidery floss, switch to a needle with a slightly larger eye.
- Cotton or polyester stuffing: Use a small amount so the strawberry looks plump without stretching the seam. Scrap felt bits also work if that is what you have at home.
- Fabric marker or pencil: You only need this for tracing the template and spacing the seed marks. Mark lightly so the lines do not show after stitching.
- Sharp scissors: Clean cuts matter on felt because every edge stays visible.
- Keyring or keychain clasp: Pick a lightweight one so it does not pull too hard on the felt loop over time.
- Free template: Print the strawberry, tops, leaf, loop strip, and flower pattern before you start cutting.
Download the free felt strawberry keychain template inside Craftaholic Community. Join free, find it in the Free Templates & Tutorials space, and share what you make in I Made This.
Get the free template here.
Ask inside "Crafty Q&A" while you are making.
"Crafty Q&A" is free to join. Share your question, photo, or the exact step where you got stuck, and chat with other makers plus the Craftaholic Witch team. You can also join any discussion thread already happening inside the space.
Step-by-Step Instructions
Step 1: Cut All the Felt Pieces from the Template
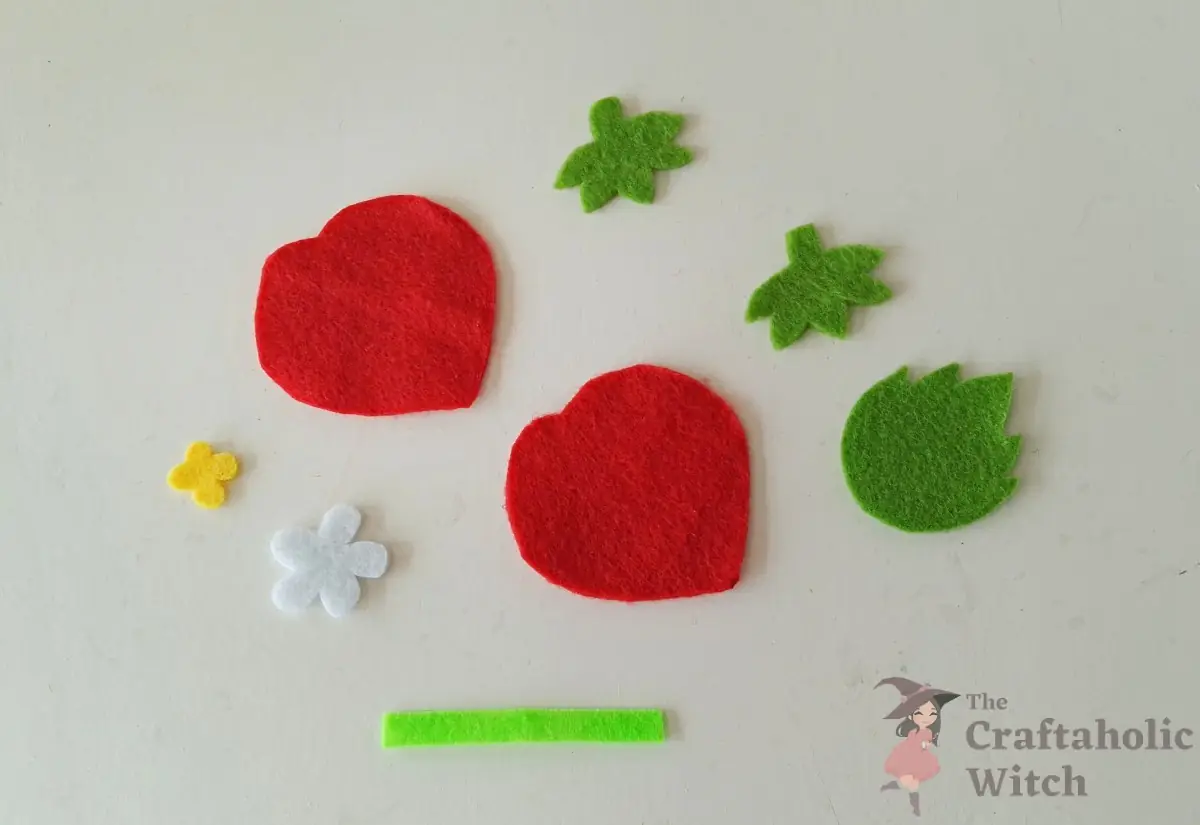
Print the template, trace each shape onto the correct felt color, and cut everything out neatly. You should end up with two red strawberry body pieces, two green top pieces, one green leaf, one strip for the loop, and the flower pieces.
Step 2: Mark the Seed Spots on the Front Strawberry Piece
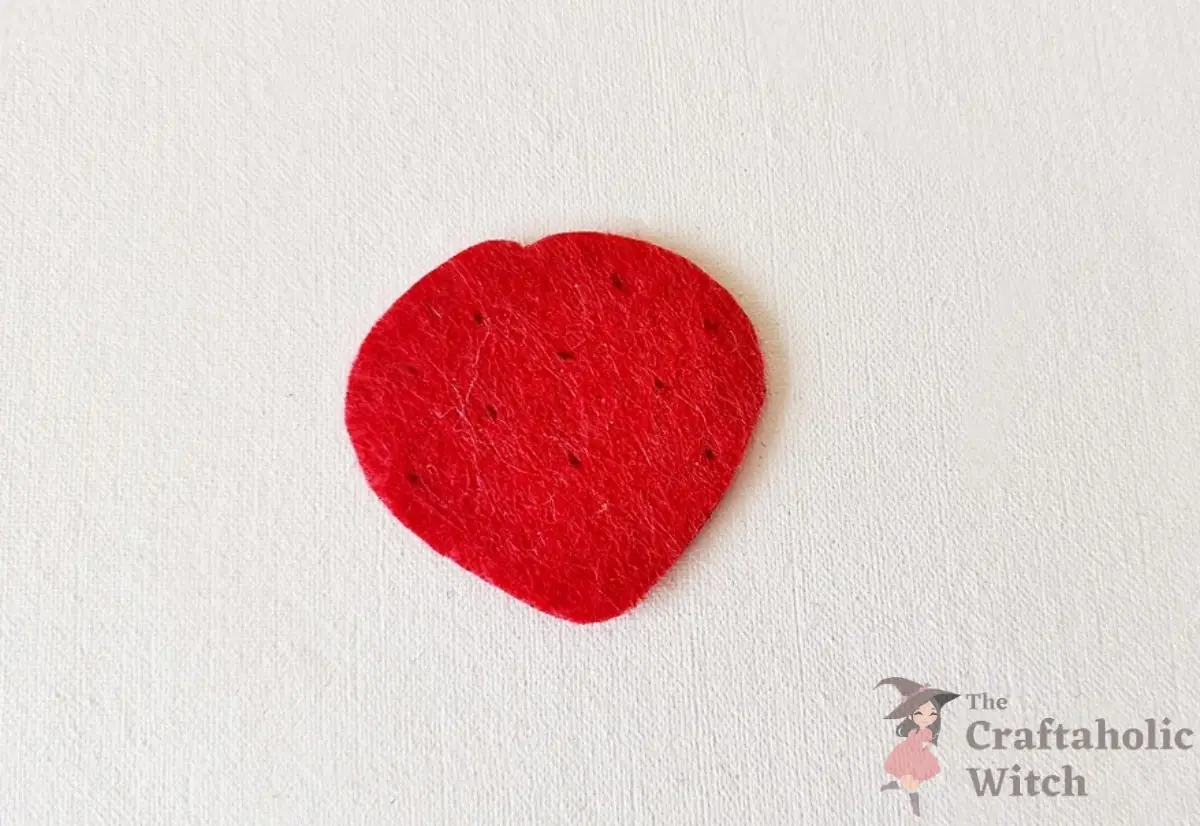
Take one red strawberry cutout and lightly dot the front with evenly spaced seed marks. Keep the dots away from the outer edge so your blanket stitches still have room later.
Step 3: Stitch the Seeds with Small White Crosses
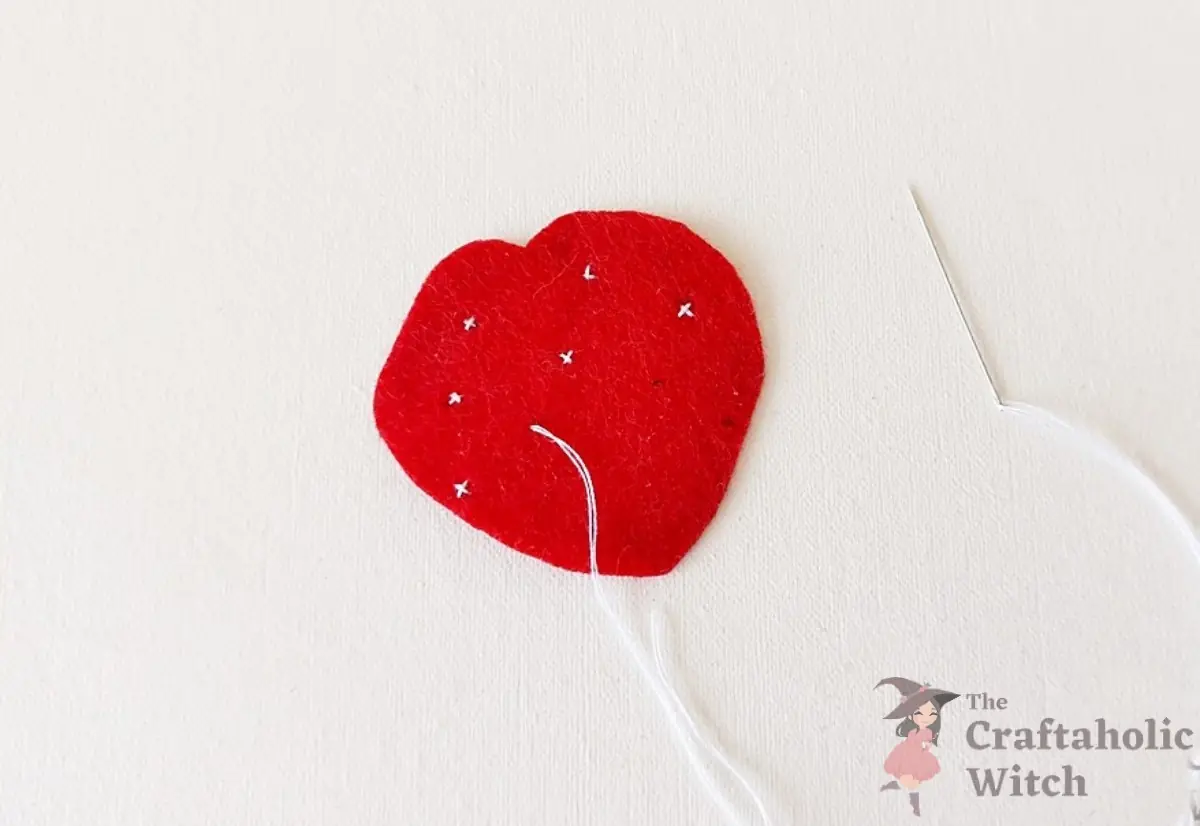
Use white thread to stitch a tiny cross over each marked dot. When it looks right, the seeds will feel scattered but balanced, not lined up in perfect rows.
Step 4: Arrange the Flower, Tops, and Leaf Before Sewing
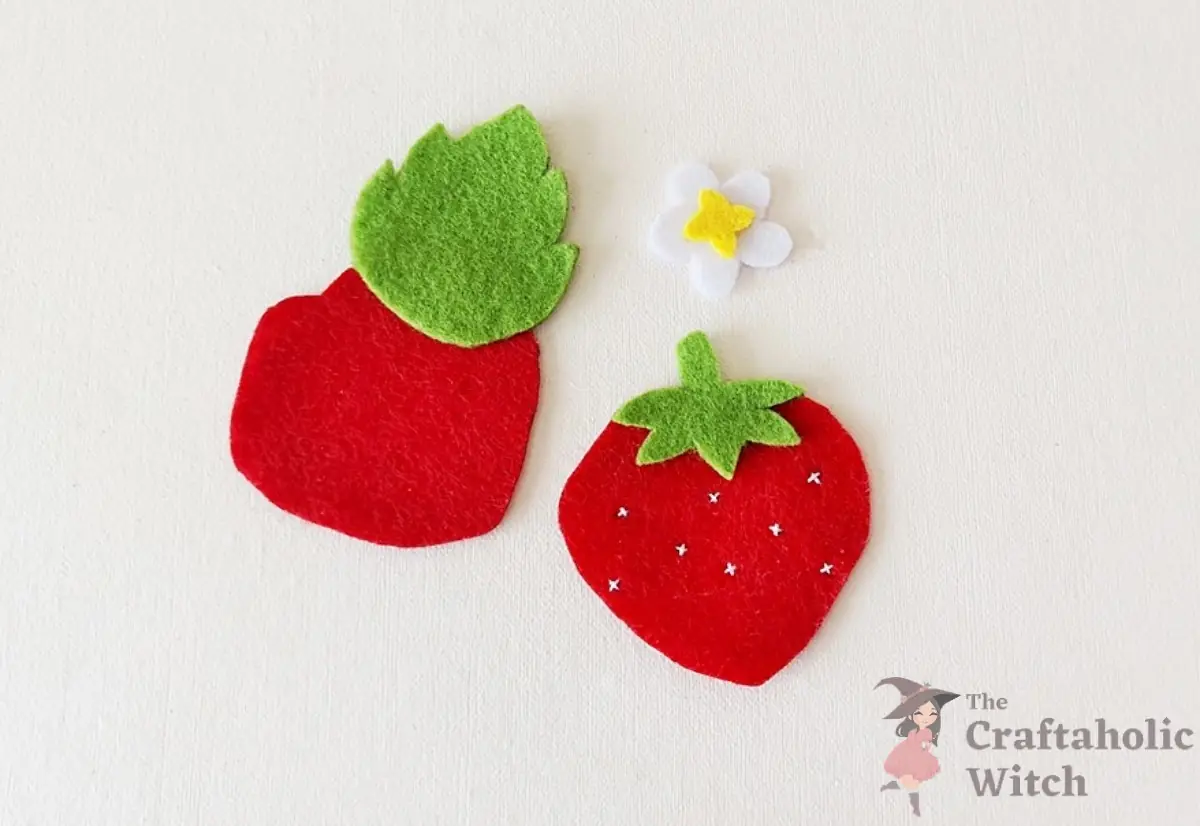
Place the small yellow flower in the center of the white flower, then set the flower on top of one green strawberry top. Position the second green top and the side leaf nearby so you can check the layout before anything gets stitched down.
Step 5: Layer the Front and Back Strawberry Pieces
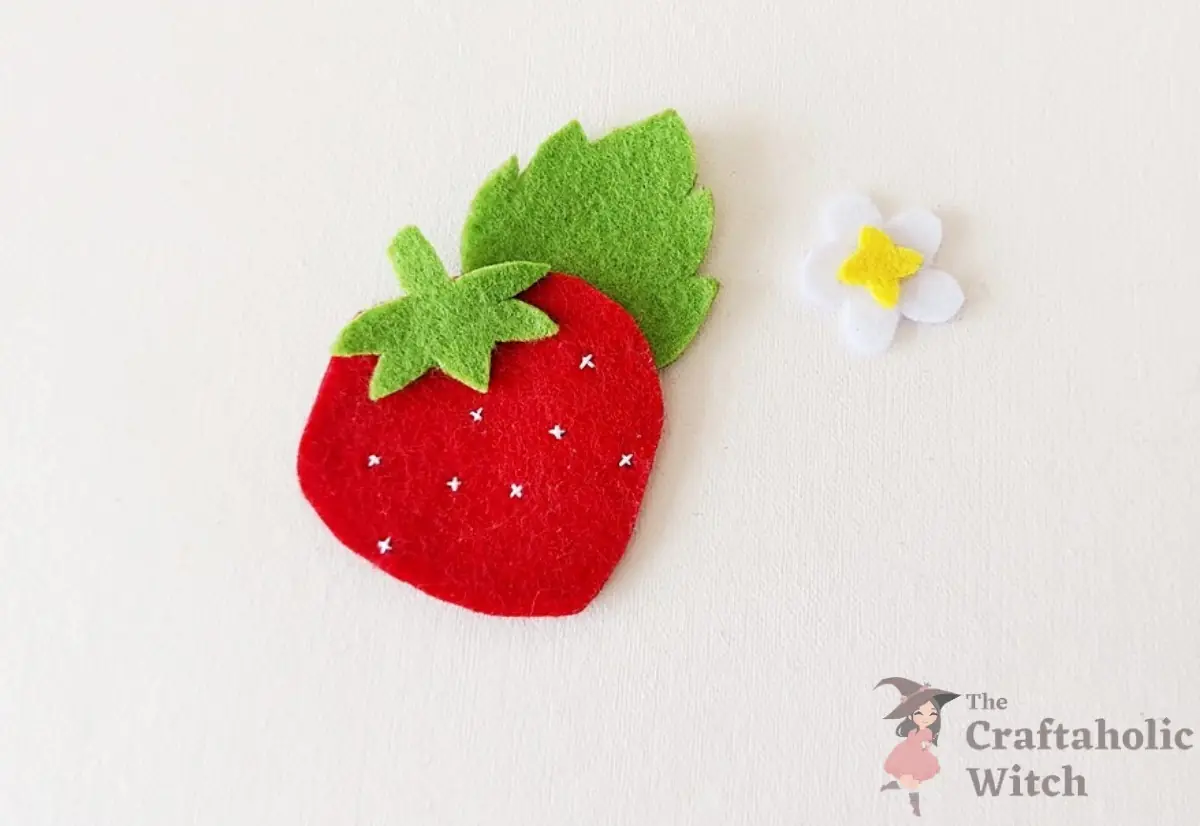
Set the stitched front strawberry piece over the plain back piece and tuck the green parts into place at the top. Before you move on, make sure the red edges match all the way around so the finished keychain does not look twisted.
Step 6: Stitch Through the Flower Center to Lock the Top Layers
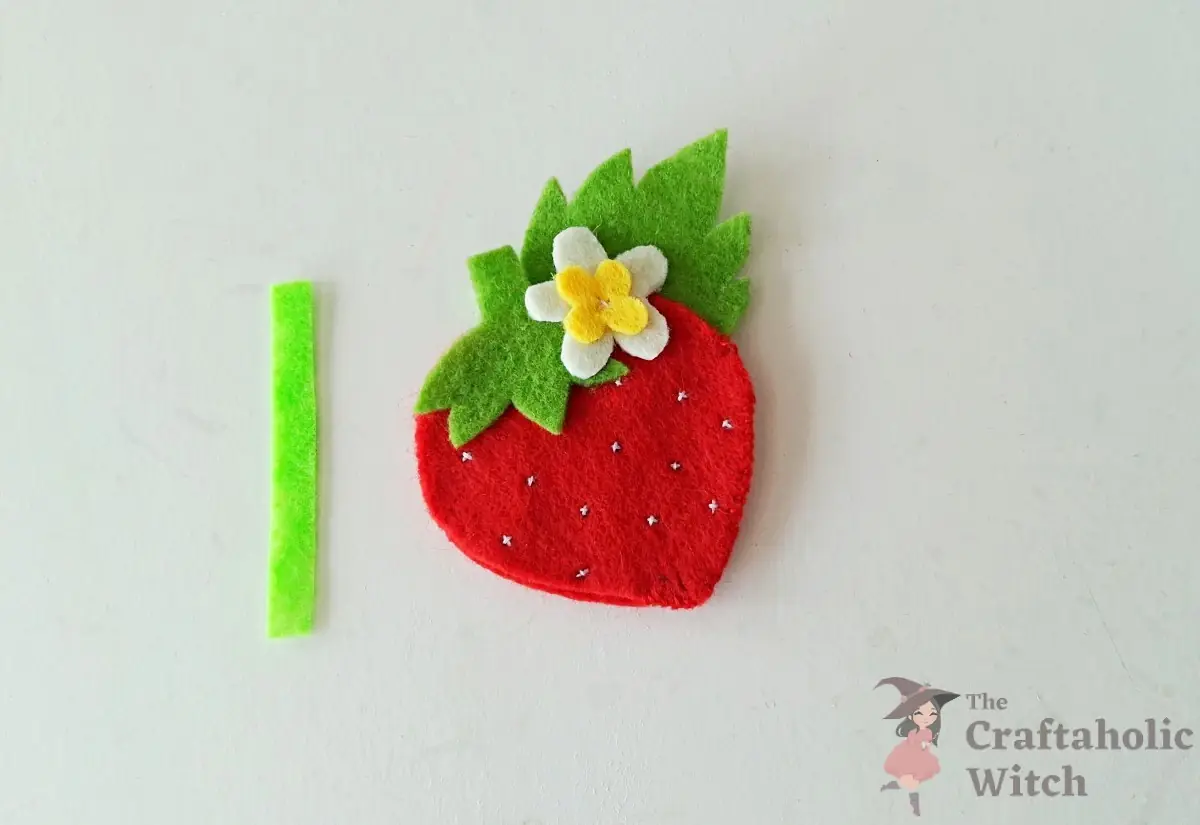
Sew through the center of the flower and down through the green top layers beneath it. This first stitch point keeps the flower, leafy top, and strawberry body from shifting while you finish the rest of the project.
Step 7: Fold the Strip into a Loop and Insert It at the Top
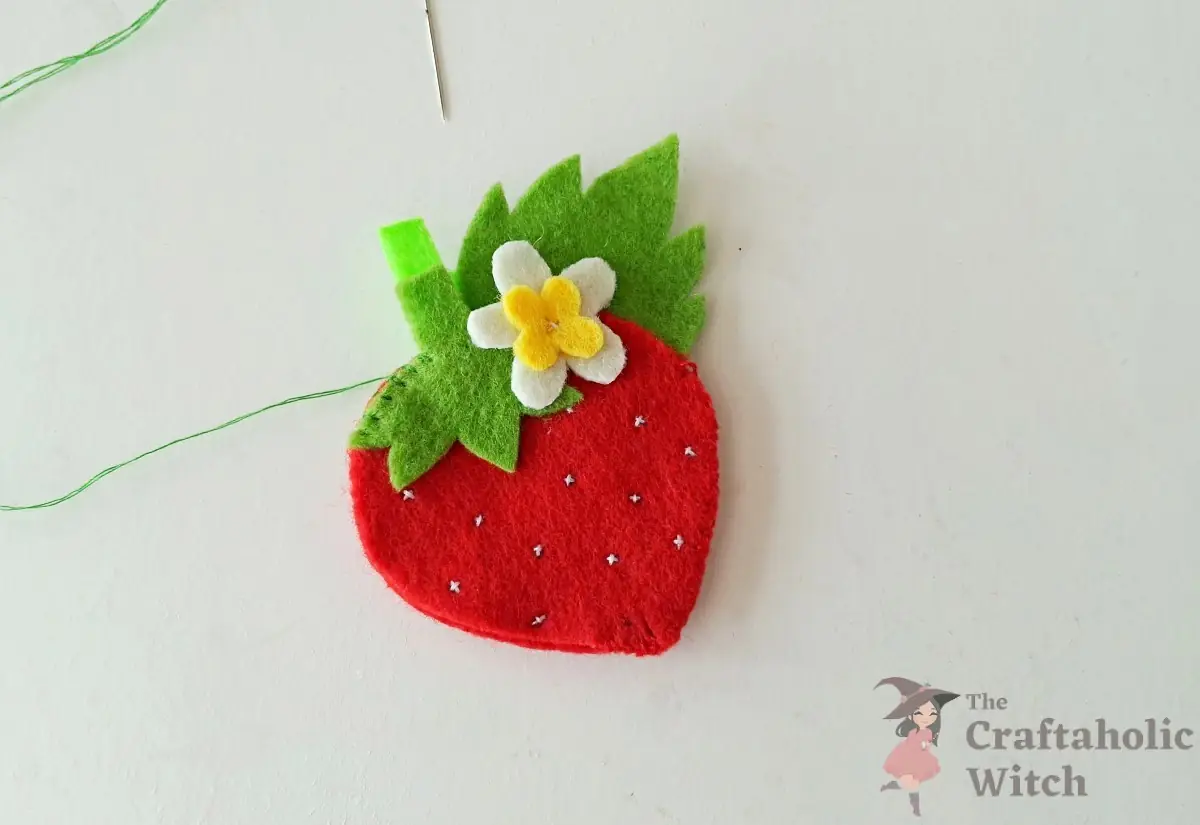
Fold the felt strip in half and slide the raw ends between the front and back layers at the top of the strawberry. The folded end should stick out enough for a keyring to pass through easily, but not so far that it looks oversized.
Step 8: Blanket Stitch Around the Edge and Leave a Small Opening
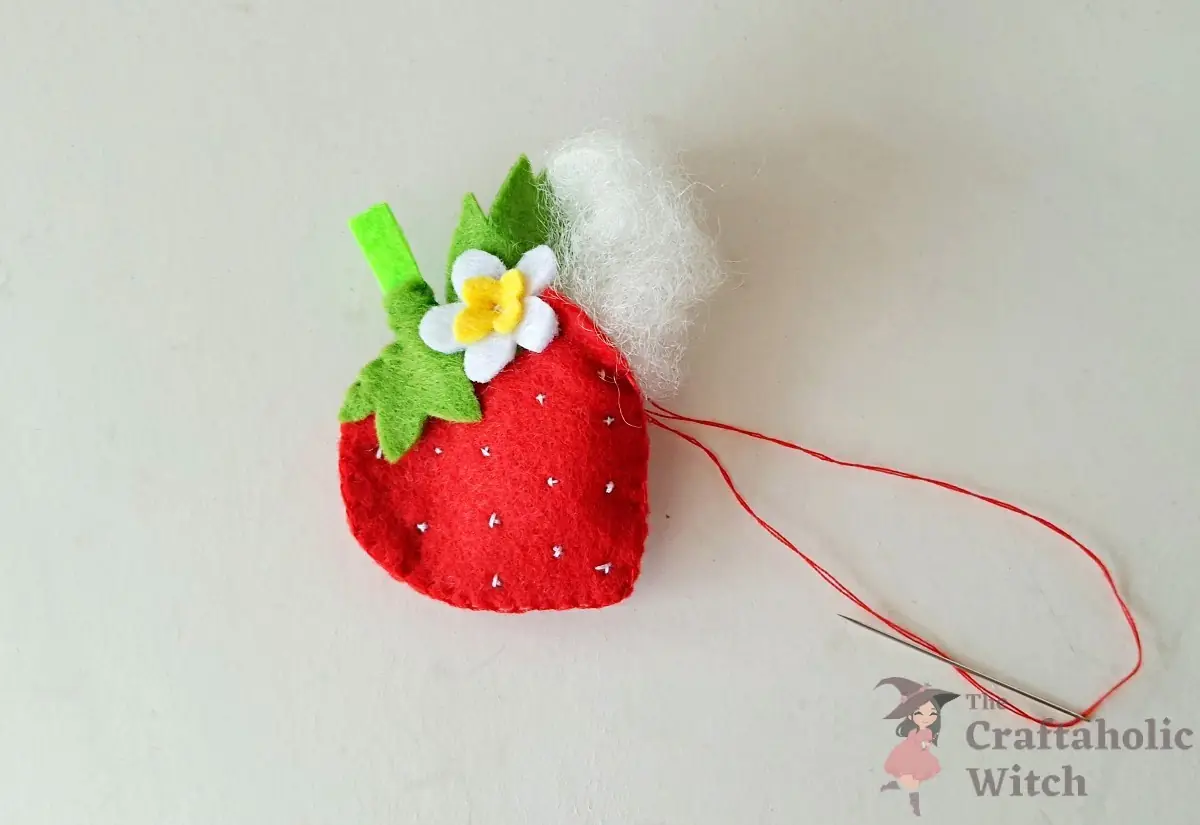
Use matching thread to blanket stitch around the strawberry, starting near the top so the loop gets secured early. Stop when you have a small opening near the bottom or side for stuffing.
Step 9: Stuff the Strawberry and Close the Final Gap
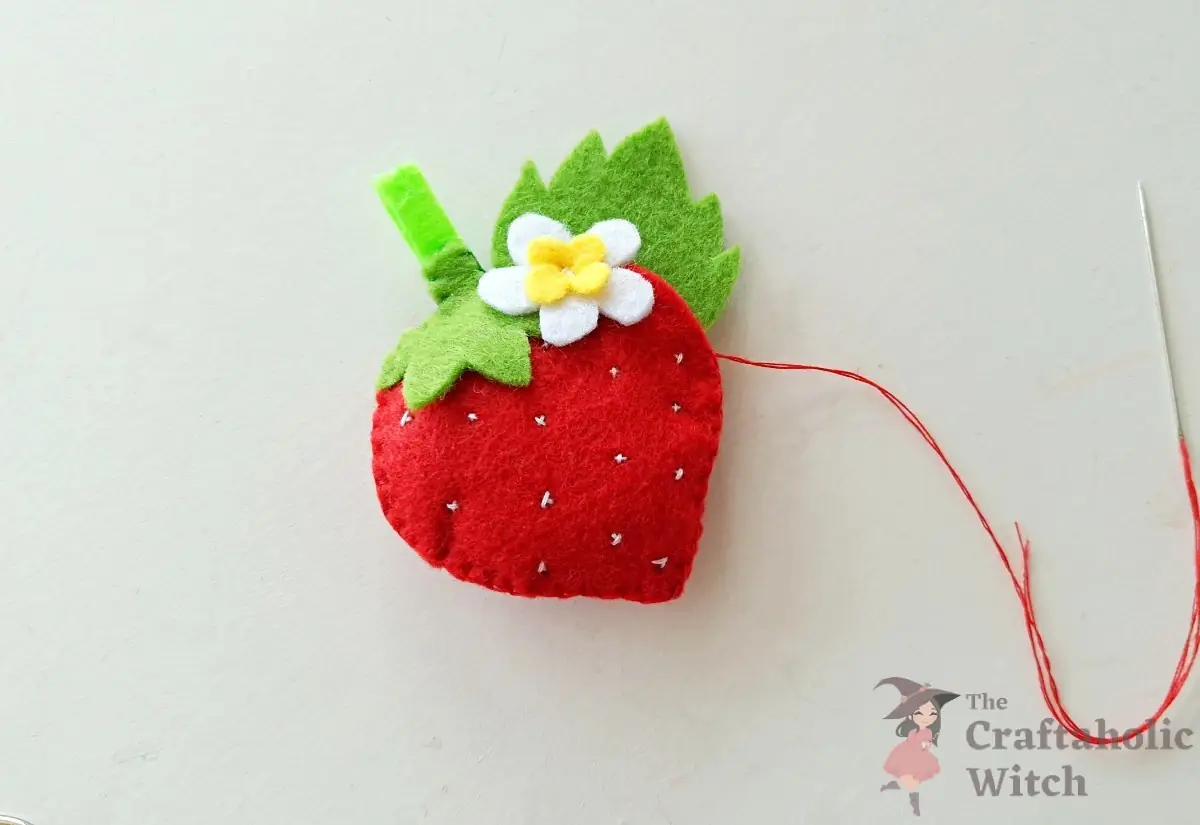
Add small bits of stuffing until the strawberry feels softly plump, then finish the blanket stitch to close the opening. Do not overstuff it, or the shape will puff out too much and the top layers can start to pull.
Step 10: Choose a Lightweight Keyring or Clasp
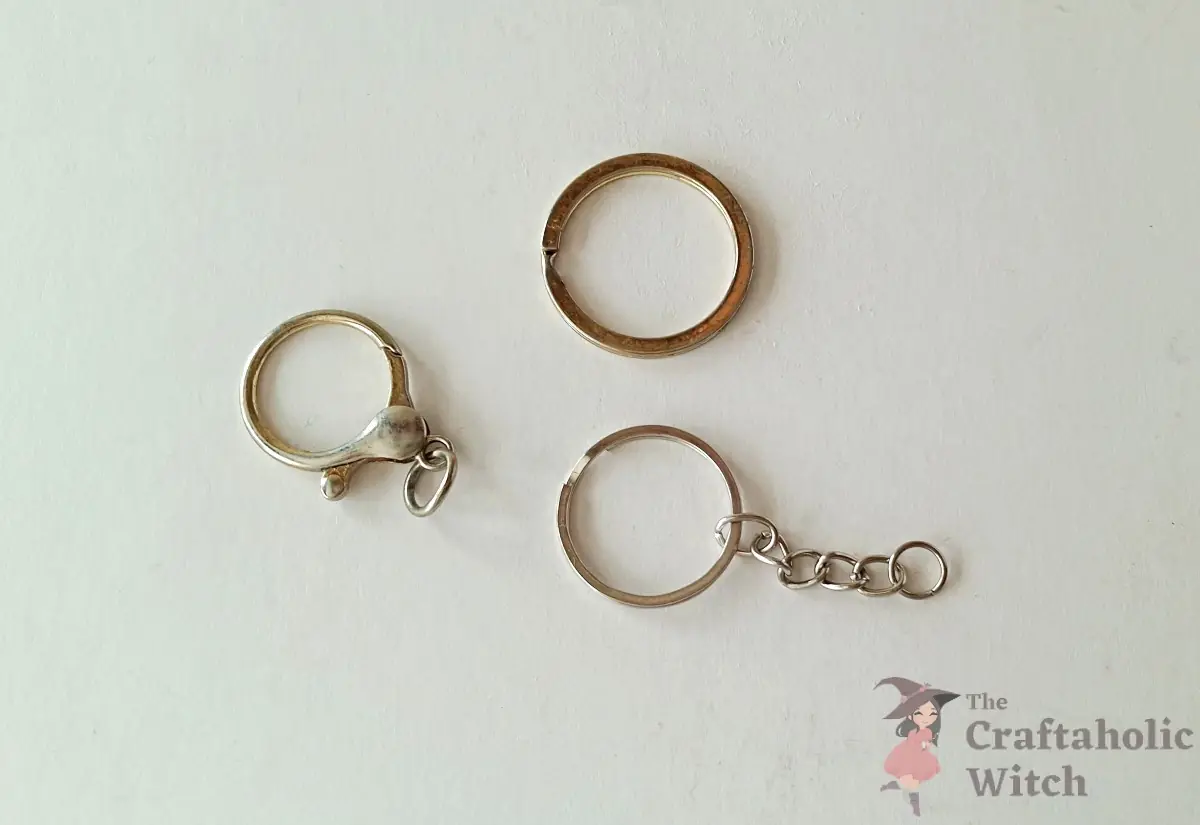
Pick the keyring style you want to use and check that it slides through the felt loop easily. A lighter ring is usually better for felt projects because it puts less strain on the stitched top.
Step 11: Attach the Ring to Finish the Keychain
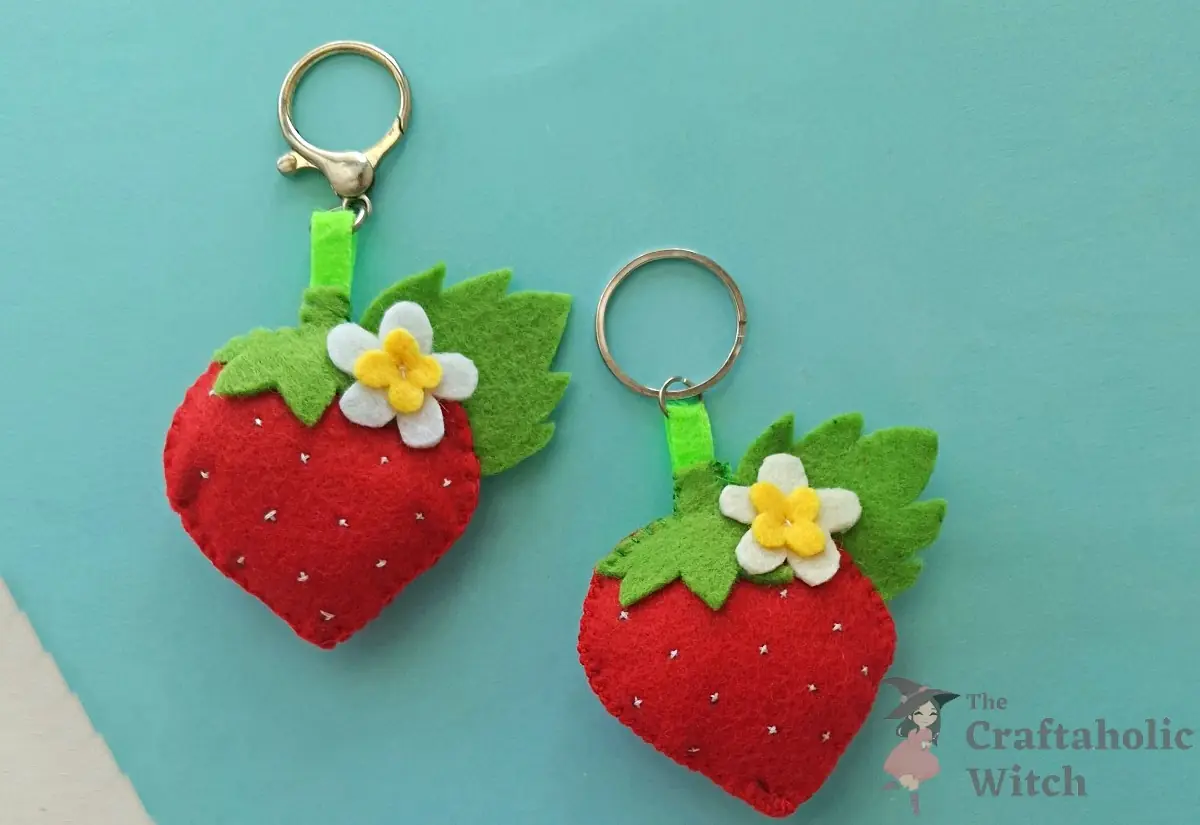
Thread the keyring or clasp through the felt loop and pull it into place. That is it. Your felt strawberry keychain is ready to use.
Tips for a Cleaner Finish
- Make the seed stitches first, before you join the strawberry layers. It is much easier to keep the back neat this way.
- Use small bits of stuffing instead of one big piece. The shape ends up smoother and easier to control.
- Test the loop with a gentle tug before adding the ring. If it shifts, add a few more stitches at the top before calling it done.
FAQ
Can I use embroidery floss instead of regular thread?
Yes. Embroidery floss works well for the seed stitches because it shows up nicely on red felt. For the blanket stitch around the edge, regular sewing thread usually gives a cleaner finish.
What can I use instead of cotton stuffing?
Polyester fiberfill is the easiest swap. You can also use tiny felt scraps if you want to keep this project fully fabric-based and use up leftovers.
How do I keep the keychain loop from pulling loose?
Make sure the raw ends of the felt strip sit deep enough between the two strawberry layers. Stitch through that top area several times when you secure the flower and begin the blanket stitch.
Can I turn this into something other than a keychain?
Yes. Skip the loop and glue or sew a brooch pin, magnet, or hair clip on the back instead. The strawberry shape works well for all of those.
Share it in "I Made It" and let us cheer you on.
Post your finished make in "I Made It" so the community can celebrate it with you. Cheer on other makers too. Each month, the most loved craft wins 1 year of Craftaholic Premium ($59)
0 Comments
Join the conversation
Log in to your Craftaholic Community account to comment, ask questions, and cheer on fellow makers.
Log in to comment