

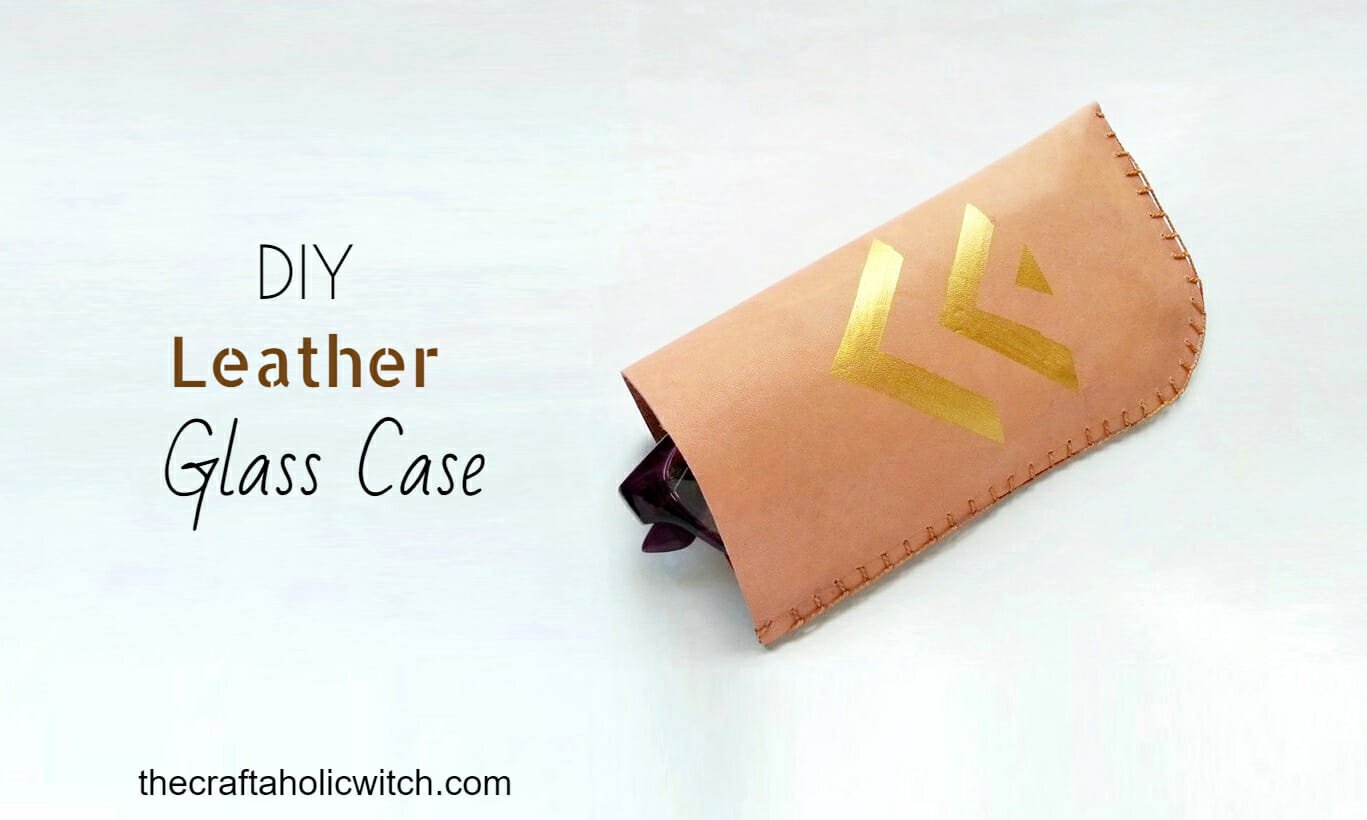
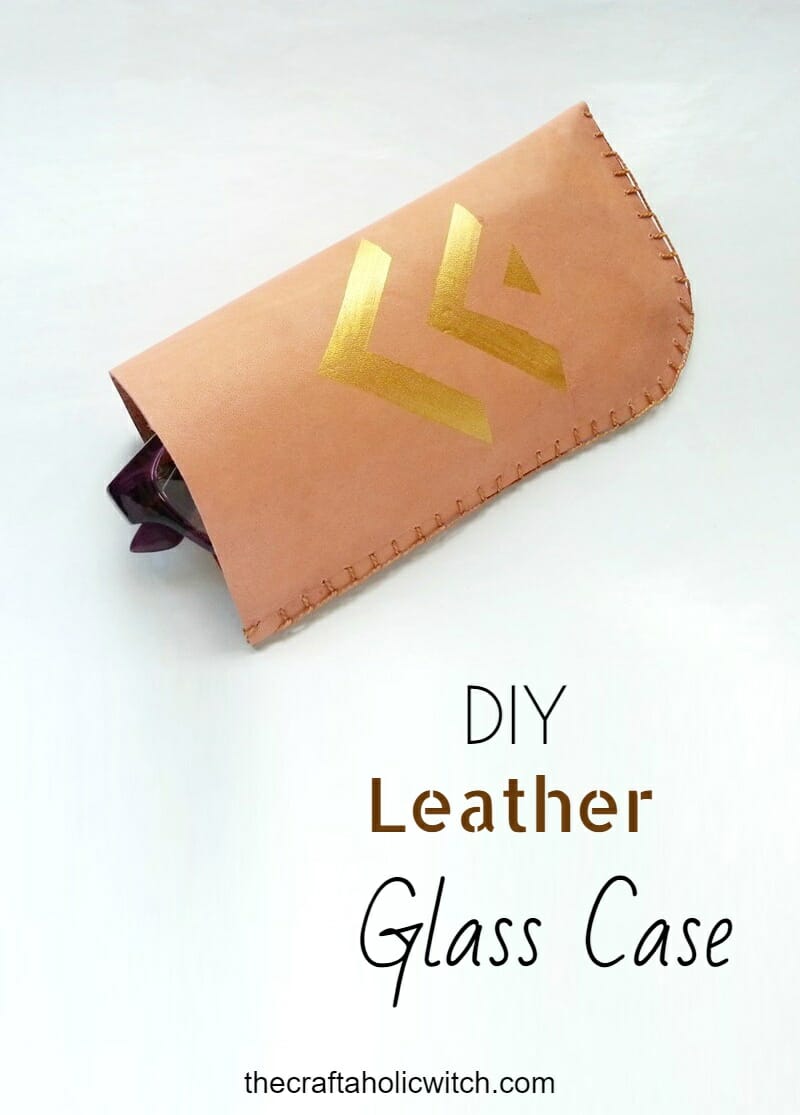
A strip of leather, a needle, and about an hour turn into a hand-stitched case that actually protects your glasses instead of letting them rattle around loose in your bag. I made this one after losing count of how many times my sunglasses got scratched at the bottom of my tote, and it’s still one of my favorite quick leather projects.
You don’t need a leatherworking background for this. It’s a beginner-friendly project built from basics you likely already have: a leather scrap, a needle, some waxed thread, and a bit of patience with the stitches. The trickiest part is keeping your holes evenly spaced, and even that comes together with a ruler and a steady hand.
Once it’s stitched, you can leave the leather plain or dress it up with a painted design like the gold geometric pattern I added here. Either way, you end up with a case that looks handmade because it is, and it fits right alongside our other storage and utility crafts if you want to make a matching set.
Leather Glass Case at a Glance
- Difficulty: Beginner
- Time: 45 to 60 minutes
- Cost: Under $10
- Ages: 12+ (an adult should handle the awl with younger makers)
- Best for: A quick handmade gift or everyday glasses protection
Join Craft Challenge: Craft Your Calm
Make something that brings you a sense of peace, share a photo, and tell us your story. It's free to enter, open to everyone, and the entry with the most reactions takes home a $100 gift card. Takes five minutes to join.
Entries close August 30, 2026. No purchase necessary.
What You Need to Make a Leather Glass Case
Materials
- Leather, a scrap piece large enough to wrap around your glasses twice over. A medium-weight vegetable-tanned leather holds its shape best.
- Waxed thread, for a stitch that stays tight and doesn’t fray as you work.
- Golden fabric paint, optional, if you want to add a design once the case is stitched.
Tools
- Scissors, for cutting the leather.
- Pencil, for tracing your cut lines.
- Sharp tapestry needle, to carry the waxed thread through the punched holes.
- Ruler, to keep your stitching holes evenly spaced.
- Awl, to punch the stitching holes through the leather.
- Wooden board, to protect your work surface while you punch.
- Small paintbrush, if you’re adding a painted design.
Ask inside "Crafty Q&A" while you are making.
"Crafty Q&A" is free to join. Share your question, photo, or the exact step where you got stuck, and chat with other makers plus the Craftaholic Witch team. You can also join any discussion thread already happening inside the space.
How to Make a Leather Glass Case
Step 1: Trace the Case Shape Around Your Glasses
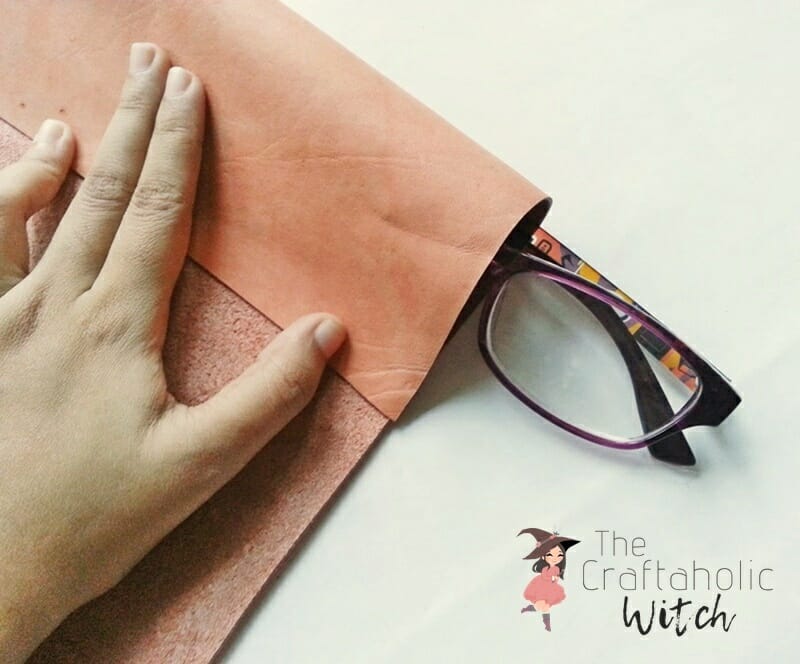
Lay the leather wrong side up on a flat surface and set your glasses near one edge. Fold the leather around them once to check the fit, leaving about 2 cm of extra leather on both open sides so you have room to stitch. Trace along those measured sides with your pencil before you cut anything.
Step 2: Cut Out and Round the Corners
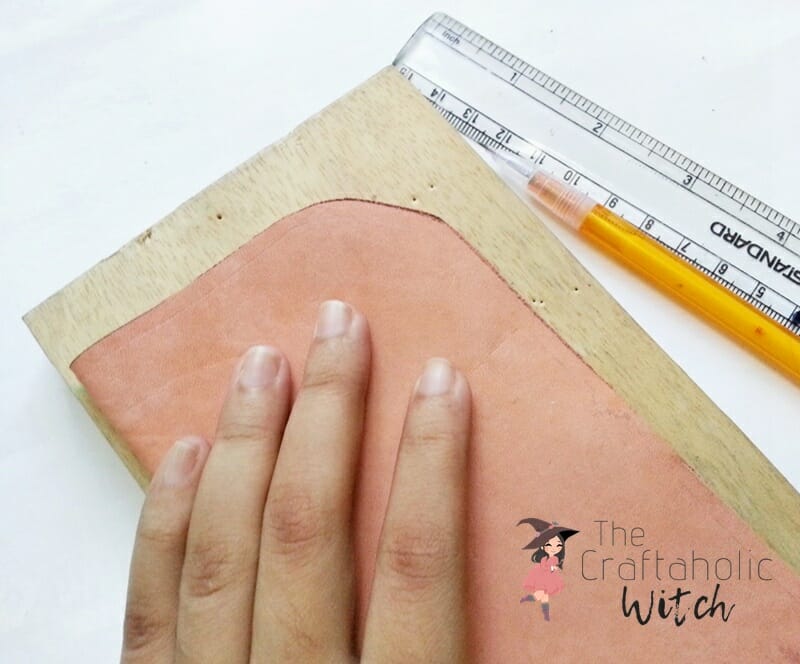
Cut out the piece you just traced, then fold it in half widthwise so the two open ends line up. On one of those open sides, round off the corners with your scissors. This rounded end becomes the top of the case, where your glasses slide in.
Step 3: Mark the Two Sides That Need Stitching Holes
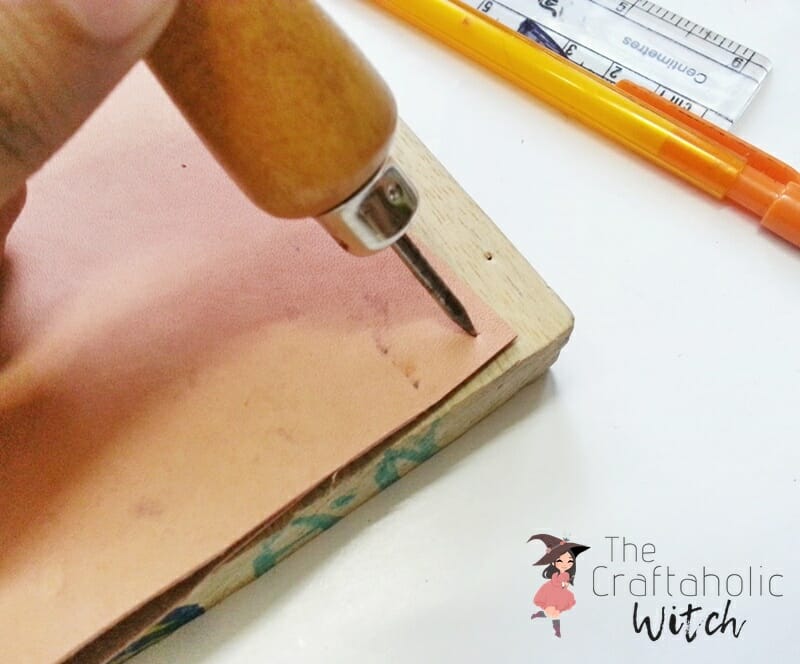
Keep the leather folded and set it on your wooden board. You’ll have three open sides in total: the long side, the rounded corner, and the short straight side across from it. Punch holes along the long side and the rounded corner, and leave the straight side open, that’s where the case stays unstitched so your glasses can slide out.
Step 4: Punch the Stitching Holes with an Awl
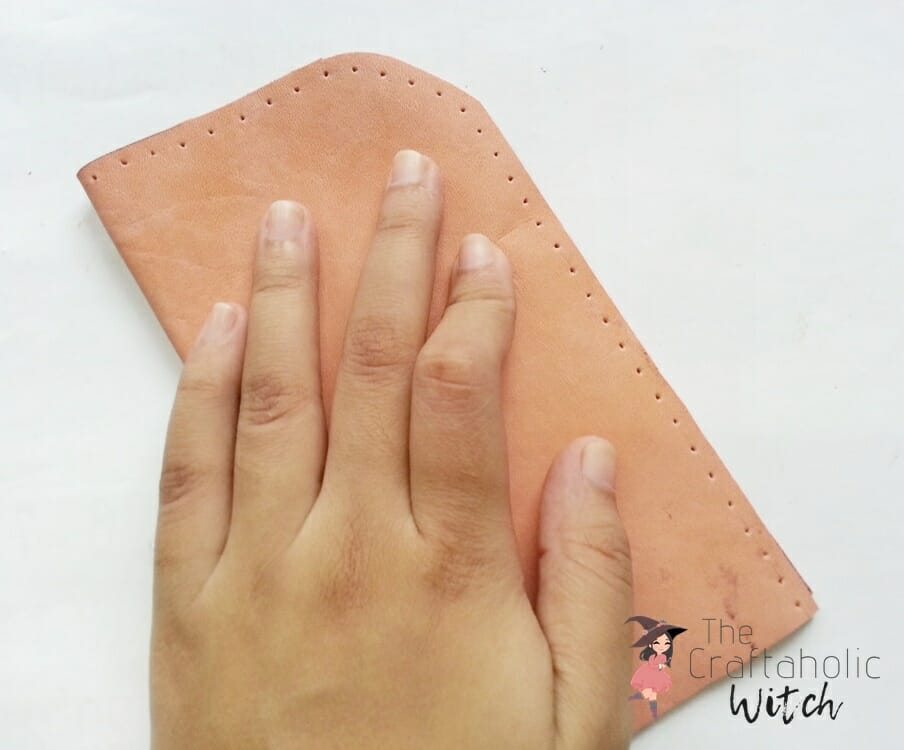
Mark your hole spacing lightly with a pencil first if you want a guide, or punch freehand if you’re comfortable eyeballing it. Either way, use the ruler to keep the holes an even distance apart. Uneven spacing is the one thing that makes a hand-stitched seam look rushed, so take your time here.
Step 5: Start Stitching from One End
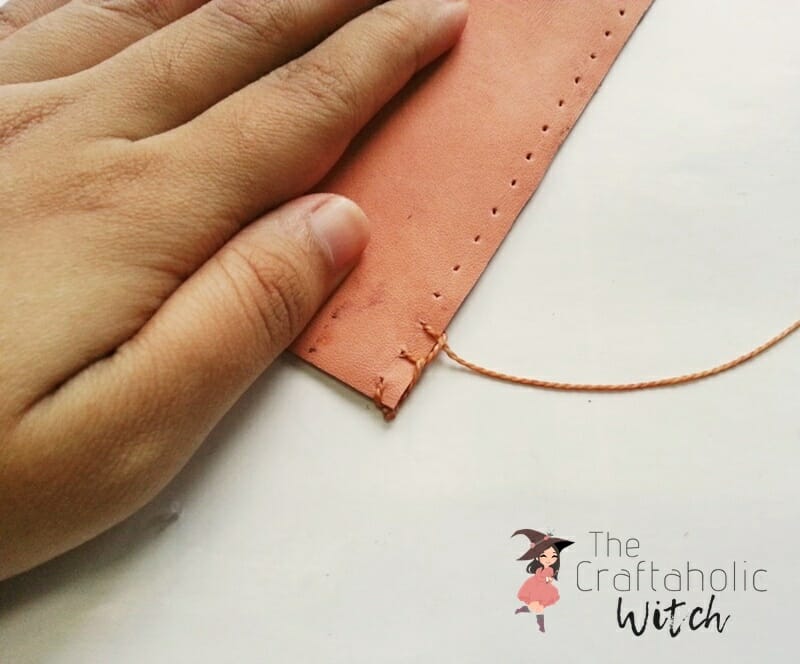
Thread your needle with waxed thread and draw it through the first hole at either end, then tie a knot to anchor it. Work a flat blanket stitch through the holes from there, looping the thread over the edge and back through each hole in turn.
Step 6: Stitch to the End and Keep the Tension Even
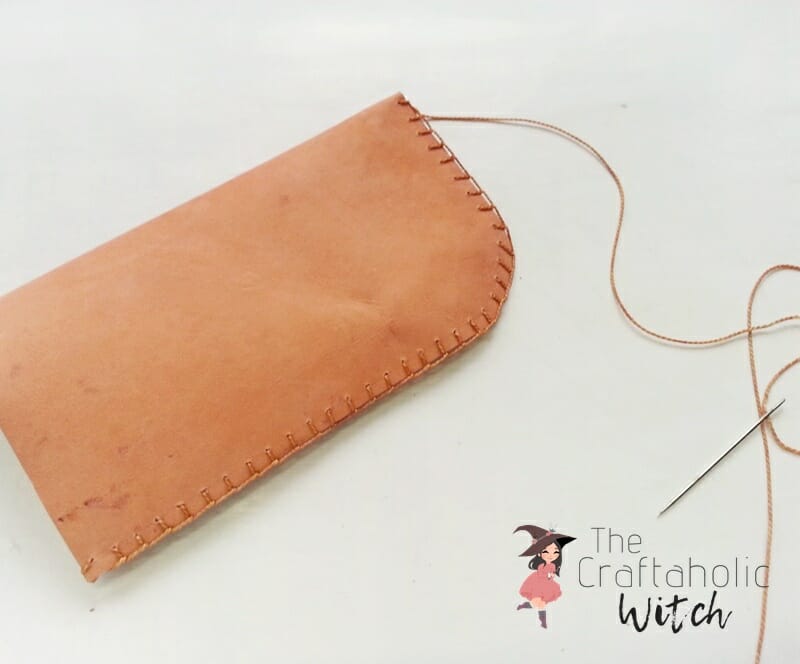
Keep working the same stitch through every hole all the way to the other end. Pull each loop to roughly the same tension as the last one. If a few stitches come out tighter than the rest, the seam will pucker slightly there, so check back every few holes rather than only at the end.
Step 7: Knot Off and Add the Painted Design
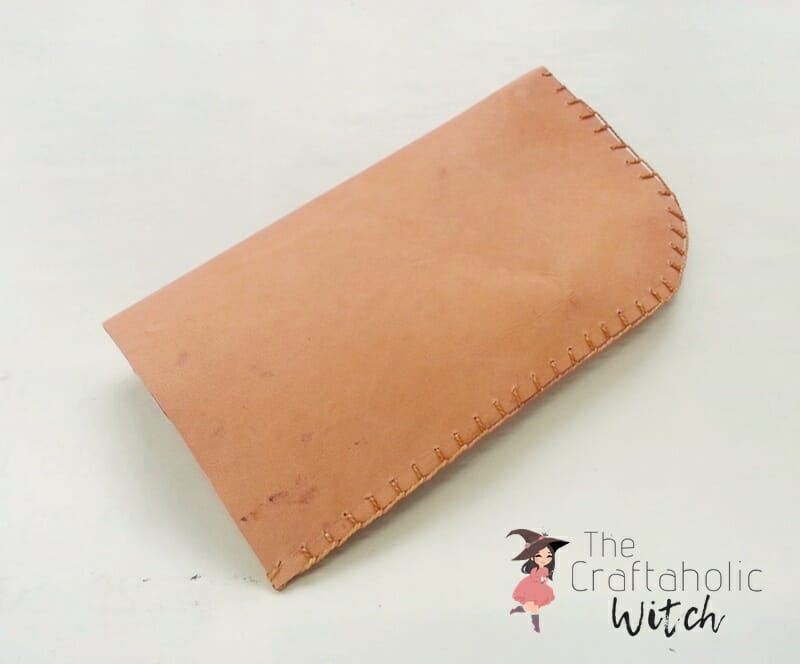
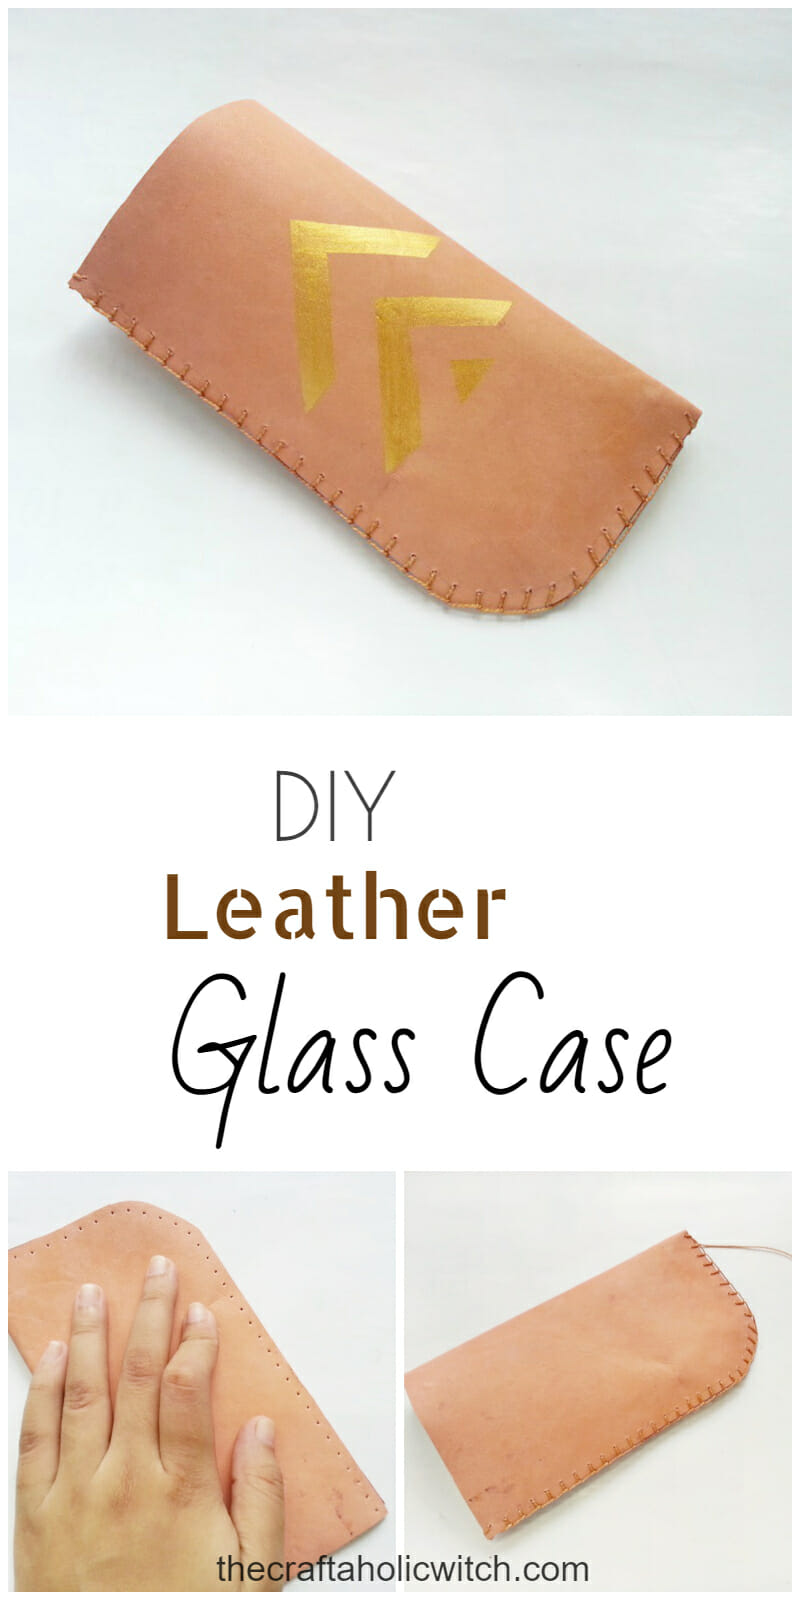
Once you reach the last hole, tie off a knot, trim the extra thread, and tuck the tail inside the case so it doesn’t show. From here you can leave the leather plain or paint on a design. I did a simple geometric pattern in gold fabric paint, then let it dry fully before using the case.
Share it in "I Made It" and let us cheer you on.
Post your finished make in "I Made It" so the community can celebrate it with you. Cheer on other makers too. Each month, the most loved craft wins 1 year of Craftaholic Premium ($59)
Tips for Your Leather Glass Case
- Let painted designs cure a full 24 hours before the case goes into daily use, so the paint doesn’t transfer onto your glasses or lens cloth.
- A darker or contrasting thread color changes the whole look of the stitch line if gold paint isn’t your style.
- If you enjoy working with leather scraps, these leather zipper extensions are a good next project using the same basic tools.
Frequently Asked Questions
What can I use instead of waxed thread to stitch a leather case?
Regular embroidery or upholstery thread works if you run it through a block of beeswax first. The wax keeps the thread from fraying as it passes through the leather and helps each stitch sit tight instead of loosening over time.
How long does it take to make a leather glasses case?
Plan for about 45 to 60 minutes from tracing to the final knot. Cutting and punching the holes go quickly, and most of that time is the hand-stitching itself, since a steady, even pace matters more than speed.
Can I make this case without stitching?
Yes, a strong leather or fabric glue can hold the seams instead of hand stitching. Clamp the glued edges while they dry and skip the hole-punching steps entirely, though the stitched version holds up better to daily use.
How do I size the case to fit my specific glasses?
Wrap the leather around your actual glasses once before you cut, and trace directly around that fold with the 2 cm allowance described in step one. Sizing off your own glasses instead of a fixed measurement is what keeps the fit snug.
What kind of leather works best for a beginner?
A medium-weight vegetable-tanned leather scrap is the easiest to work with. It holds a fold well, punches cleanly with an awl, and is forgiving if your first few stitching holes aren’t perfectly even.
More Home Decor Tutorials
- Browse our home decor tutorials for more handmade projects.
- DIY Recycled Clutch Bag from a VHS Case
- How to Make a Woven Paper Basket
Share your leather glass case in the I Made It space inside Craftaholic Community. The most-loved post each month wins a one year free Premium membership.
0 Comments
Join the conversation
Log in to your Craftaholic Community account to comment, ask questions, and cheer on fellow makers.
Log in to comment