

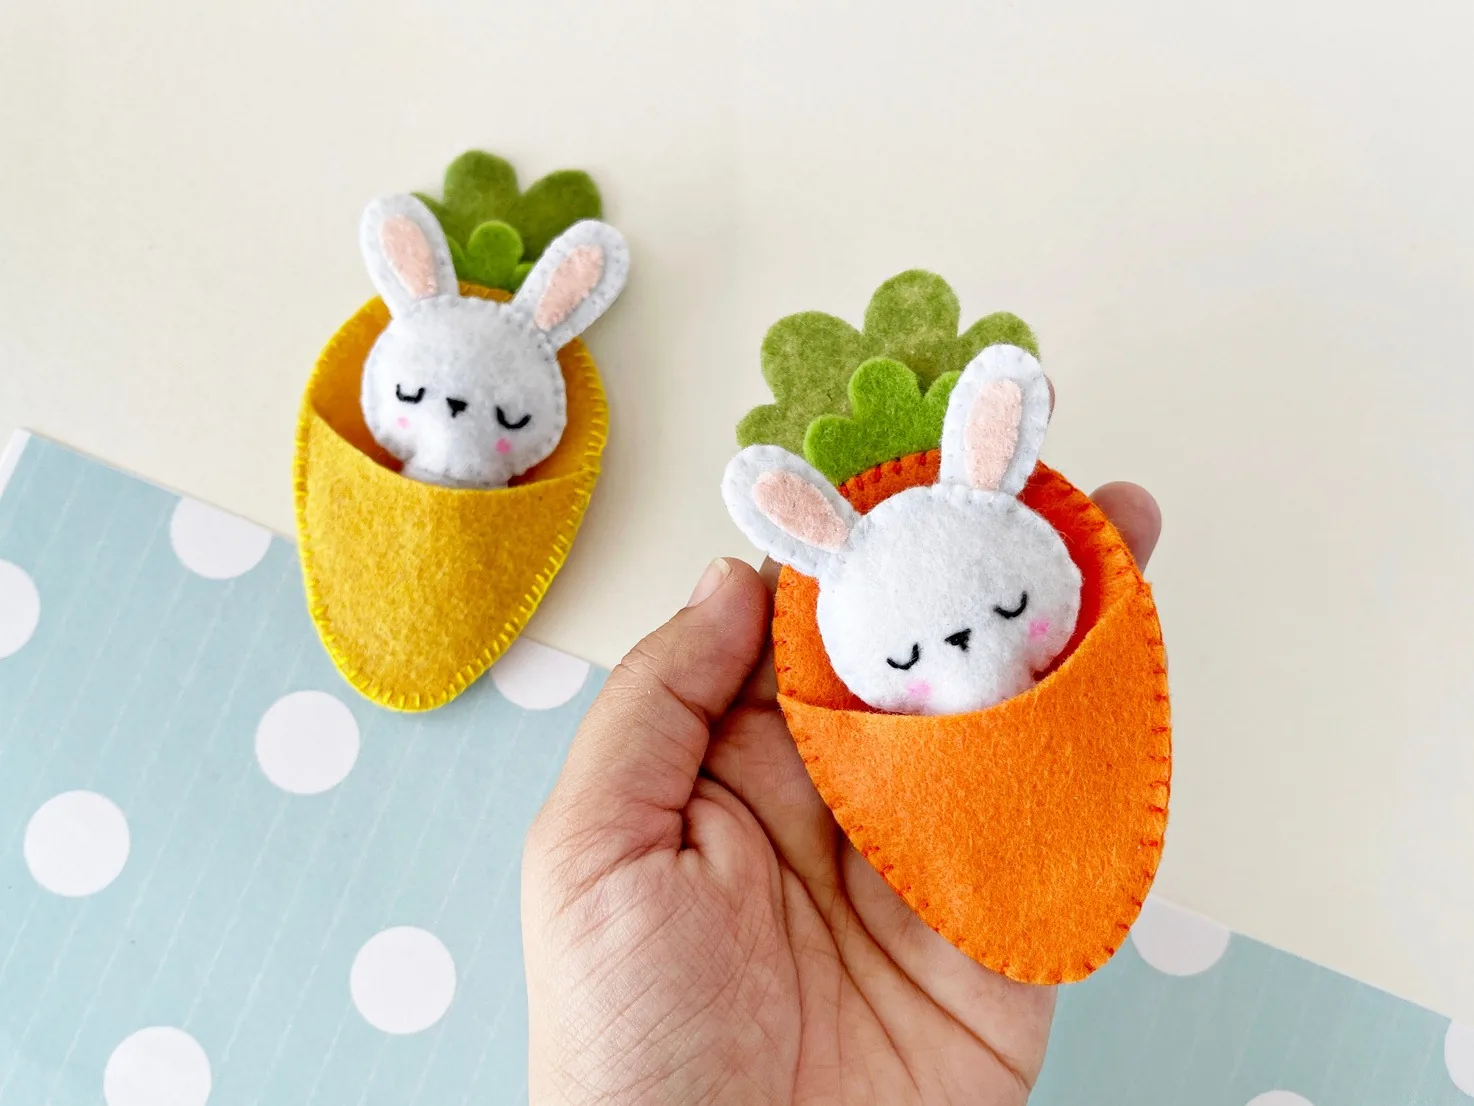
A felt bunny in a carrot is one of those little makes that gets an “aww” the moment you finish it. A sleepy white bunny tucks into a soft orange carrot pocket, and the two lift apart, so it is part plush and part pocket toy. It is a perfect Easter basket filler or a spring desk buddy.
This is a hand-sewing project with no machine needed. If you can manage a blanket stitch and an applique stitch, you can make this bunny, and I will walk you through every stitch. Set aside an evening and a few scraps of felt. If you love little felt friends like this, it fits right in with my stuffed animal plush patterns collection.
The printable pattern gives you every piece sized and ready to trace: the bunny, its ears and tail, the carrot, the pocket, and the leaves. Let me show you how I stitched mine together.
Felt Bunny in a Carrot at a Glance
- Difficulty: Beginner
- Time: About 2 hours
- Cost: Under $5 with felt scraps
- Ages: 12 and up, or younger with a hand helping near the needle
- Best for: Easter baskets, spring decor, and handmade gifts
Join Craft Challenge: Craft Your Calm
Make something that brings you a sense of peace, share a photo, and tell us your story. It's free to enter, open to everyone, and the entry with the most reactions takes home a $100 gift card. Takes five minutes to join.
Entries close August 30, 2026. No purchase necessary.
What You Need to Make a Felt Bunny in a Carrot
Materials
- Felt in white, orange, green, and a little pink. White for the bunny, orange for the carrot, green for the leaves, and a scrap of pink for the inner ears. Craft felt around 1 to 2mm holds the shapes best.
- Embroidery floss in matching colours. The blanket and applique stitches show on the outside, so pick shades close to each felt.
- Black embroidery floss. For the back-stitched eyes and the satin-stitched nose.
- Cotton or polyester stuffing. Just enough to fill the bunny and its tail for a soft, plump body.
- Fabric glue (optional). Handy for holding tiny pieces like the belly or eyes in place before you stitch.
Tools
- Pencil or fabric marker. To trace the pattern onto the felt; one that fades or hides on the back is ideal.
- Sharp scissors. Small, pointed scissors cut clean curves on the ears, leaves, and pocket.
- Embroidery needle. For all the hand stitching.
- Embroidery pins. To hold the layers together so nothing shifts while you sew.
Get the Felt Bunny in a Carrot Pattern
This project uses a printable pattern with every piece sized and ready to trace: the bunny body, head, ears, tail, and belly, plus the carrot base, pocket, and leaves. Grab the Felt Bunny in a Carrot pattern in the shop and print it at 100% with no scaling so the pieces come out the right size.
Ask inside "Crafty Q&A" while you are making.
"Crafty Q&A" is free to join. Share your question, photo, or the exact step where you got stuck, and chat with other makers plus the Craftaholic Witch team. You can also join any discussion thread already happening inside the space.
0 Comments
Join the conversation
Log in to your Craftaholic Community account to comment, ask questions, and cheer on fellow makers.
Log in to comment