How to Make a Rainbow Craft for Kids (with Free Template)
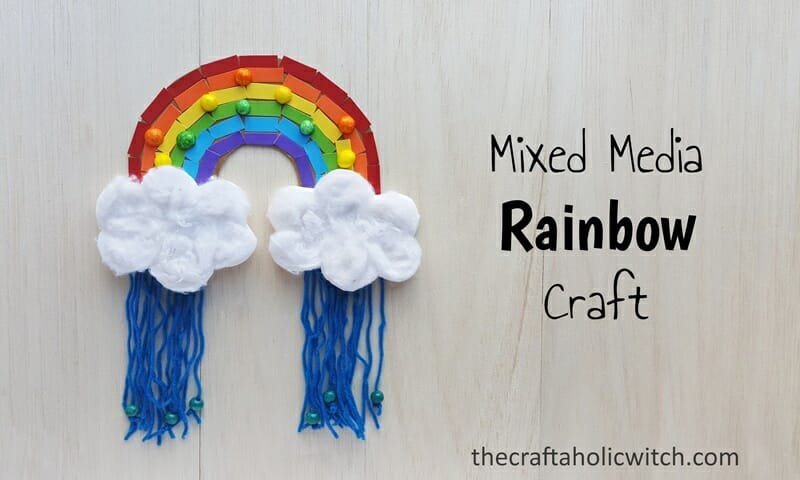
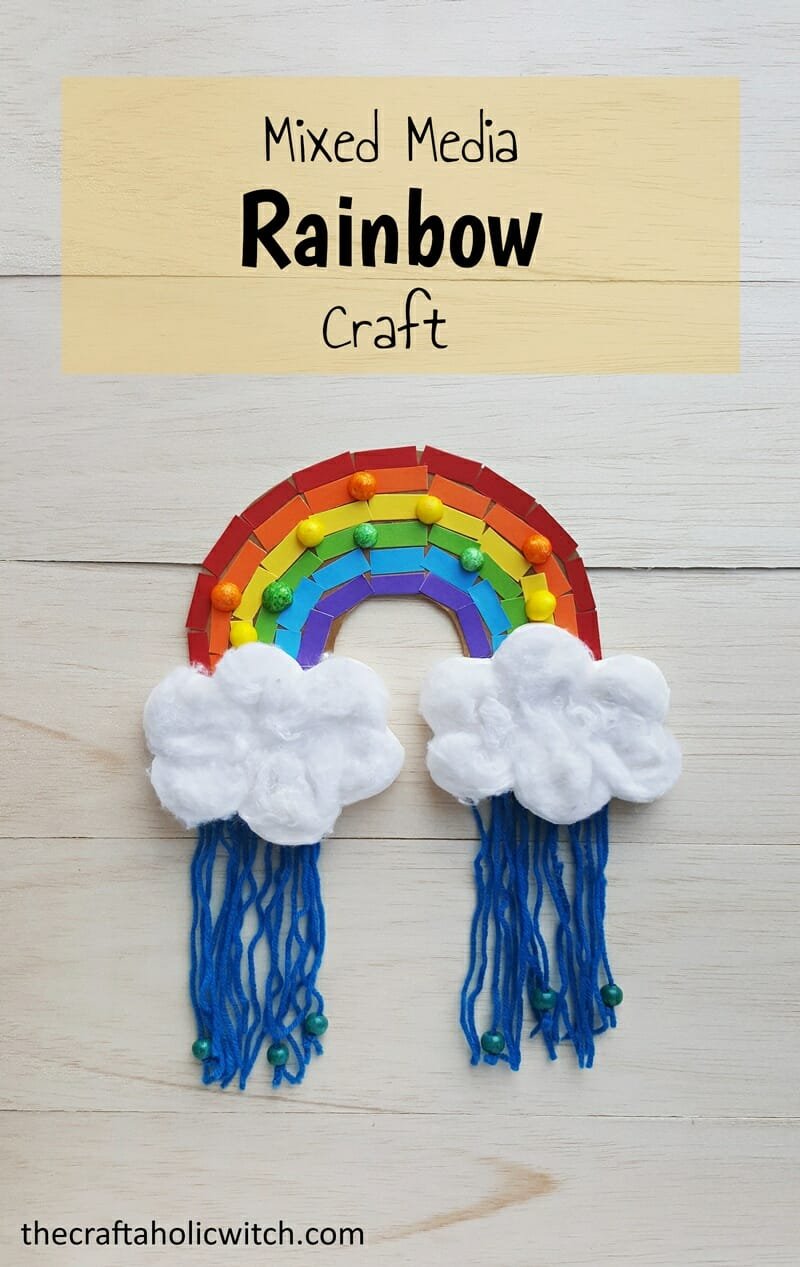
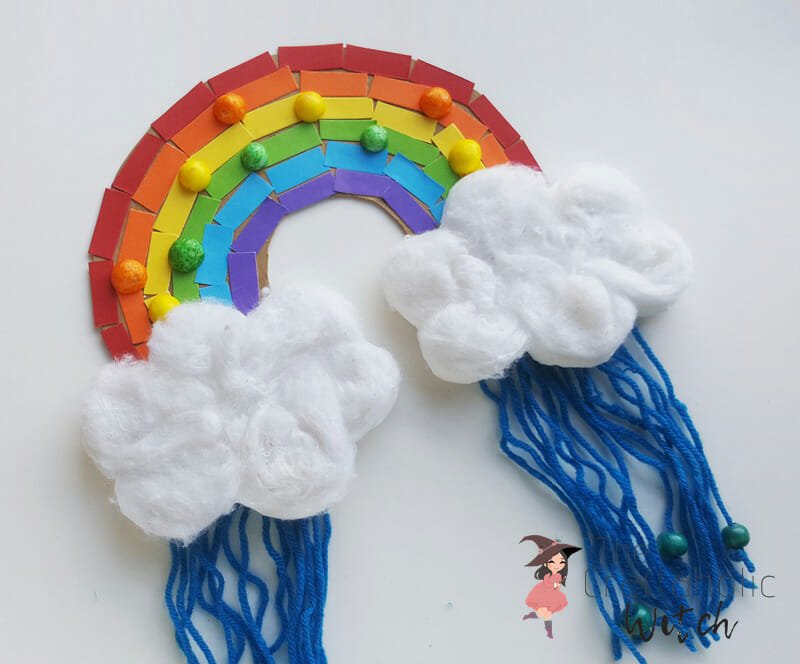
Though this rainbow mobile craft is something new in the virtual craft world, I tried to add some fun, colors, and craftiness to it! A super fun kid craft idea to try out any weekend.
I was hardly into kid’s crafts but recently I have been teaching arts and crafts to a small group of kids and definitely enjoying it! While trying out different kinds of kids’ crafts ideas, I thought of making something fun, creative, and educational.
The best thing about this craft is that you can teach the kids about recycling by using leftover craft supplies for this craft idea. The finished craft project can be used as wall decor or mobile decor. Go ahead, check out the tutorial and enjoy!
Here is the tutorial, check it out!
How to Make a Rainbow Craft for Kids
Things You’ll Need to Make the Rainbow Craft
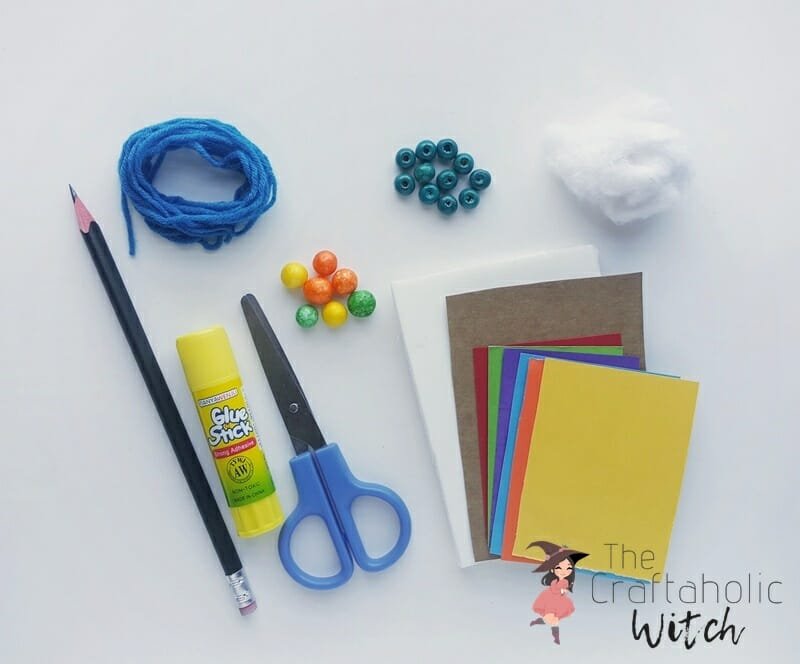
You are gonna need a few easy-to-find supplies and a simple rainbow template to make this rainbow craft. We have attached a free printable rainbow template here and you might already have all the supplies for this craft project at home. Check out the list of supplies.
List of Supplies
- Colored craft papers
- Pencil
- Scissors
- Glue stick or craft glue
- Cotton
- Yarn
- Wooden beads
- Colored styrofoam balls
- Template
The best thing about this craft is that you can use scrap supplies. If you are a crafter. I’m sure you have piles of scrap craft papers, yarns, and other basic craft materials. Grab’em all! You might need them for this fun craft.
Free Printable Rainbow Template
Print out the patterns from this Mixed Media Rainbow Template
Have all the supplies in hand? Let’s get crafty!
Instructions
Step 1: Assemble and prepare supplies
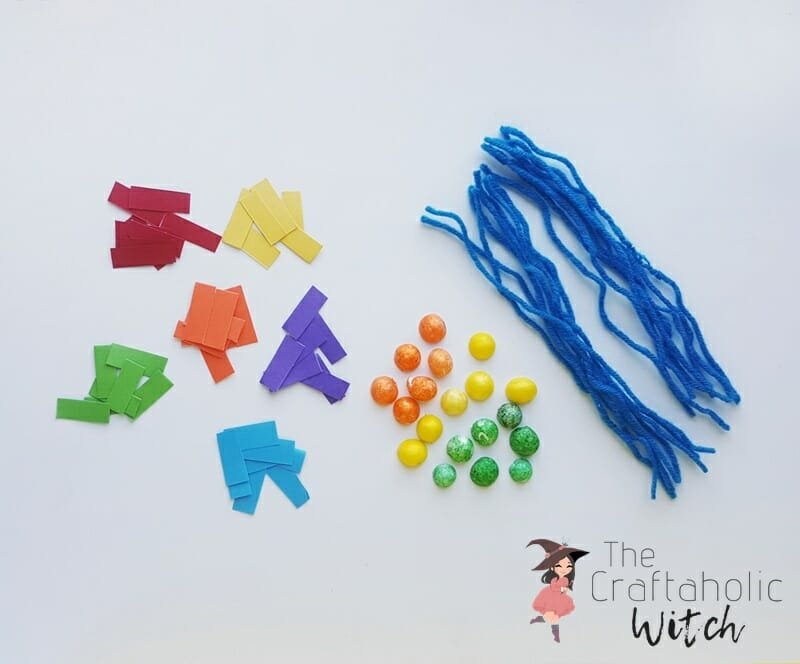
Phew! Finally, I can use a bunch of scrap craft papers and scrap yarns! You can also use colored cardstock papers but it’s easier for the kids to cut the craft papers. However, make sure to keep the kids under adult supervision.
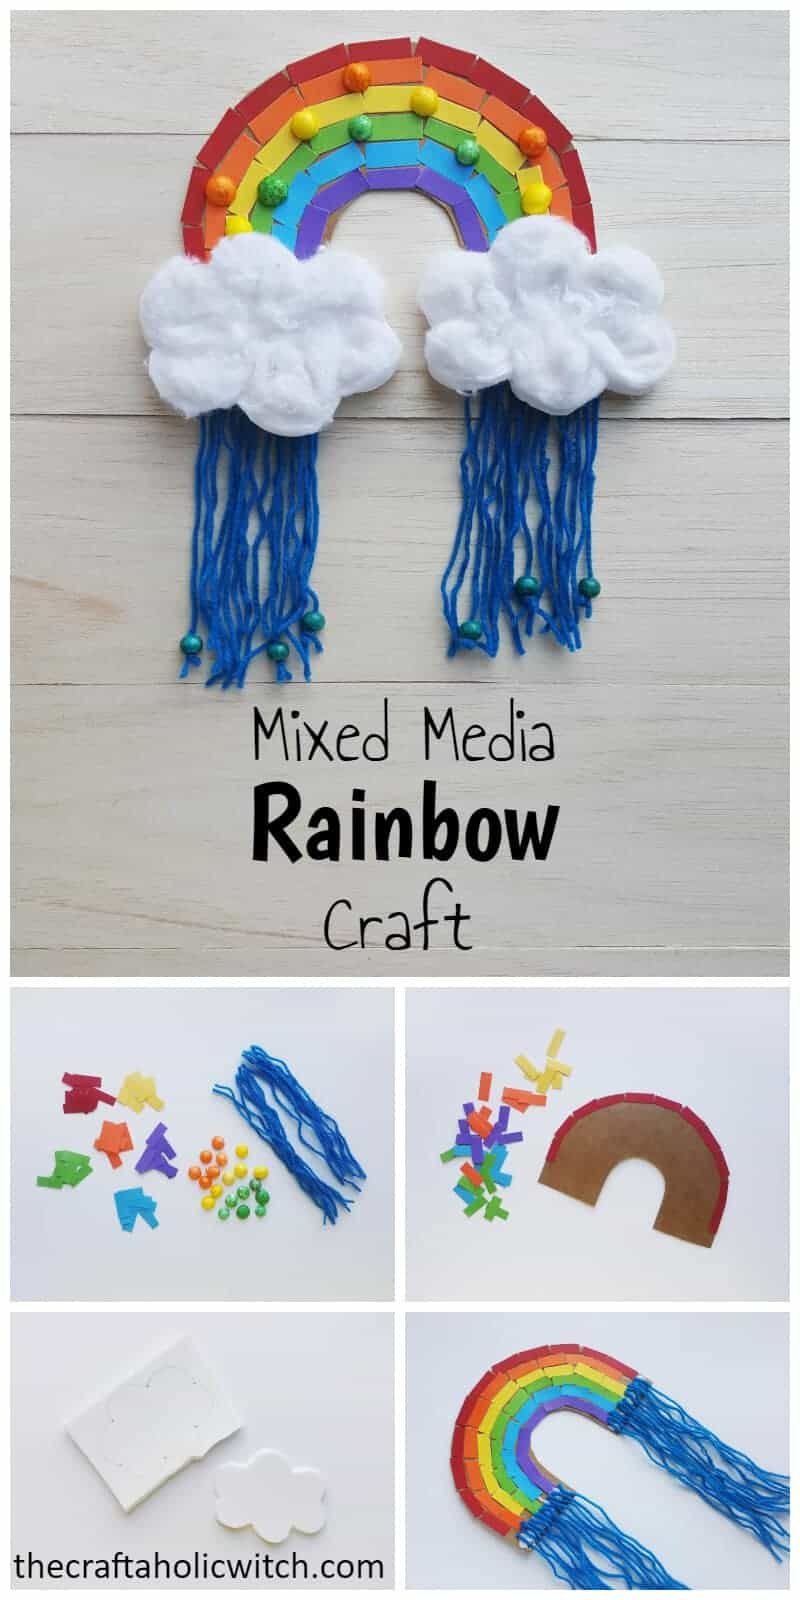
Select rainbow colors from the colored craft papers. Trace the small rectangle shape from the template on the selected craft papers and cut them out using scissors. Determine the length you want for the main part and cut out some yarn strands as determined. Use any shade of blue for the rain. Grab some colored styrofoam balls and cut them in half or you can also use small pompoms.
Step 2: Cut out the Cardboard or Cardstock paper and Prepare the Base
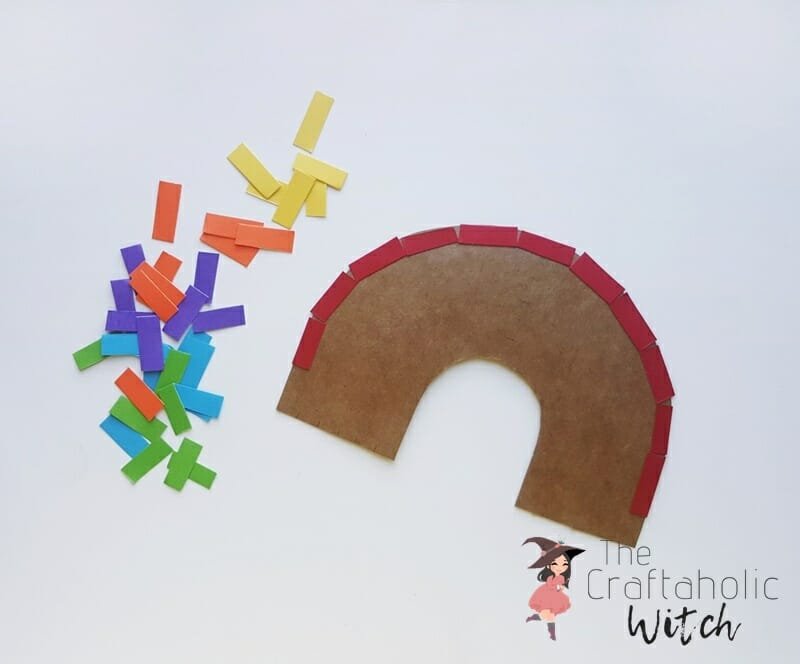
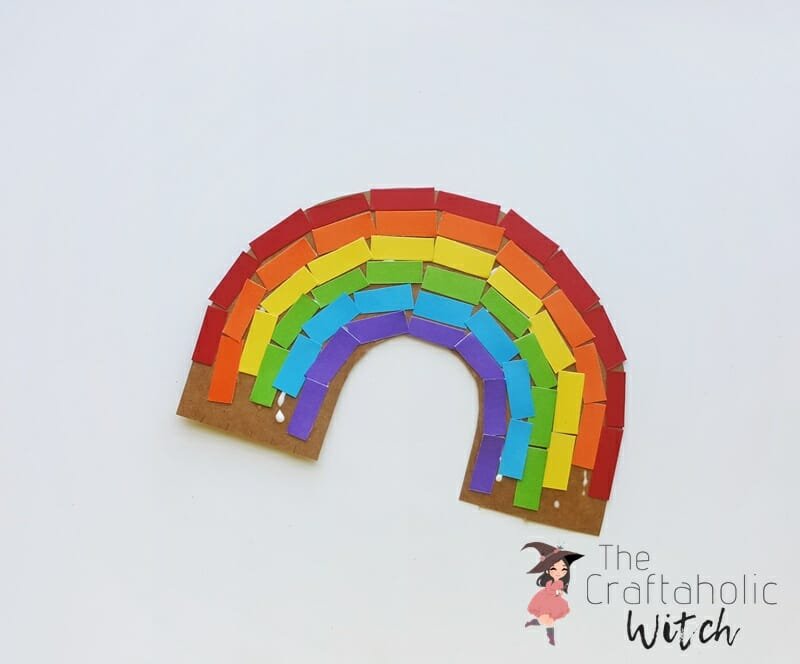
Use cardstock paper or cardboard for the base of the rainbow. Trace the rainbow base pattern (from the template) on the selected base material and cut it out nicely using scissors. Grab all the colored craft paper cutouts and start gluing them on the rainbow base, one color at a time. Start either from the top end or bottom end of the rainbow base. I started from the top end, using the red colored paper cutouts.
Step 3: Fill the Base with Colored Paper Tiles
Continue to glue the colored paper cutouts until the whole rainbow base is filled. Keep in mind to keep the correct sequence of rainbow colors while gluing the paper cut-outs on the rainbow base.
Step 4: Attach Yarn to the Base
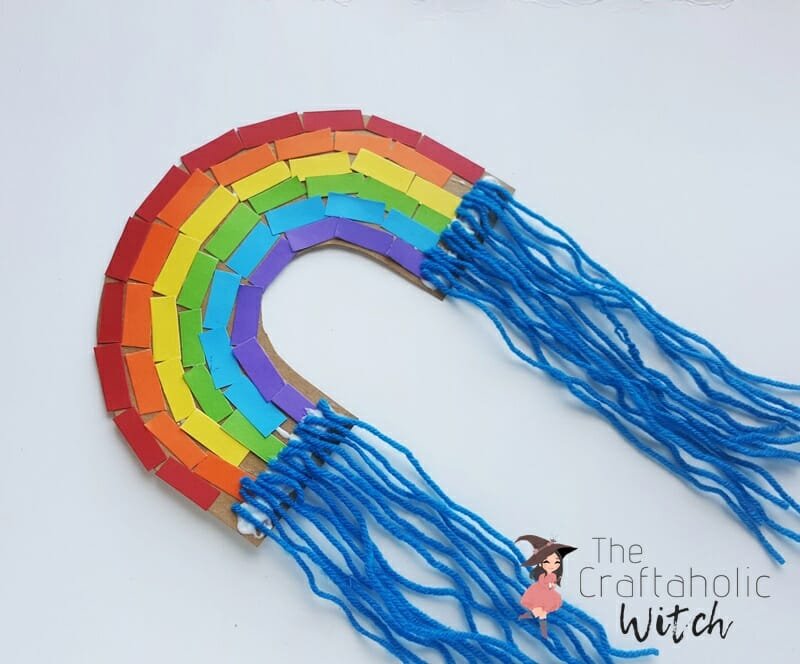
Done gluing all the craft paper cutouts? Now apply glue along the 2 straight bottom ends of the rainbow base and attach any one end of the yarn strands on the glued part. Overlap about 2 cm or more of the yarn strands with the glued part of the rainbow base. Allow the glue to dry and let’s prepare the clouds in the next step.
Step 5: Prepare the Cloud
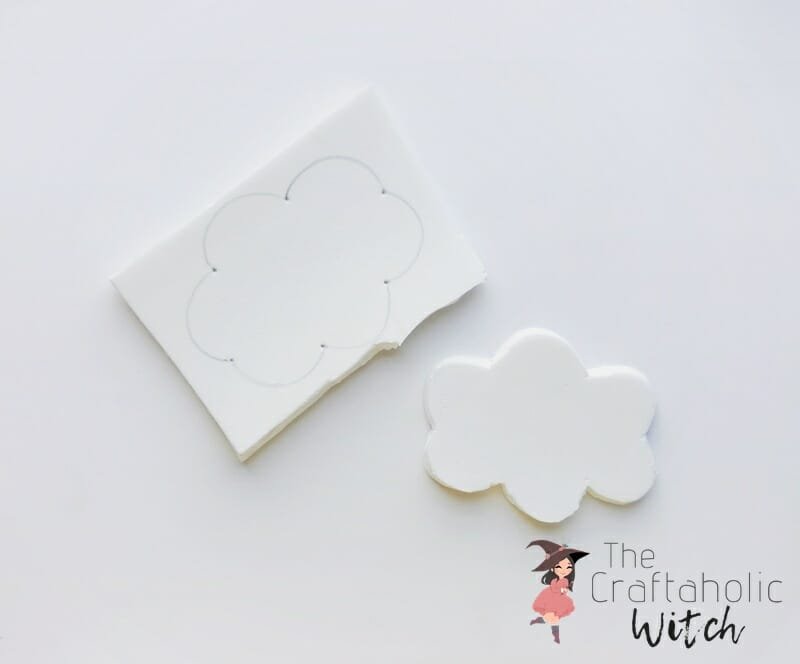
You can use white cardstock paper, white felt, or any white-colored soft material that is easy to cut. But I’m using a white craft foam sheet. Craft foam sheets are so easy to cut and gives the clouds a nicer look. Trace the cloud pattern (you can find the pattern in the given template) on a piece of craft foam; use a pencil to trace the pattern and scissors to cut out the traced cloud patterns. You will need 2 clouds for this craft.
Step 6: Attach Clouds to the Rainbow Base
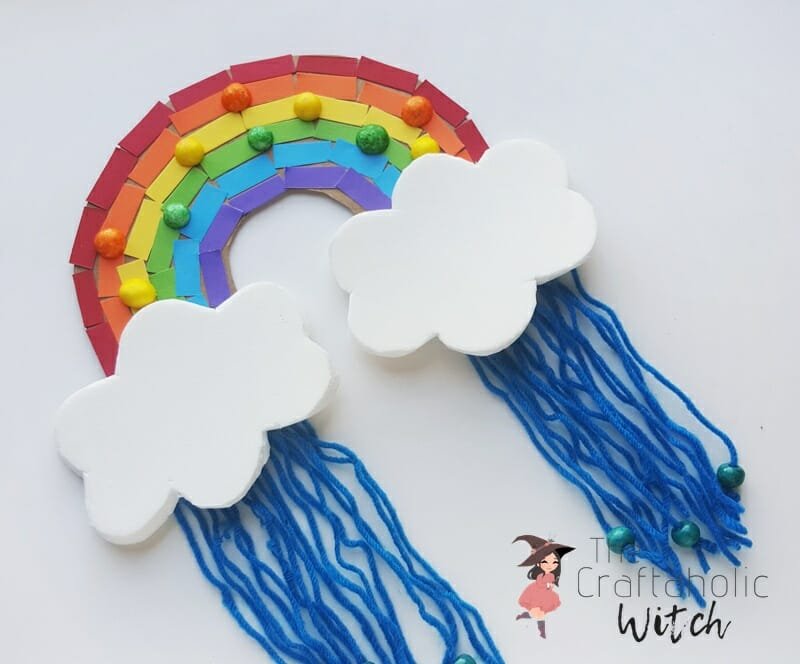
Now, glue the cloud cutouts on both open ends of the rainbow base. Also, add the half-cut styrofoam balls (or pompoms) on the rainbow part.
Step 7: Finishing Up
To give the clouds a little fluffy look I added some cotton! Apply glue on the foam clouds and place a small amount of cotton on the glued part little by little. I also added some beads at the bottom (open end) of some of the yarn strands.
Ahhhh! Totally love this mixed media rainbow craft! Such a fun and creative way to engage the kids in the craft activities.
Happy Crafting!
