DIY Quilled Tulip Card – Paper Quilling Project
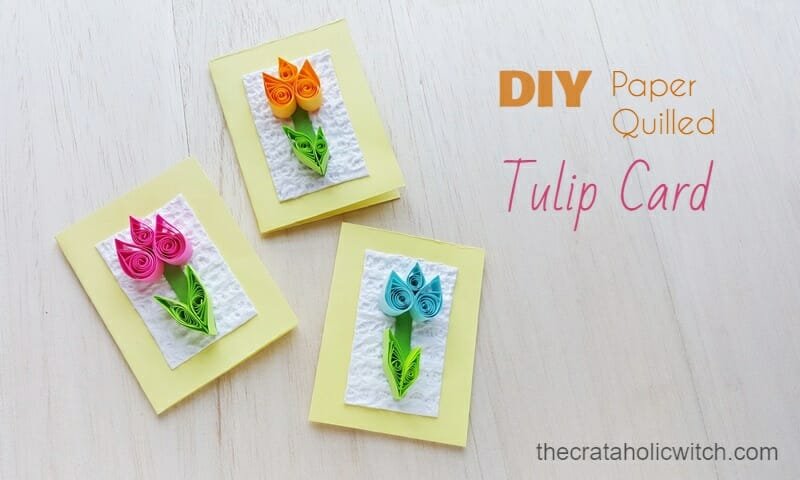
Fun Paper Quilling Project
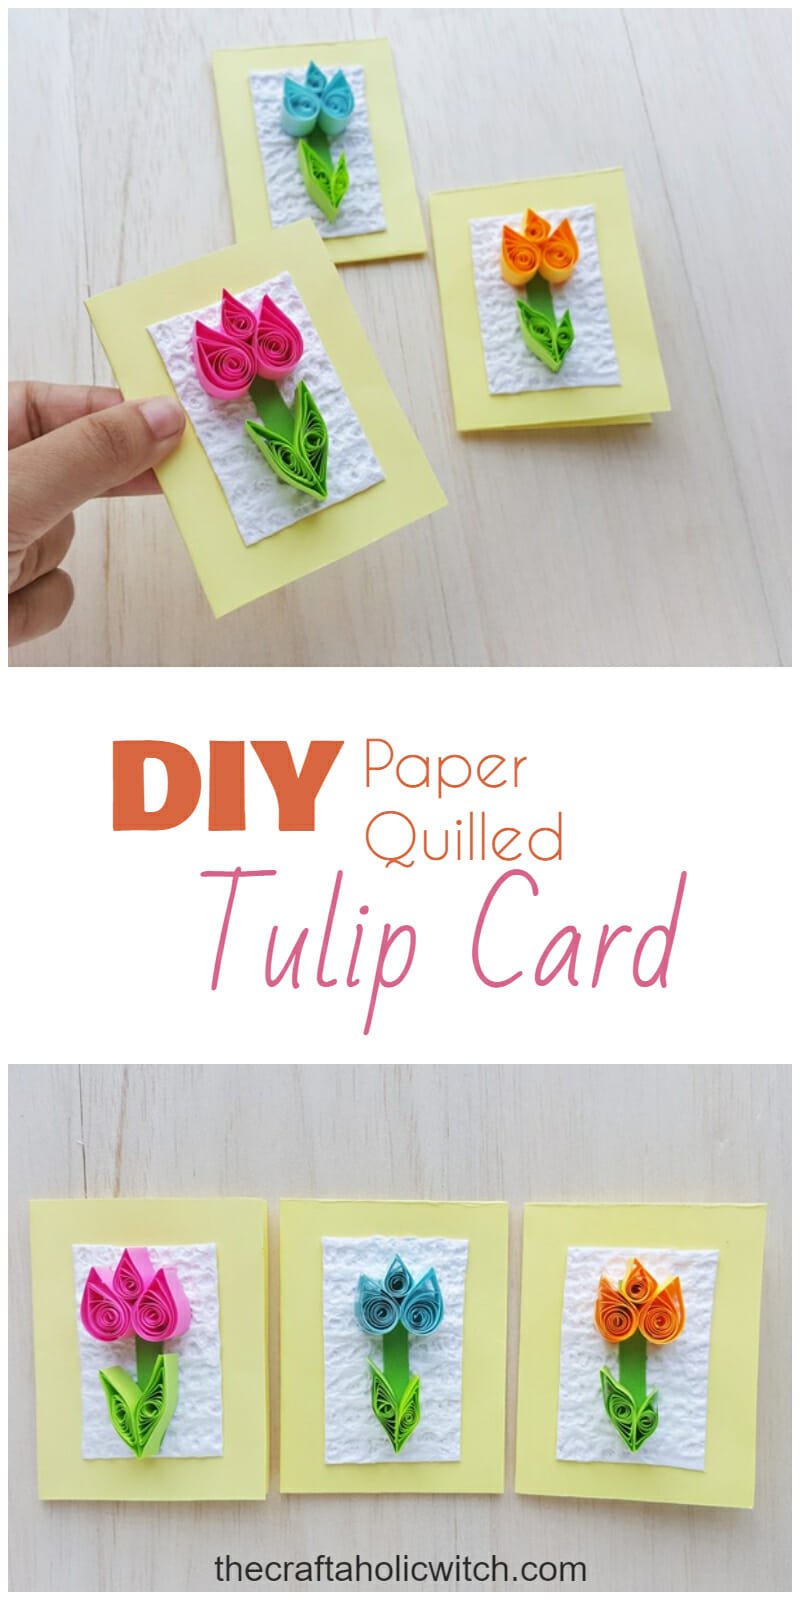
Paper quilling crafts are fun and Here is a fun and easy summer craft you can try out with the kids. Also, the cards turn out so good!
List of Supplies
- Quilling paper strips
- Scissors
- Craft glue
- Slotted quilling tool
- Cardstock paper
- Embossed craft paper
Instructions
Step 1
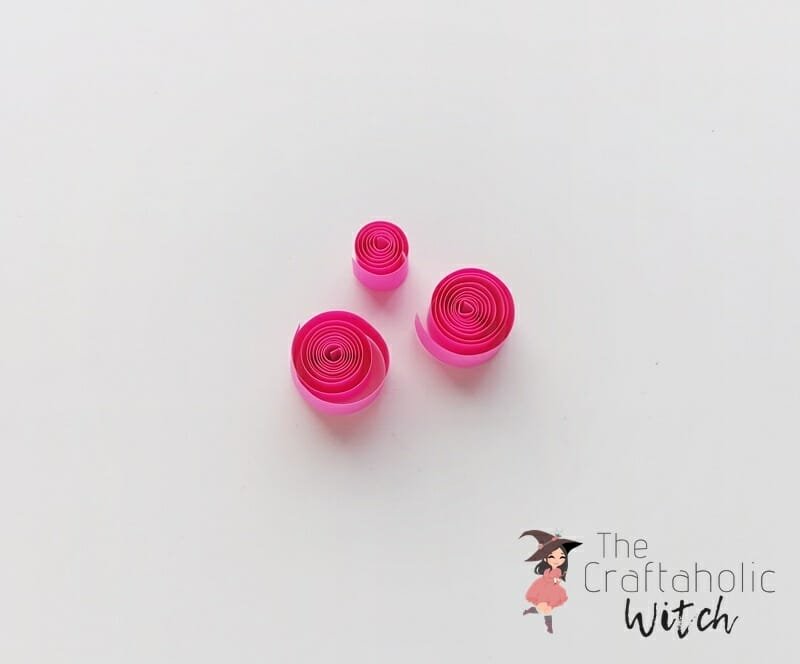
Select a color for the flower and grab the quilling strips. You will need two 12 cm long strips and one 8 cm long strip for the flower. Use the slotted quilling tool to create loose coils with the strips.
Step 2
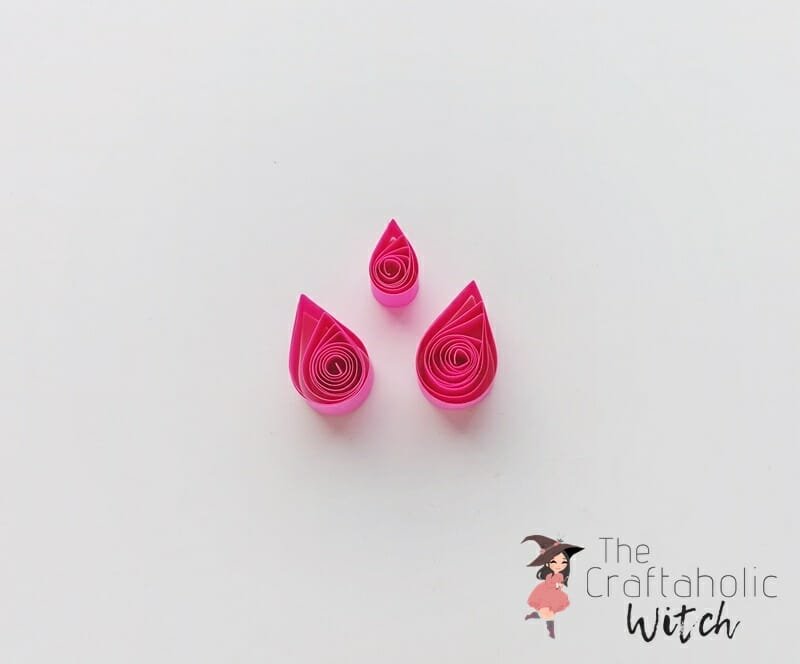
Press any one side of the loose coils to form teardrop shapes. Apply glue on the open end of the quilled teardrop shapes to secure them .
Step 3
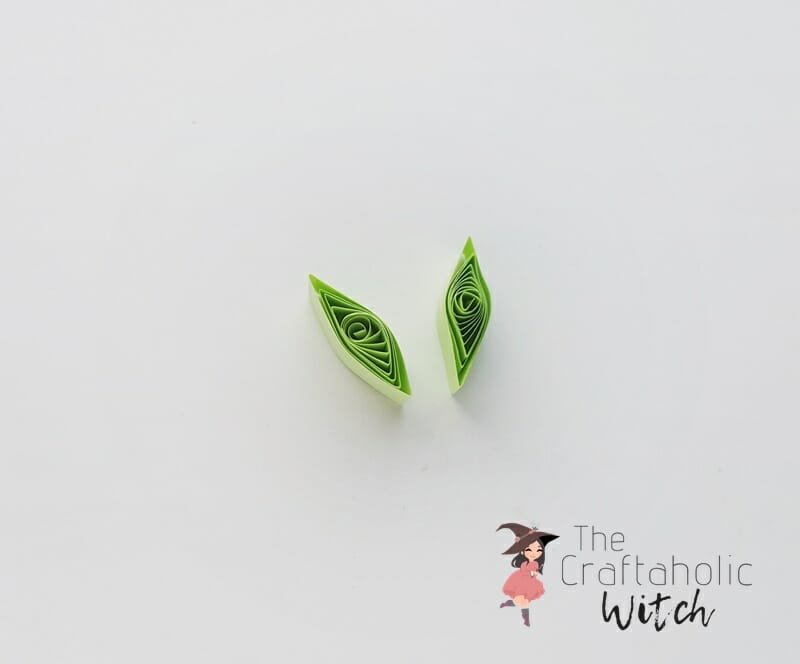
Use 10 cm long green colored quilling strips to make basic quilled lens shapes. These are the leaves.
Step 4
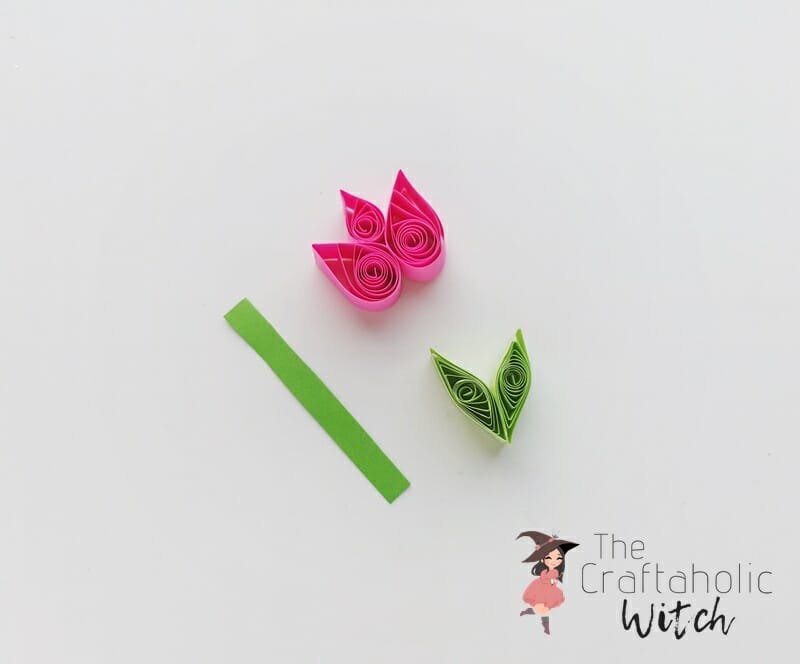
Cut out a strip from green colored cardstock paper for the stem. Attach the 2 big teardrop shapes side by side and then attach the small teardrop shape between the big ones; keeping the pointy ends of the shapes facing outside and to the same direction. Attach the quilled leaf shapes side by side as well.
Step 5
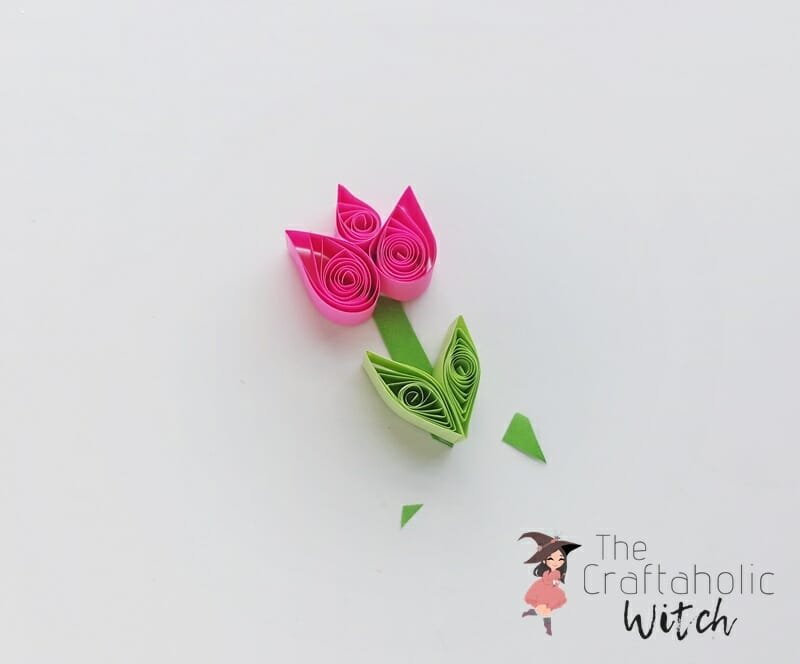
Attach the tulip flower on any one of the open sides of the strip and attach the quilled leaves below the flower, on the strip (stem). Cut the bottom end of the stem along the edges of the leaves on the bottom side.
Step 6
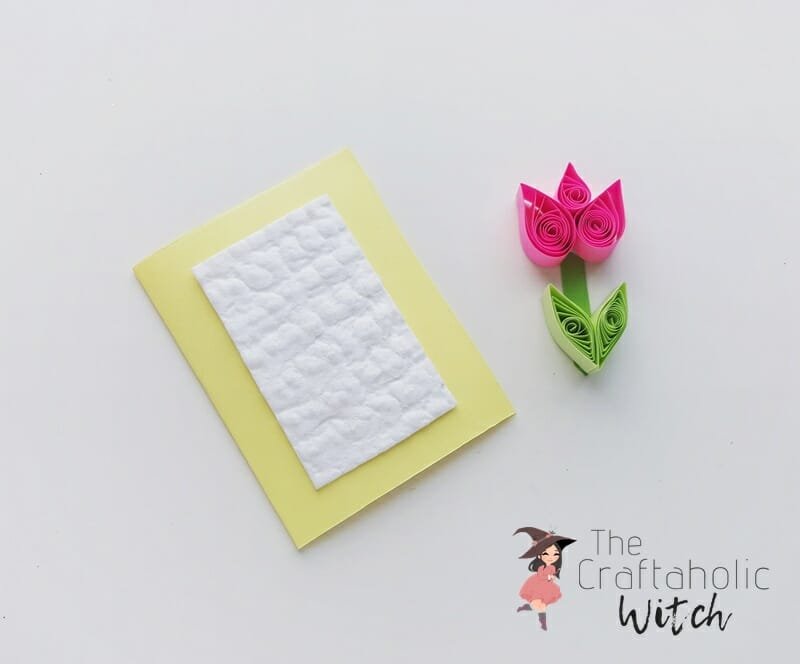
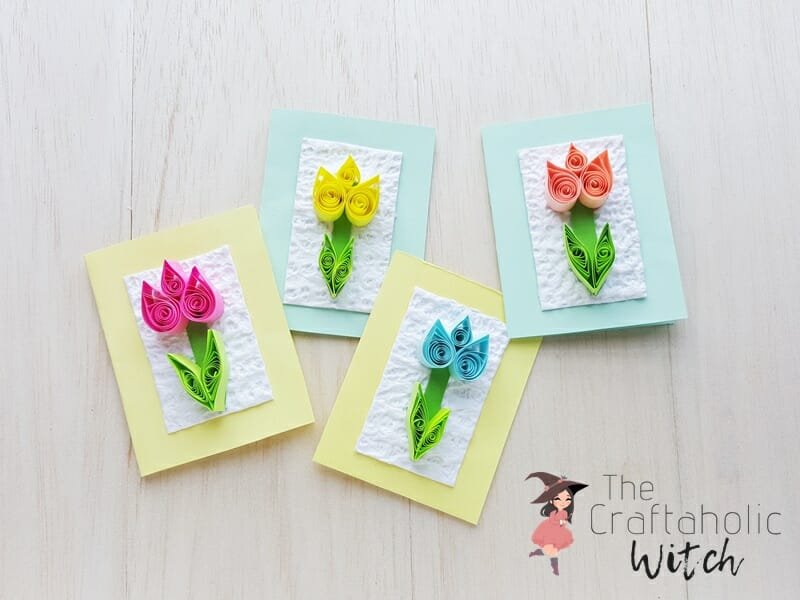
Prepare the card. I’m placing an embossed paper on the front side of the card, which is slightly smaller than the size of the card.
Step 7
Stick the tulip on the embossed paper and press it against the paper to make sure that it is attached nicely. And Done!
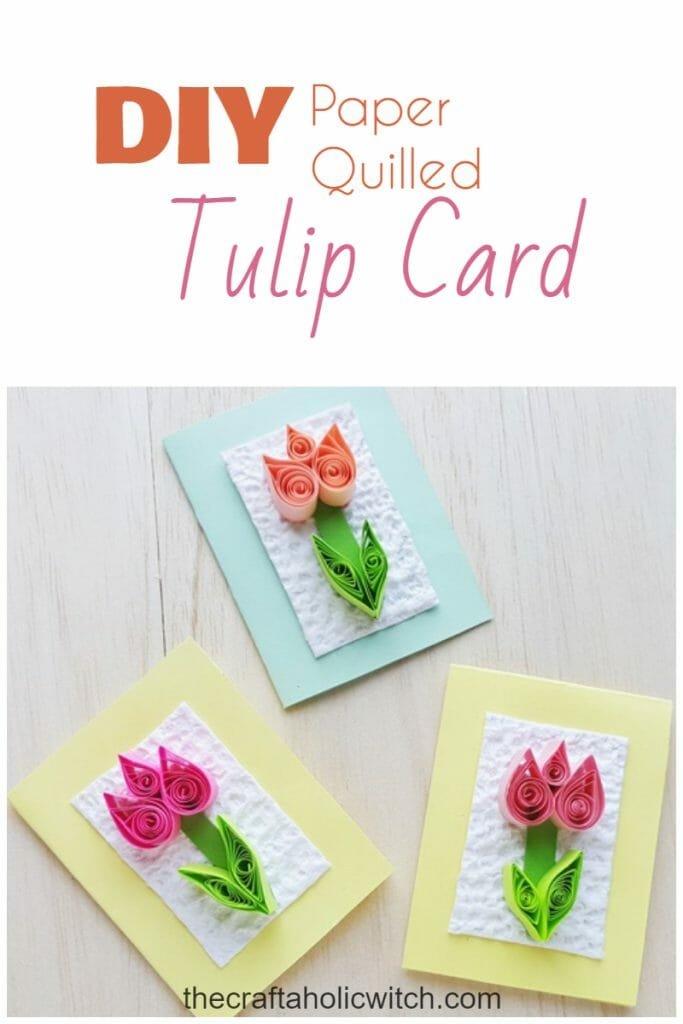
Don’t they look adorable! I definitely L-O-V-E-D making them and I’m sure you’ll love crafting some yourself.
