Easy Felt Coasters DIY Tutorial for Beginners
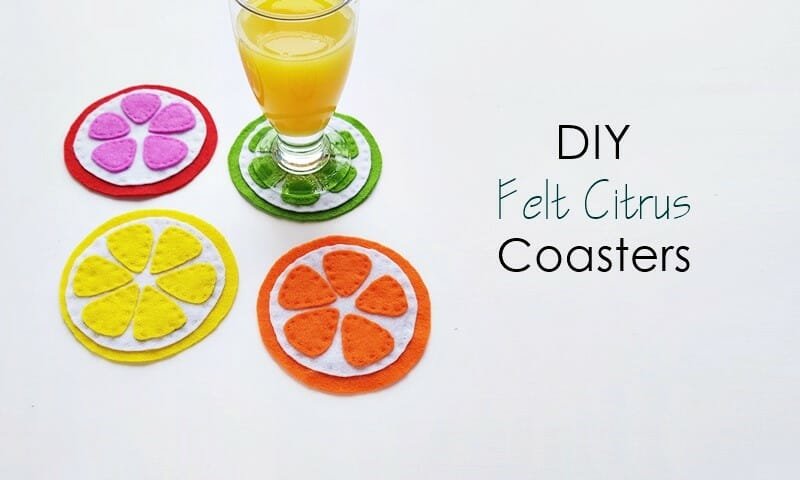
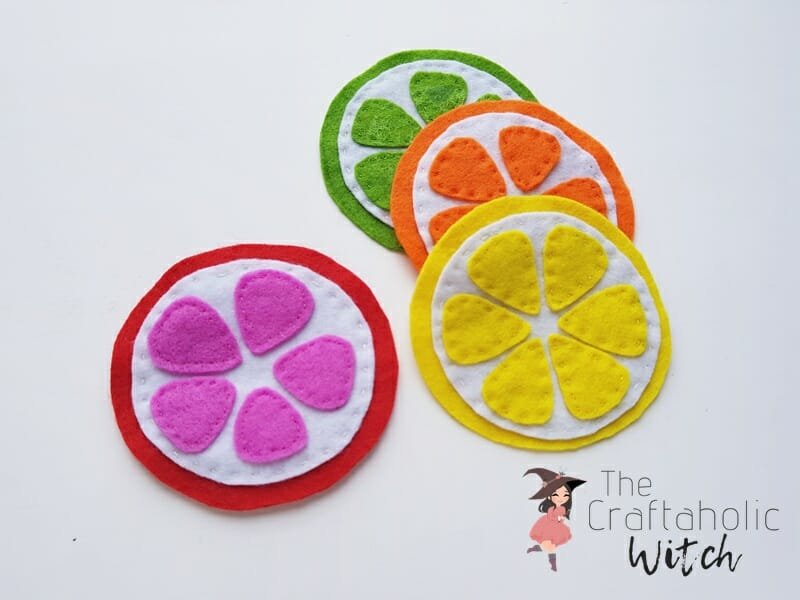
In love with coasters? Good news, I’ve made a full felt coasters DIY tutorial for you guys. Perfect for any summer parties or to simply add some colors to your home accessory collection. Check out the tutorial and try making one or two or more!
Fruit Themed Felt Coasters DIY
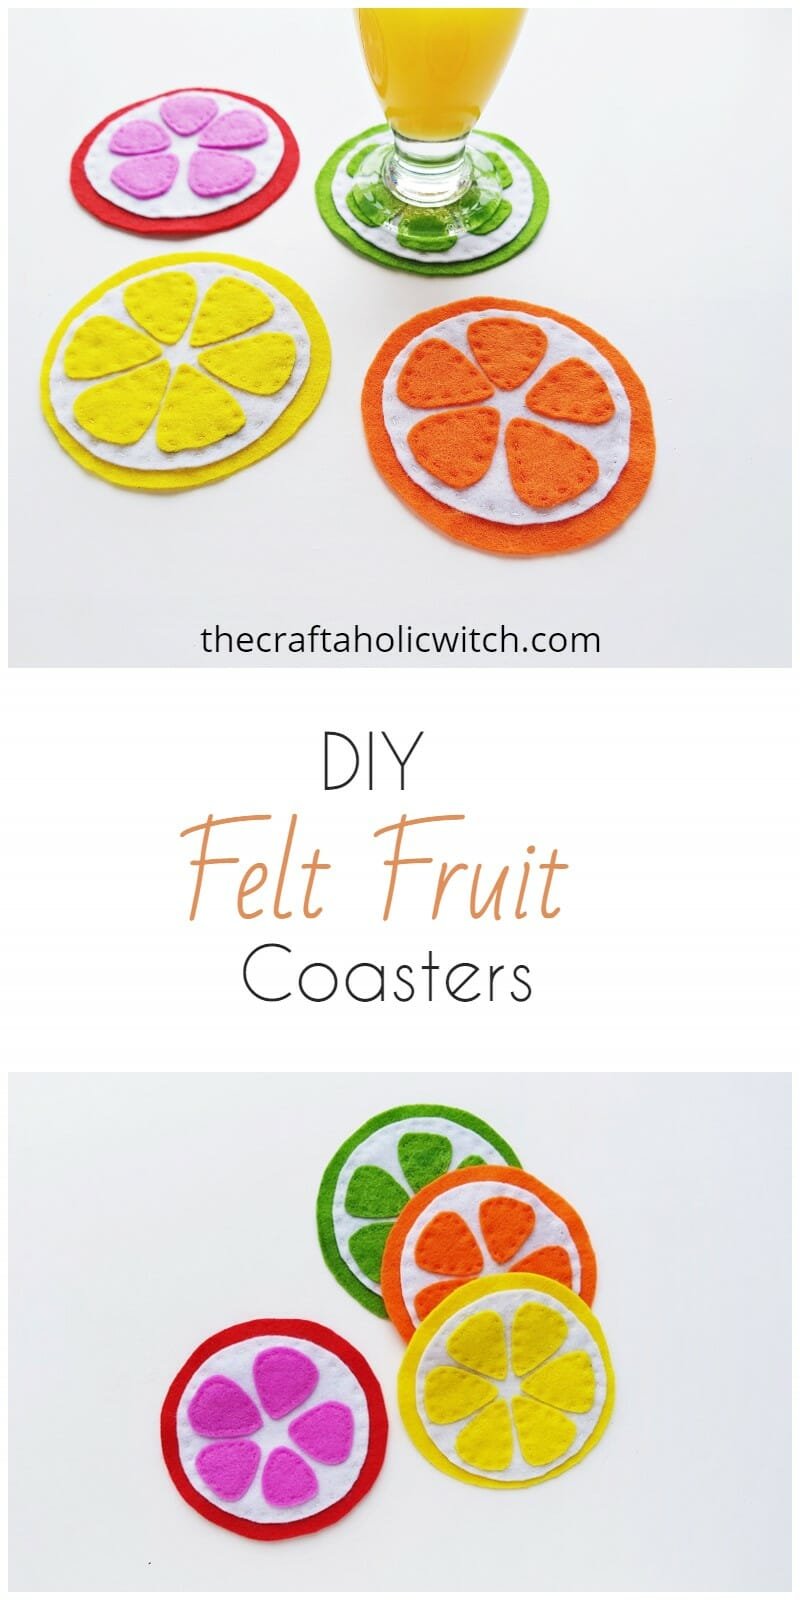
Here’s a perfect summer craft you can try out this weekend. Even if it’s not summer, these colorful felt fruit coasters are definitely great, just in case you’re looking for a weekend craft-therapy! These felt fruit coasters are super fun to make and turn out so cute! Plus, a full set of these fun felt citrus coasters can definitely add a colorful, cheerful summer vibe to your home accessories.
How to Make Felt Coasters from Scratch
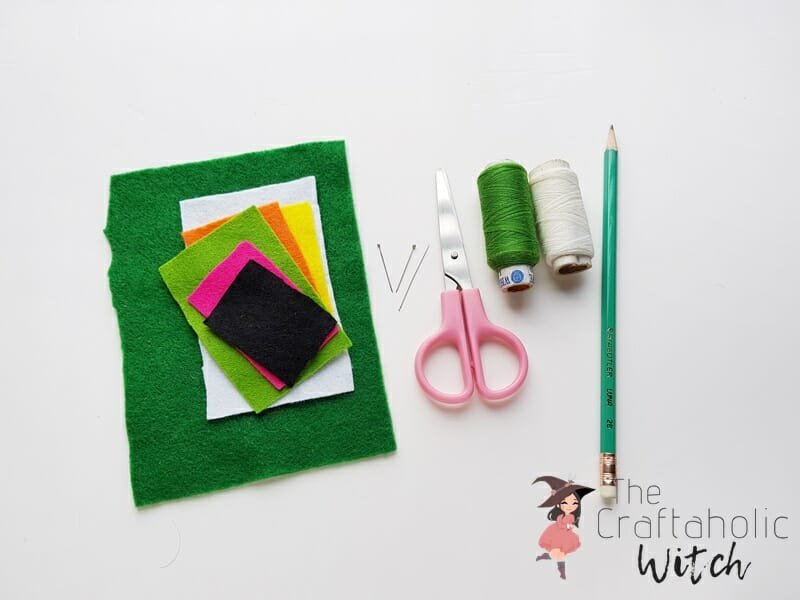
Supplies Needed
- Felt fabrics
- Pencil or fabric marker
- Scissors
- Needle and thread
- Pins
Felt Coasters DIY Tutorial
Step 1
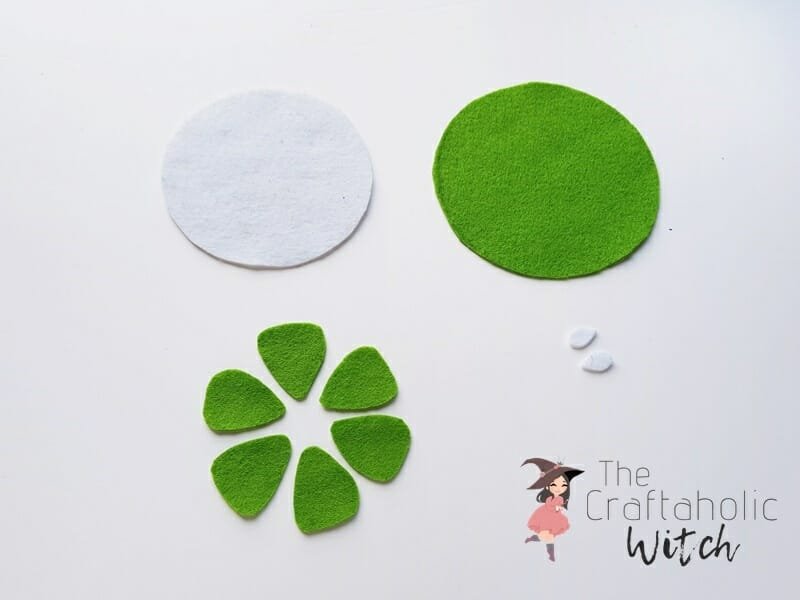
Select felt fabrics for the citrus coasters. Orange, green, yellow, pink or red colored felts are great for crafting citrus coasters. Prepare the patterns from the provided template; simply print and cut them out. Trace the patterns on the selected felts – trace the big circle on colored felt, the small circle on white felt. the triangular patterns on the colored felt and the seed patterns on white felt. Cut out the traced patterns nicely.
Step 2
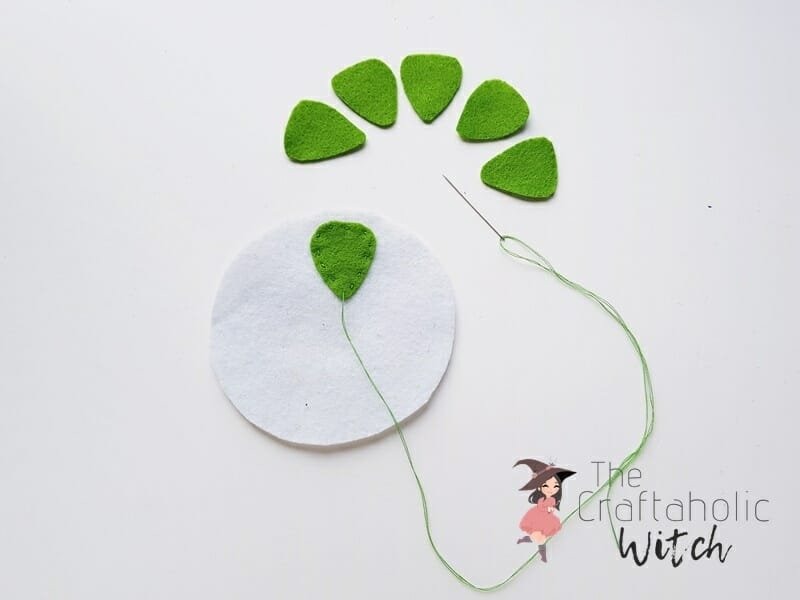
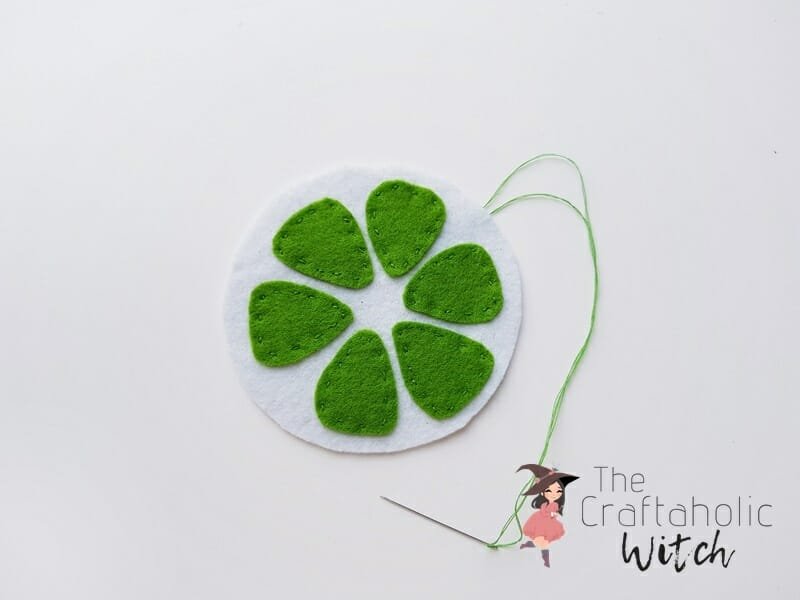
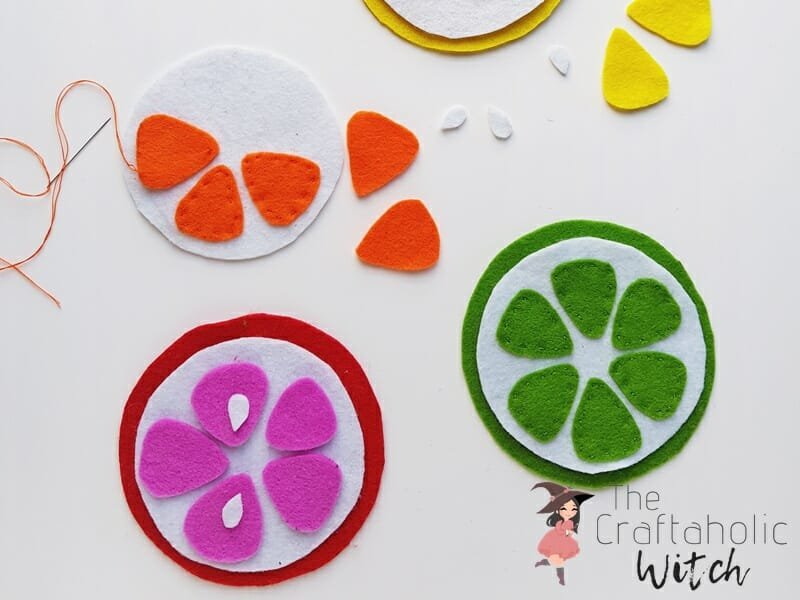
Take the white circle cutout and arrange the triangular patterns on the circle or you can place them one by one for stitching. Use matched thread to stitch the triangular patterns with the white circle cutout. Place a triangular pattern on the circle cutout, with its wider side facing outwards and the pointy end towards the center of the circle. I did running stitch around the sides of the triangular felt to attach it with the circle.
Step 3
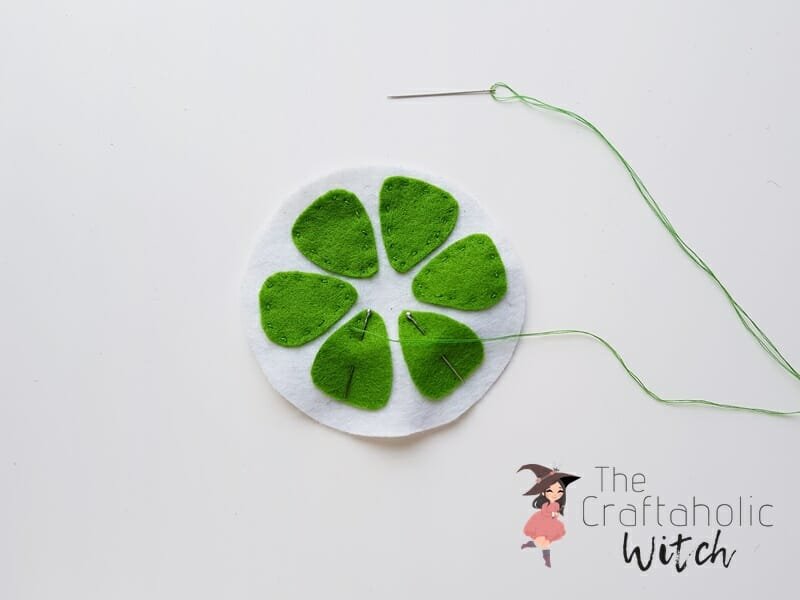
Continue to place the triangular felts on the white felt circle and do a running stitch around the sides to attach them together. You can use embroidery pins to fix the positions of the triangular felts on the white cutout while stitching.
Step 4
Continue to stitch until the white felt circle is filled or looks complete. Once the stitching is complete, draw the needle to the backside, tie a knot, and cut off extra thread.
Step 5
Place the seed cutouts on the triangular felts and use white thread to stitch them.
Step 6
Now grab the big circle cutout and place the stitched one on it. Prepare needle with white thread and start stitching around the sides of the white felt to attach it with the colored felt circle. You can simply do a running stitch around the sides or you can also go for flat blanket stitch, both work out fine!
Why stick to the basic citrus colors! Grab any fun colors you want and get crafty!
Hope you liked this Felt Coaster DIY Tutorial. If you try this and make one or two for yourself, I’d love to see the photos. You can share your picture with hashtag #craftaholicwitch or just DM your picture to us on Instagram.
