DIY Concrete Planters from Cement or Concrete Mix
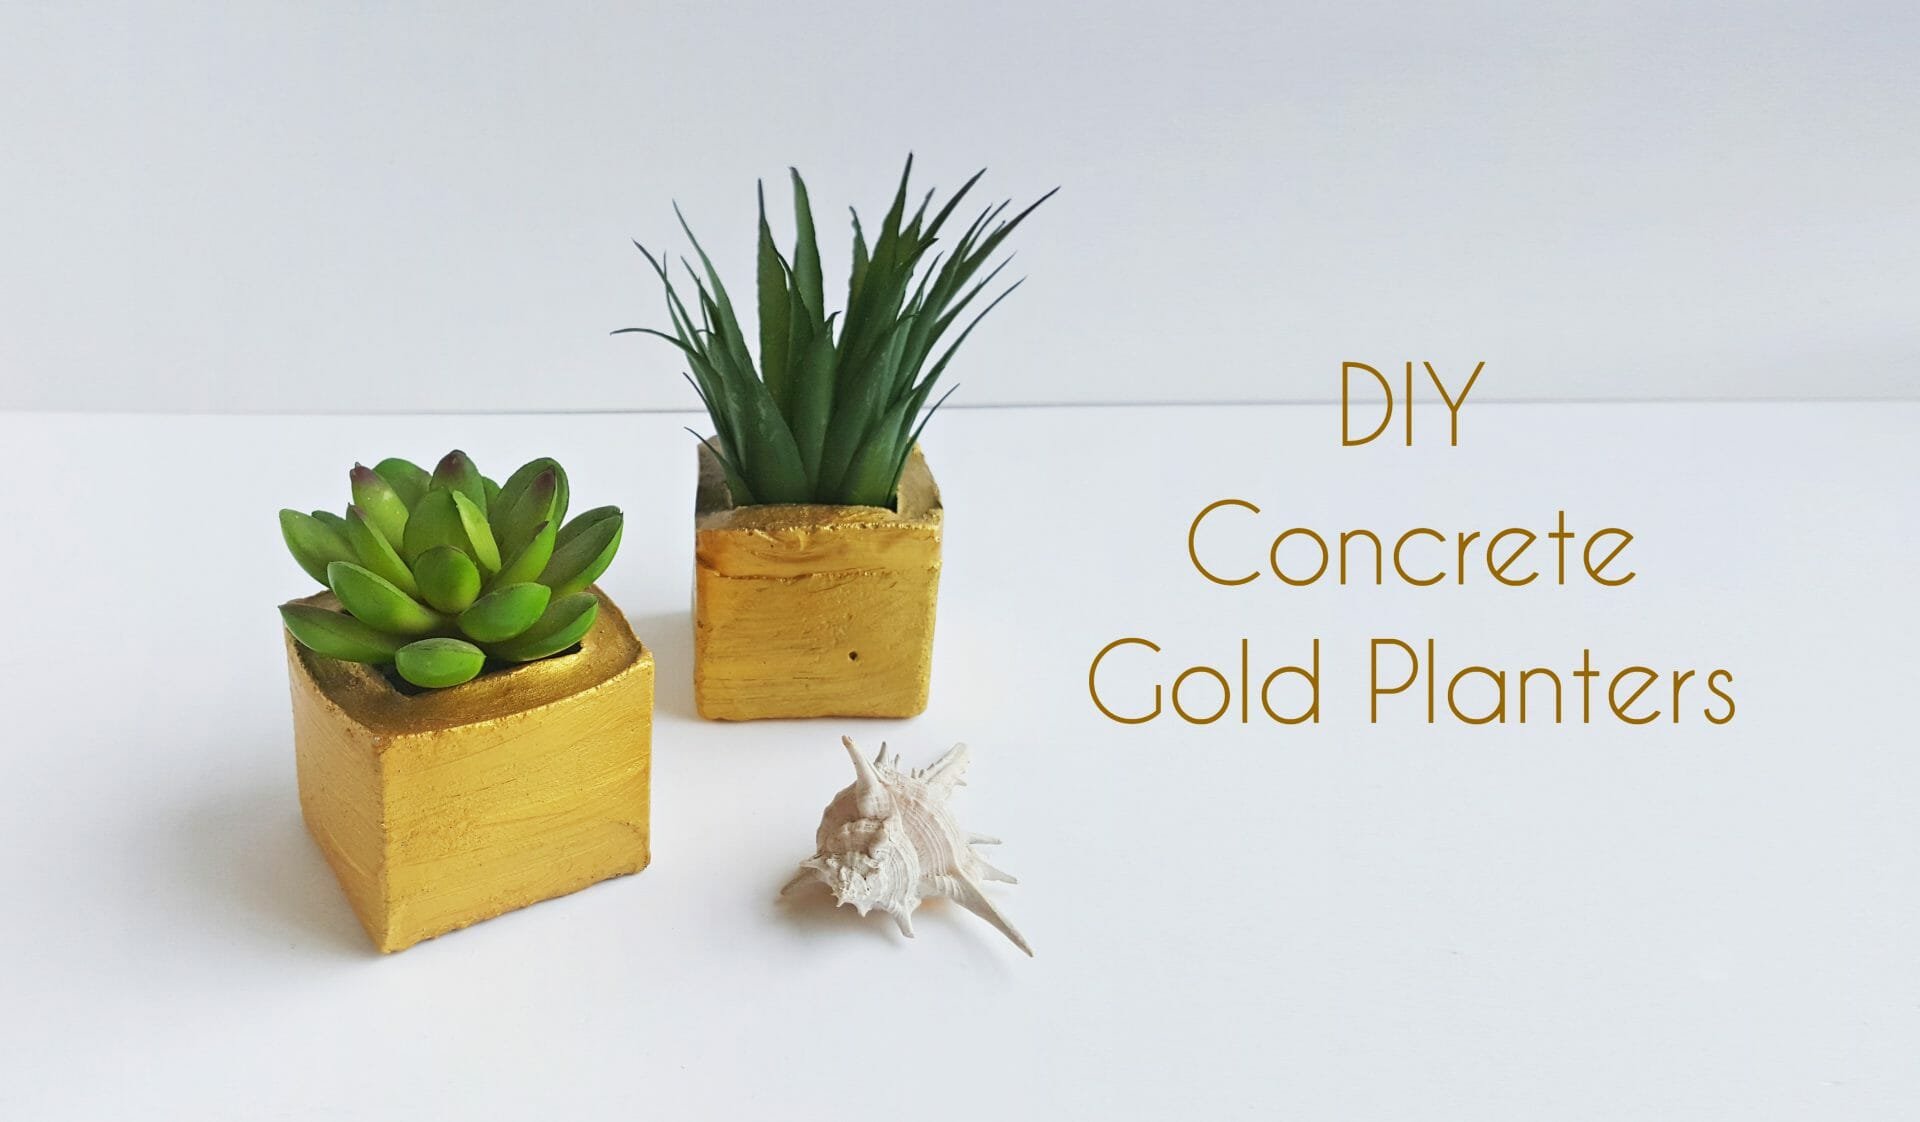
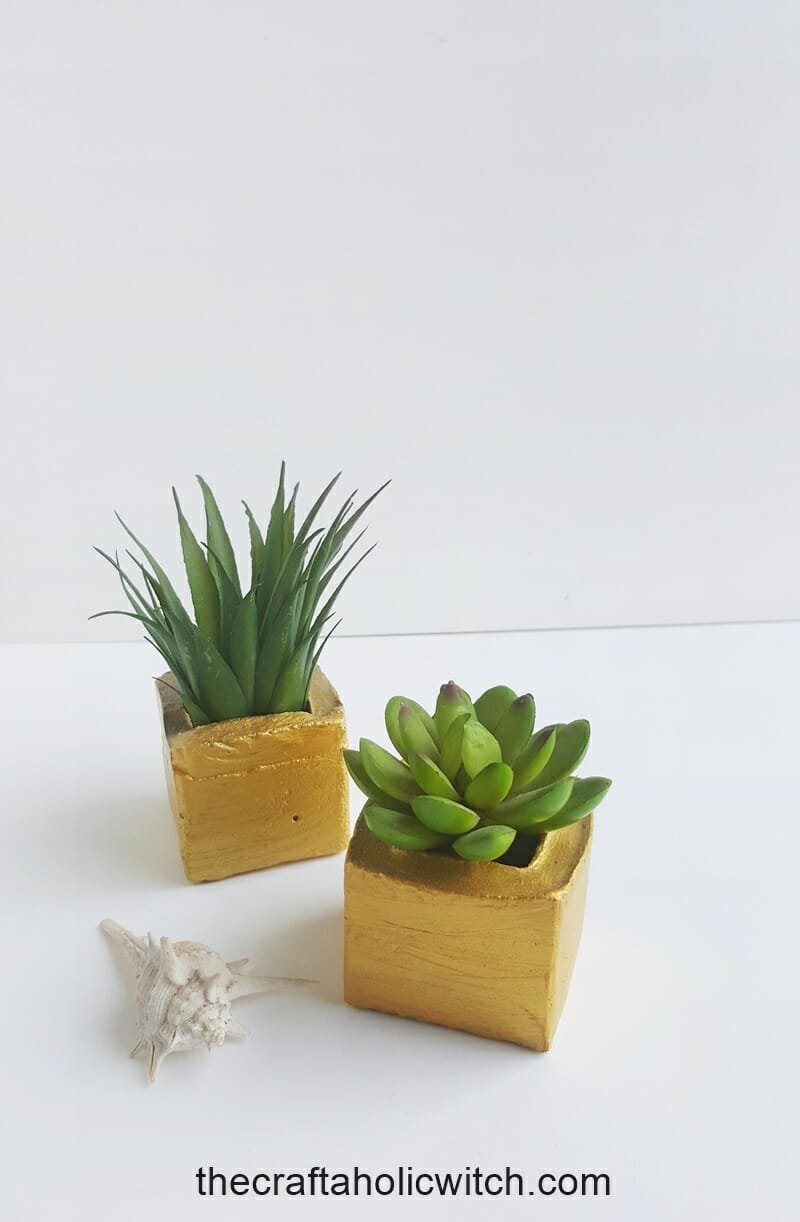
Concrete casting projects can be really tricky and messy but it’s really satisfying to pull out a nice and perfect DIY concrete project. If you haven’t tried any concrete crafts yet, these DIY concrete planters can be a great start for you. Check out the tutorial and give it a try.
You can make these concrete pots with cement or concrete mix. Using a concrete mix will save you some time and is the fastest way. But making a concrete planter out of cement is cost-effective, and you can use up leftover cement from your latest renovation projects. However, we are showing both ways. It’s up to you whether you are going to use a concrete mix or cement.
Let me tell you something, this is a really satisfying project. It feels nice when you complete making the planter and put it on your table with some green plants. Especially, Adding golden paint to it is also so satisfying! But you can keep the rustic concrete look if you want to. No more talking, let’s jump on to the DIY concrete planter project.
How to Make a Concrete Planter
Supplies
- Concrete mix / Cement
- Plastic bowl
- A stick
- Primary and secondary containers
- Rubber gloves
- Scissors
- Clear tape or bandage tape
- Golden acrylic paint and paintbrush
Instructions
Step 1: Making the Concrete Mixture
From Cement
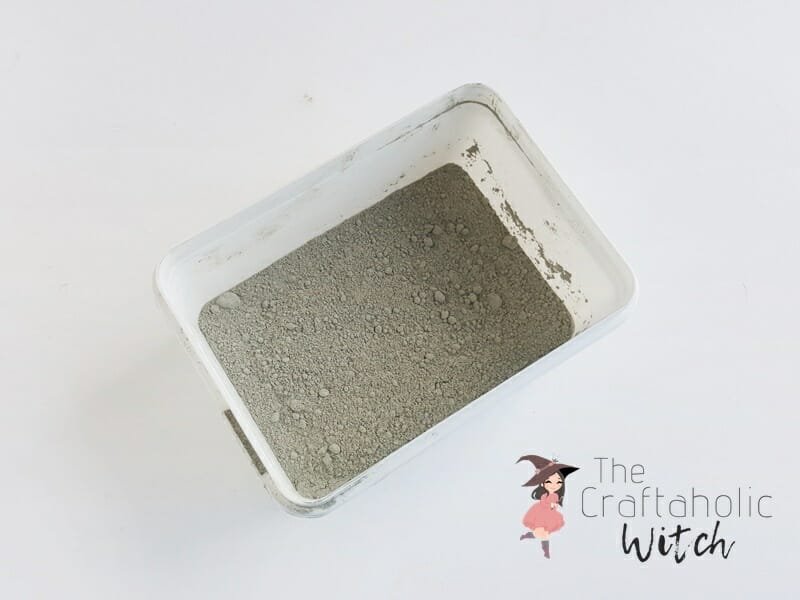
In case you’re using cement, you’ll need sand as well. Measure 2 part cement and 3 parts sand, and mix them really well.
Pour a small amount of water into the sand and cement mixture and mix them well with the water, pour more water if the cement mixture is too thick. Make sure the mixture isn’t too thick nor too thin.
From Concrete Mix:
If you’re using the concrete mix, you can simply mix the concrete with water. Make sure not to add too much water and try keeping the mixture thick. Less water means more strength and less time to dry.
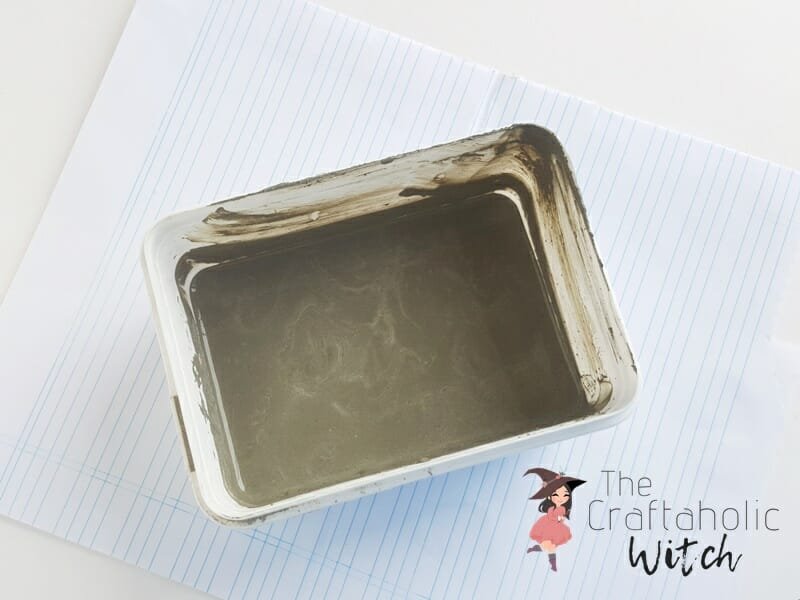
Step 2: Making Containers
For both primary and secondary containers, I used paperboard containers (such as, milk cartons, medicine syrup cartons, etc.).
Paperboard containers are easy to find and I’m quite sure all of us have 2 or 3 paperboard containers in stock. I used a regular-sized medicine syrup paperboard container for the primary container and eye drop container for the secondary container. Or more precisely, use a big carton for the primary container and a relatively smaller carton for the secondary container.
Cut off the top of the cartons using a scissor or x-acto knife. The secondary container should be longer than the primary container.
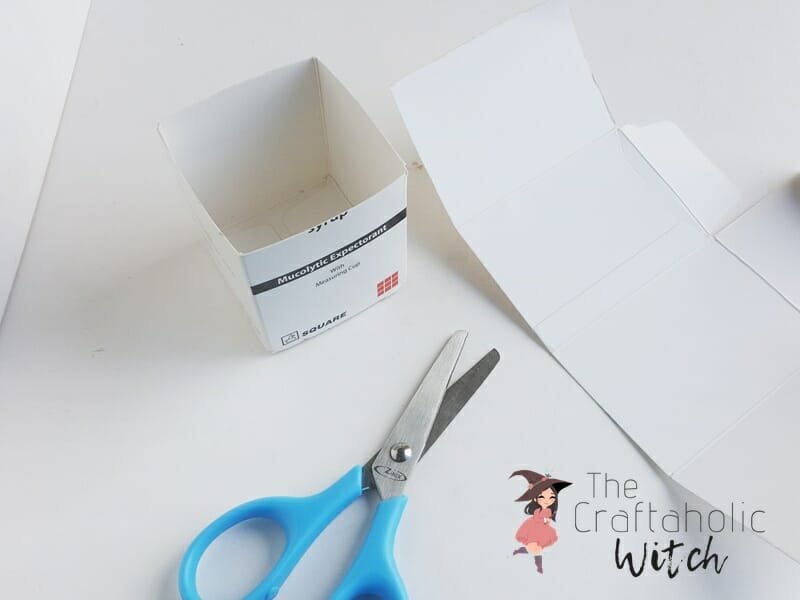
Step 3: Cover Outer Surface of Primary Container to Prevent Leakage
Use bandage tape or duct tape or brown tape to wrap and cover the entire outer surface of the primary container.
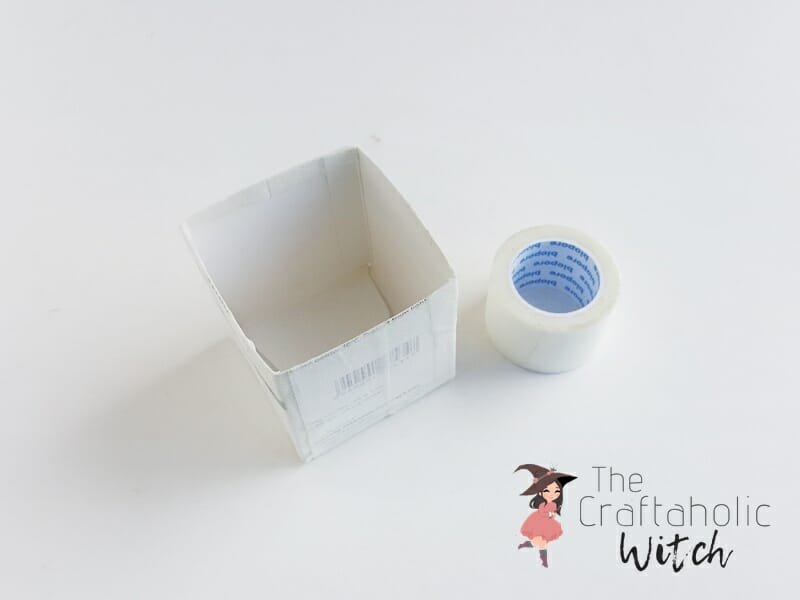
Step 4: Fill the Container with Mixture
Time to fill the primary container with mixture. Fill about 2/3 of the primary container with the cement mixture.
After filling the 2/3 of the primary container, put the secondary container right in the middle of it and push it in gently. Make sure that the secondary container doesn’t touch the bottom of the primary container. To be safe make sure to measure the height of both containers and push the secondary container in the mixture by keeping at least 2 cm above the primary container’s bottom.
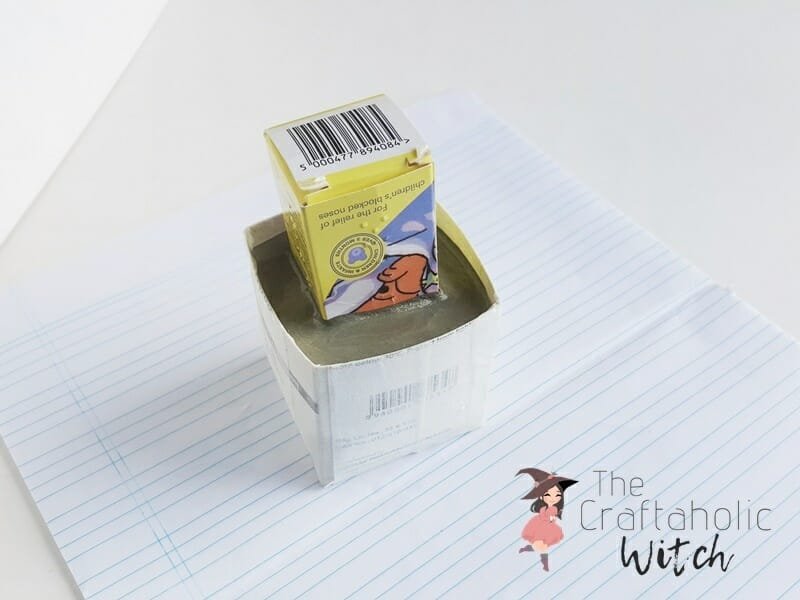
Step 5: Allow the Mixture to Dry
Place something heavy on top of it or else the secondary container will be pressed up.
Now allow the cement/concrete to dry, it’s better to wait 24 hours for the cement/concrete to dry.
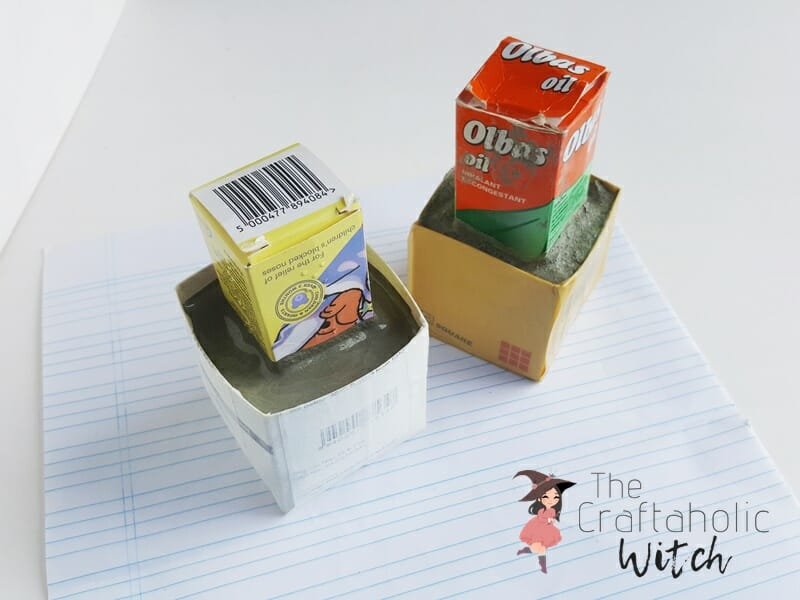
Step 6: Remove the Containers
After the concrete dries carefully remove the containers. The secondary container can be removed easily.
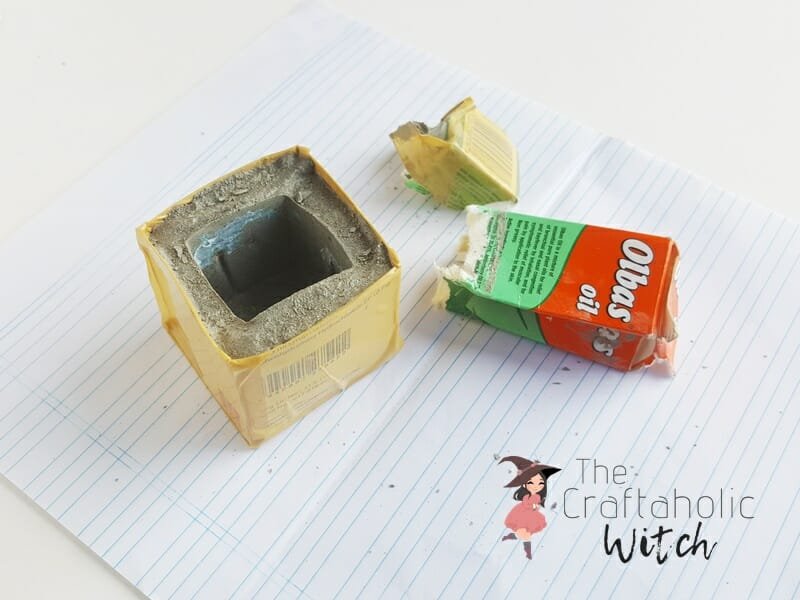
After removing the secondary container carefully remove the primary container too.
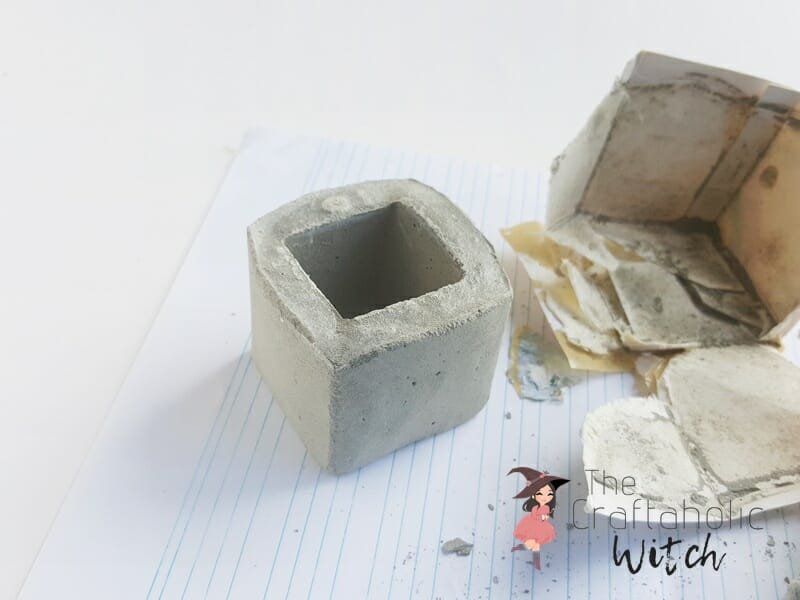
Step 8: Sanding and Painting the Concrete Planter
Use sandpaper to give the planter a finished look if you’re not a rustic look lover.
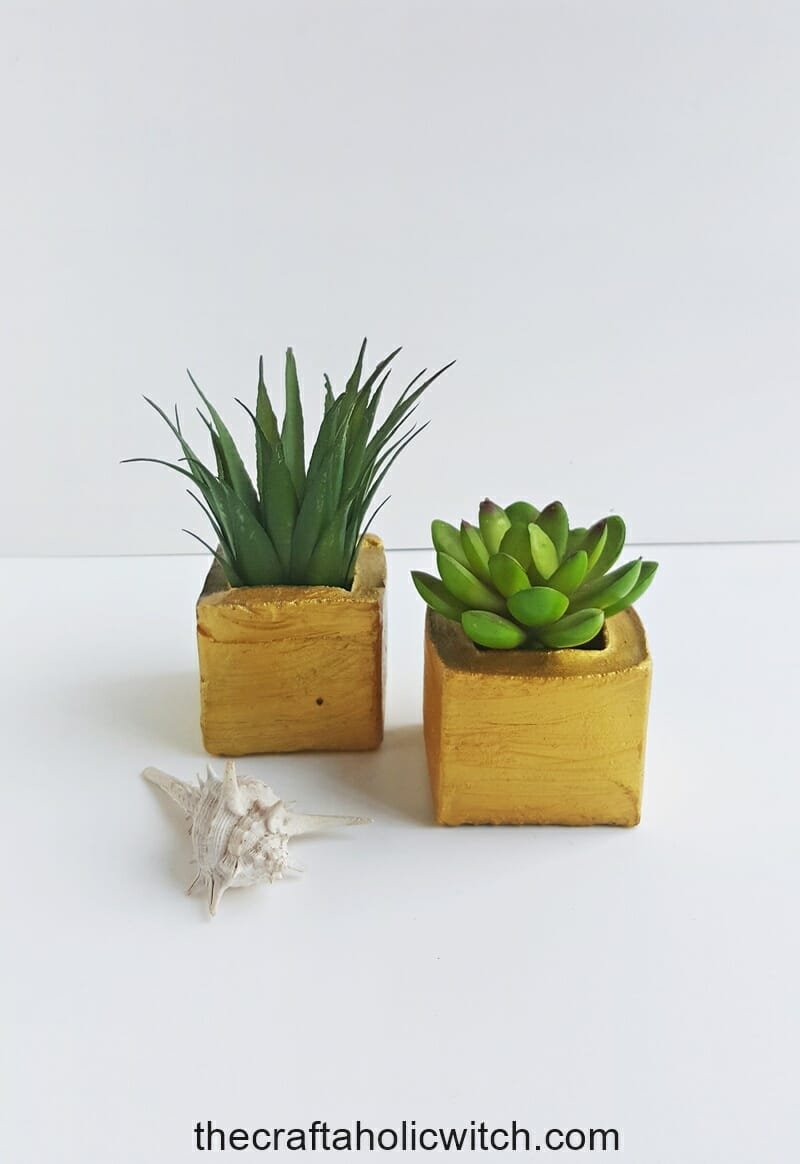
I applied 2 coats of gold acrylic paint as I already have a bunch of plain concrete planters.
Once the paint is completely dried, you can add soil and plants to them.
Safety Rules
- Don’t forget to wear rubber gloves before mixing the concrete.
- Do not touch your eyes or ears while mixing cement or working with a concrete mix.
- Consider wearing protective glasses.
- If you are allergic to dust then try to avoid the project or wear face masks.
In case you’re looking for more DIY planter ideas, you can check these out –
- Bulbasaur Planter, this project is also great for recycling plastic cola bottles.
- DIY Egg Shell Planters – DIY tutorial on making cute and tiny planters from eggshells.
- DIY Recycled Jar and Bottle Vases – A beautiful 10-minute craft project
We hope you will enjoy this craft and do leave feedback in the comments. If you try out our tutorial, we would love to see your version of the craft. You can share your picture with hashtag #craftaholicwitch or just DM your picture to us on Instagram.
Happy Crafting!
Thank you!

